crwdns2915892:0crwdne2915892:0
Remote control problems? Some buttons not working, maybe? Replacing the batteries with fresh ones did not help?
Tried removing batteries, press and hold Power button for half a minute, then press every button on the remote vigorously, and still no improvement? Repeated that procedure with some calibrated palm whacks and still no joy?
This Guide’s for you: it’s time to take it apart. Unlike many remote controls with obvious side seams, the silver side plastics of this series of Sony BRAVIA remotes obfuscate proper pry-apart points.
This Guide covers Sony’s RM-YD023 remote control, original equipment with a number of 2008 Sony BRAVIA TV models, including:
KDL-32XBR6 KDL-40V4100 KDL-40W4100 KDL-37XBR6 KDL-42V4100 KDL-46W4100 KDL-40V4150 KDL-46V4100 KDL-52W4100
KDL-52V4100 KDL-46W4150
crwdns2942213:0crwdne2942213:0
-
-
Remove battery compartment cover and batteries
-
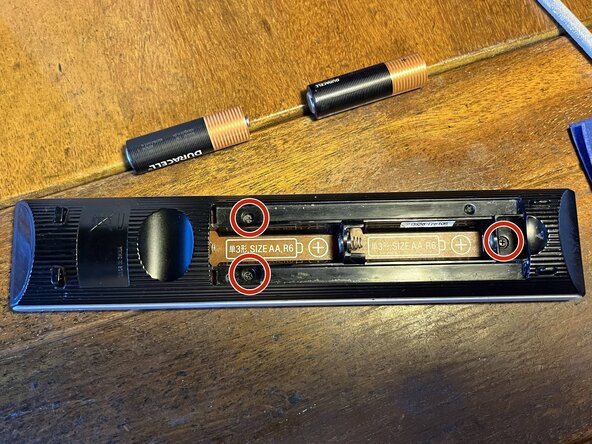
Remove 3 screws (probably JIS #0 or #00)
-
-
-
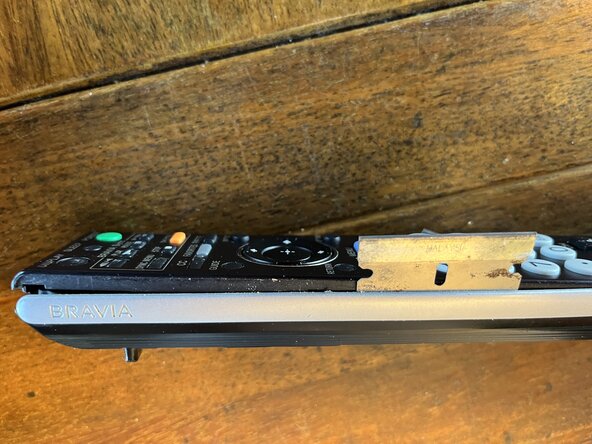
Gently and carefully pry whichever end is most easily separated, using a spudger, single-edge razor blade, or other thin, strong, stiff tool.
-
The unfortunately blurry photo shows that for me, the top/front end (with the IR LED) separated most easily. Red circles indicate rectangular latch points.
-
-
-
With an end loosened, one side is likely to be more readily loosened. For me, it was the left side.
-
Starting at the loosened end, carefully pry the top panel above the silver side insert at the seam of these two pieces along the length of the side.
-
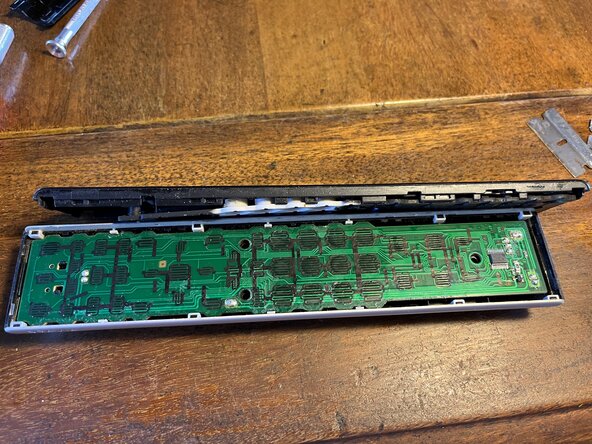
Once the side has been loosened along its entire length, it is highly likely that the opposite end latches will have released. The top panel can be lifted out at this time.
-
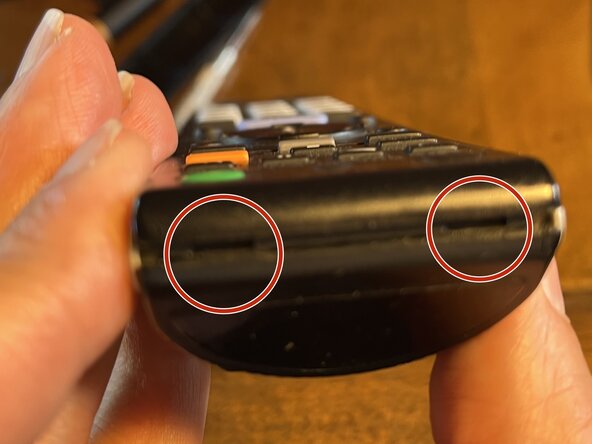
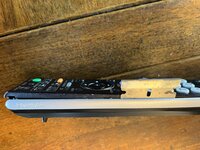
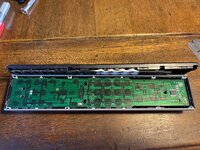
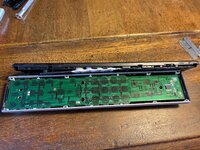
Second photo shows left side latch points. Third photo shows right side latch points.
-
-
-
-
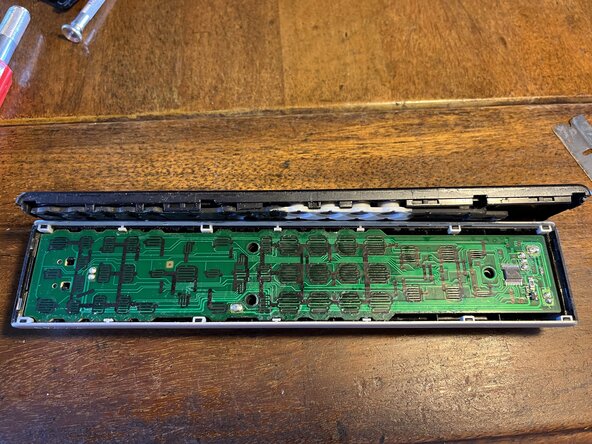
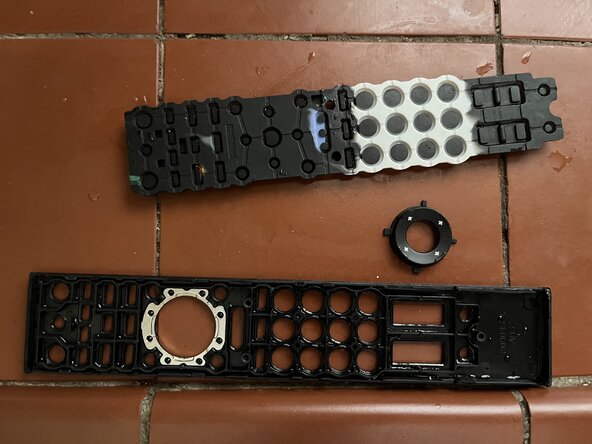
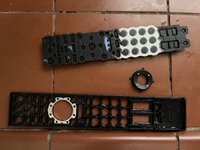
Remove the rubbery conductive plastic button matrix from the top cover if necessary. It may have already fallen out via gravity.
-
Being mindful of how the spring metal battery contacts are held into the lower housing, remove the PCB from the lower housing. With gentle help easing the springs, the PCB lifts straight up and out.
-
No need to remove the silver decorative side panels unless deep cleaning or damage repair is necessary in these areas. They can be removed via lifting straight up (towards the top panel surface when assembled).
-
Carefully inspect the PCB and rubbery conductive plastic button matrix for any signs of damage:
-
Liquid spills/residue (dry, damp, or wet)
-
Fractured solder joints (PCB)
-
Damaged traces (PCB)
-
Tears (rubbery button matrix)
-
-
-
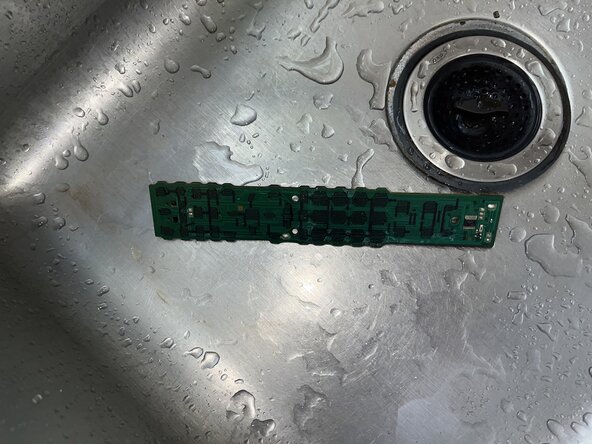
There was obvious dried liquid residue on the contact areas of many of the buttons on the rubbery conductive plastic matrix, as well as some mating contact areas on the PCB. Water seemed like the best solvent choice for these apparently food-based contaminants.
-
Rinsed the conductive button matrix then the PCB in ambient temperature tap water with gentle finger rubbing where necessary until all visible contamination was removed.
-
Also rinsed the top panel, lower body, and circular selector arrow ring plastics in tap water.
-
Thoroughly dried all these pieces in the sun.
-
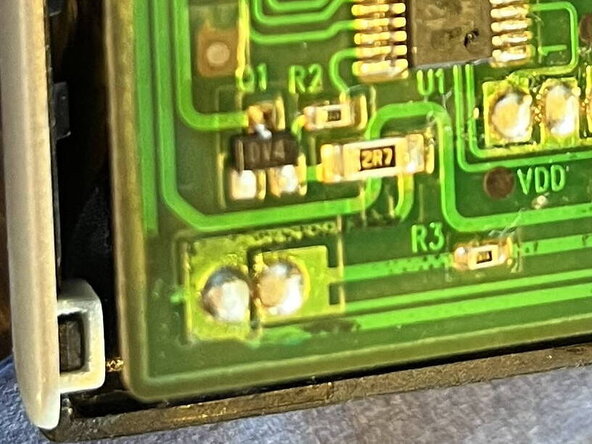
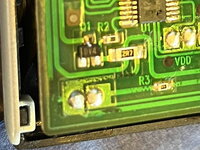
Solder joints looked good, but two PCB traces looked iffy (third picture). Resistance tested OK, so left them alone for now. Might be a future point of failure.
-
These specific steps may or may not apply to your remote control’s failure. Add/subtract/change the steps you take to suit your findings.
-
-
-
Historically, rubbery conductive plastic button matrices have tended to lose conductivity—especially on the most-used buttons, which become harder to press. No known issues with that on this particular remote control, but worth testing whilst it is apart.
-
Probe each rubbery plastic button’s contact surface with probes spaced about 1/2 cm apart, or any other consistent value which works for you. Resistance will vary significantly with probe spacing and test pressure. Look for consistency between different buttons rather than a specific resistance value.
-
All buttons on this remote were in the 4kΩ range and the user reported no issues with having to press any buttons hard, so no remedial work was needed.
-
Partially reassemble PCB into bottom case and rubbery conductive plastic button matrix atop PCB. Wrap your hand around these parts to gently hold them together whilst reinstalling the batteries and battery cover.
-
Test the operation of all buttons with the TV. All buttons should operate as expected.
-
-
-
Once pre-reassembly testing is completed, reinstall the top cover, snapping it back on around all 4 sides. Batteries may be left in place or removed as you wish.
-
Reinstall the 3 small screws in the battery compartment. This can be done with the batteries removed or in place. If done with the batteries in place, accidental button pushes might operate functions on the TV if it is in the same room and has power.
-
Done! Enjoy your repaired Sony BRAVIA TV remote control!
Done! Enjoy your repaired Sony BRAVIA TV remote control!
