crwdns2915892:0crwdne2915892:0
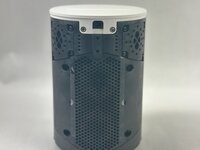
Use this guide to gain access to the internal components of a Sonos Era 100 speaker.
crwdns2942213:0crwdne2942213:0
-
-
Gently pull off the rubber foot on the the bottom of the speaker.
-
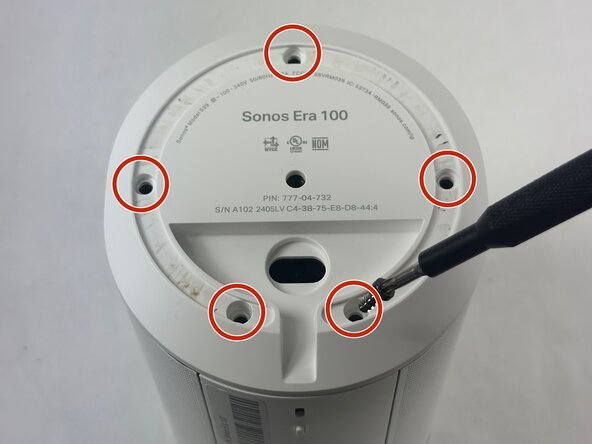
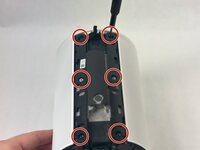
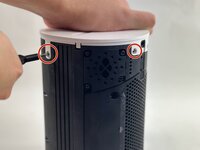
Remove the five 11 mm Torx T20 screws that secure the bottom plate.
-
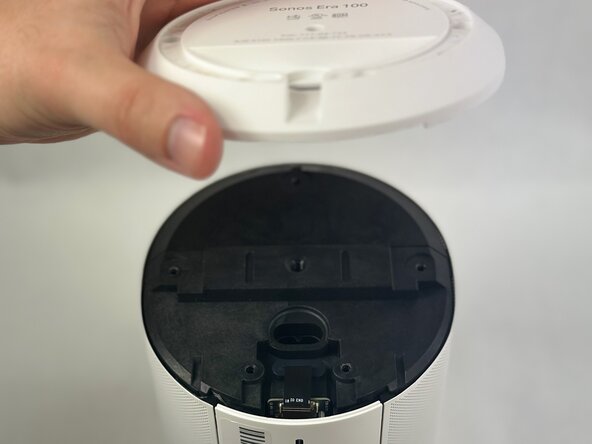
Carefully lift off the bottom plate.
-
-
-
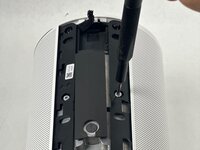
Carefully disconnect the ribbon cable connected underneath the bottom panel.
-
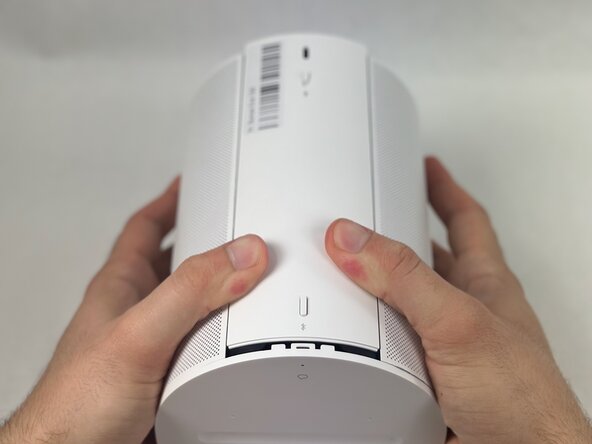
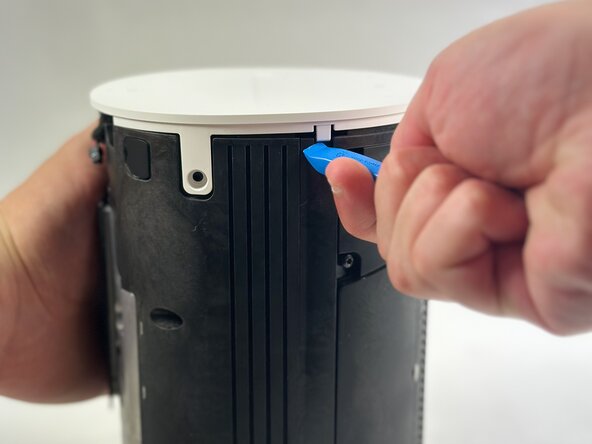
To detach the back panel, gently push it in a downward motion.
-
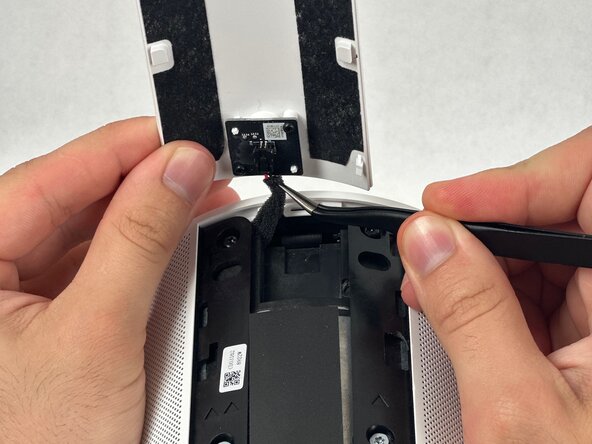
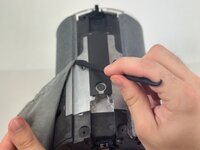
Use tweezers to disconnect the USB-C PCB from the back panel.
-
-
-
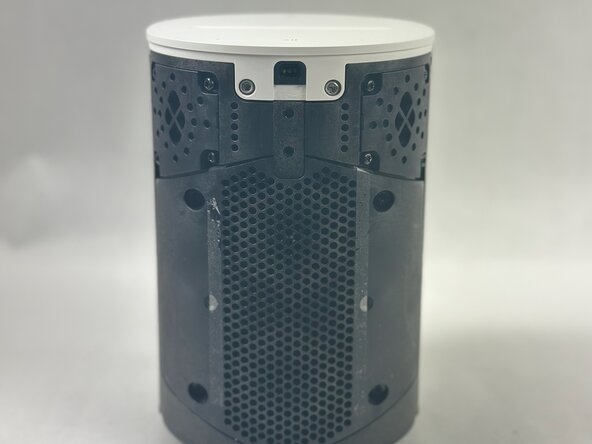
Remove the 8 mm and 11 mm T10 Torx screws securing the speaker grille.
-
-
-
-
Using a halberd spudger, carefully remove the foam tape. Do this by keeping tension on the foam shown in the images and slicing underneath the tape.
-
Pull the speaker grille off.
-
-
-
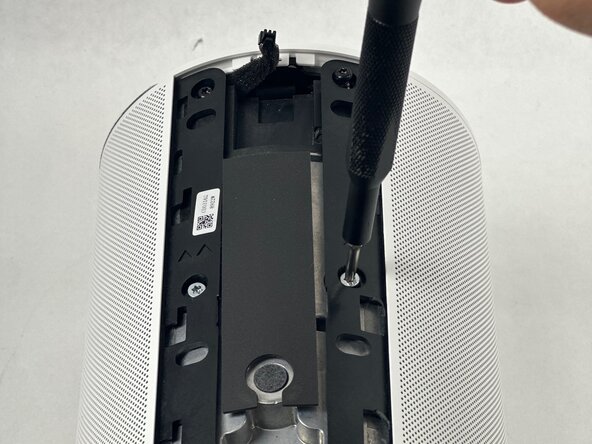
Remove all four T10 Torx screws securing the touch bar assembly.
-
Use an opening tool to release all four white retaining clips.
-
Lift the touch bar assembly perpendicular to the unit, with care not to strain the connected ribbon cable.
-
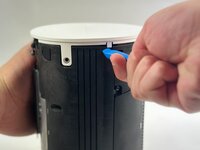
Lift the black ZIF locking flap that secures the touch bar assembly ribbon cable.
-
Disconnect the ribbon cable.
-
Remove the touch bar assembly.
-
-
-
Remover rubber plugs with a metal spudger
-
-
-
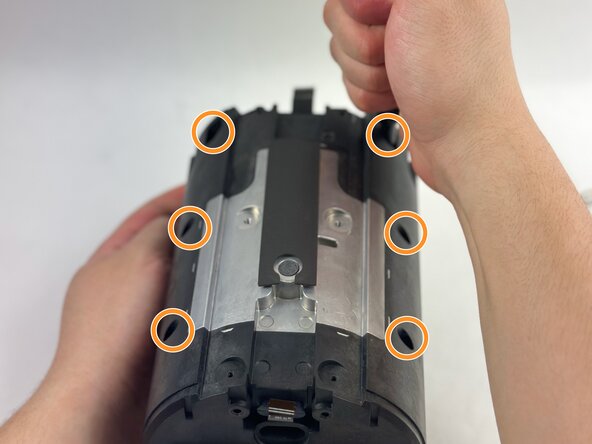
Remove front-bottom two T10 Torx 11 mm screws.
-
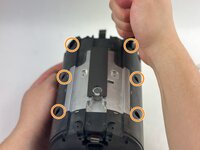
Remove the six front T10 Torx screws.
-
-
-
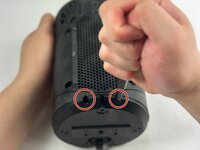
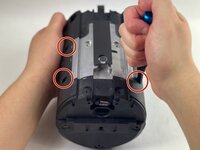
Remove the four T10 Torx screws on the back of the device.
-
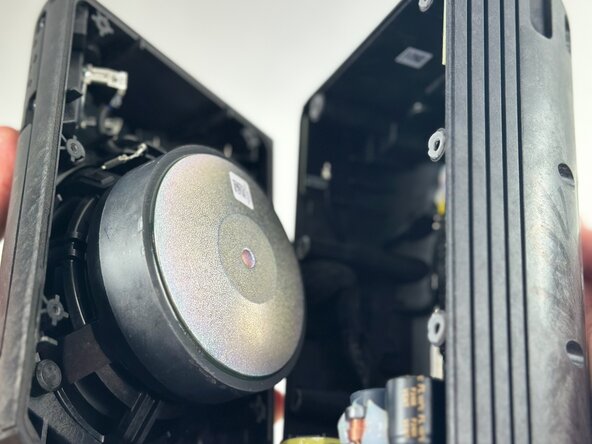
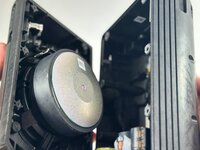
Pry open the speaker body to access the internals.
-


To reassemble your device, follow these instructions in reverse order.
To reassemble your device, follow these instructions in reverse order.
crwdns2915084:0crwdne2915084:0

UMass Dartmouth, Team 2-1, Botvin Spring 2025 crwdns2935289:0UMass Dartmouth, Team 2-1, Botvin Spring 2025crwdne2935289:0
UMASSD-BOTVIN-S25S2G1
crwdns2931471:03crwdne2931471:0
crwdns2935297:07crwdne2935297:0