crwdns2915892:0crwdne2915892:0
Battery Repair: A Guide and Troubleshooting
Disassembly
The housing on this battery is essentially glued shut. I first tried to make a small opening on one of the edges to pry it open with a screwdriver, but this was unsuccessful.
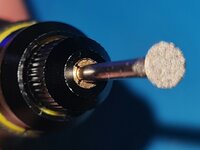
I ended up using a rotary tool with a small cutting disc to carefully cut the casing open.
Diagnosis
Inside the pack, the PCB (BMS) was soldered to the nickel strips, which were in turn spot-welded to the cells. To troubleshoot, I first desoldered the PCB. Then, I cut the nickel strips that connect the cells in series, allowing me to isolate and test each cell individually.
It turned out that five of the six cells were completely dead.
Repair
I purchased new cells and a roll of 0.1x50mm nickel strip. I used the old strips as a template, traced their shape onto the new nickel roll, and cut them out with scissors to replicate them as closely as possible.
Next, I spot-welded the new cells together using the new strips and, finally, soldered the PCB back into place.
New Problem and Current Status
The rebuilt battery pack now holds a charge, but for some reason, the vacuum still won't work correctly.
- It functions only when it is sitting in the charging station.
- As soon as I remove it from the station, it powers off.
I have tested and confirmed that the charging station provides 25 volts to the PCB (measured at P+ and P-), and that the cells themselves provide 21.8 volts to the PCB (measured at B+ and B-).
I suspect there is an issue with the PCB (BMS), perhaps a faulty chip or another component that is not "unlocking" the output.
I will create a post on the iFixit forum about this issue and will update this guide if I find a solution.
-
-
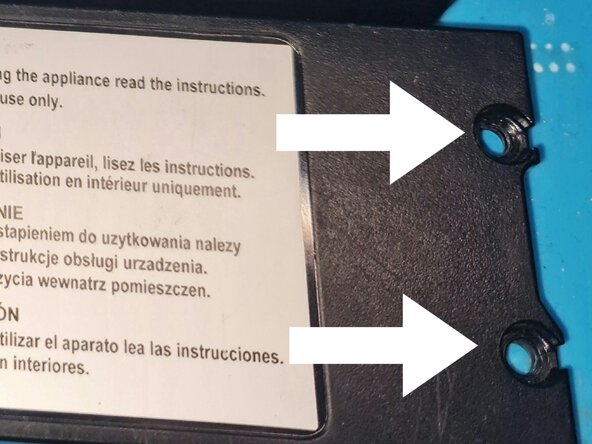
Unscrew the two screws on the battery compartment.
-
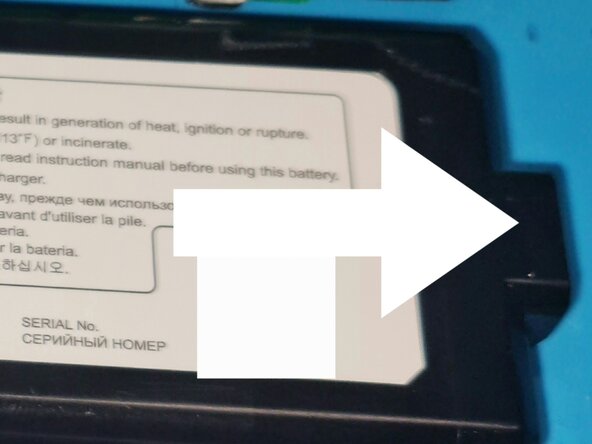
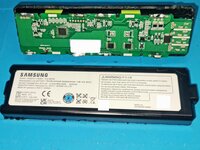
Lift battery out of the vacum by pulling on the edge the arrow points to.
-
-
-
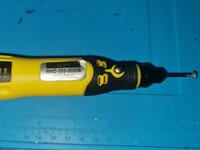
Carefully cut in the thin ridge around the battery with a small round blade using something like a motorized grinder. NB! The blade should be very small, you shouldn't cut deeper then a 2-3 milimeters.
-
Take the PCB with the cells out of the housing. NB! The whole assembly is glued behind the assembly to the housing. I bit of prying should loosen it.
-
-
-
-
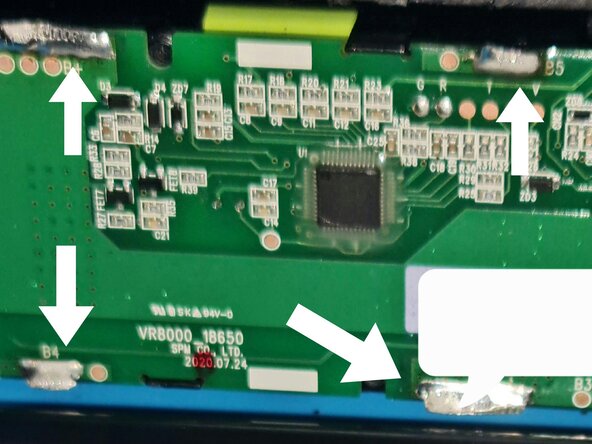
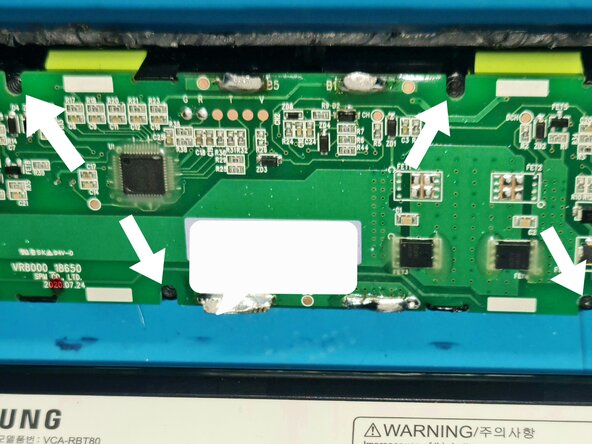
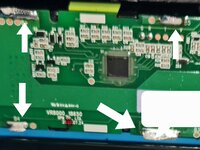
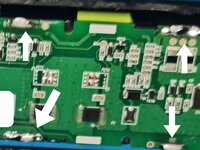
Desolder the eight edges around the PCB using a desoldering sucker, desoldering pump or wick. Unscrew the four screws holding the PCB to the plastic that holds the batteries. And remove the PCB from the cells.
-
-
-
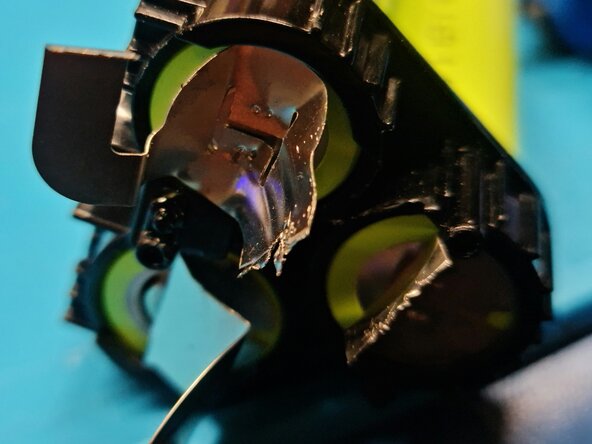
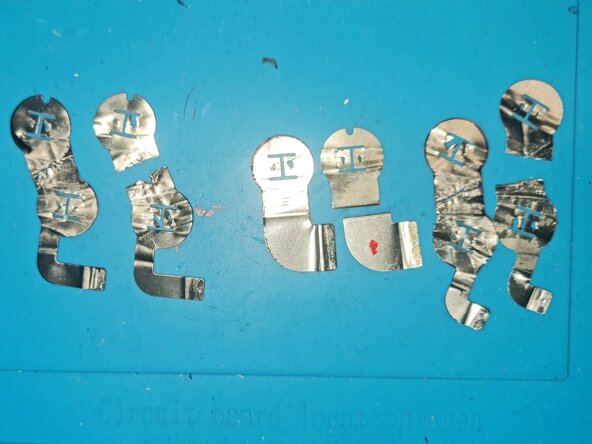
Disassemble the cells from the plastic holders, twist the tin off the old cell's and flaten them out again on a flat surface. Tape the ones you had to cut. This is for drawing them out on the tin plate.
-
Draw them out and cut them with a scissor or metal shears. It doesn't have to be perfect as long as it's somewhat the same.
-
-
-
If you want to check the cells, go ahead. But chances are one or more are dead cells. If that is the case, then I recommend changing all the cells, preferably with new cells from the same batch, just to synchronize the lifetime of the cells in battery.
-
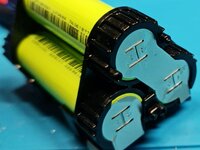
Put new cells in the plastic holders in the same orientation as the old ones. Should be two similar on the bottom and the one on the top the other way.
-
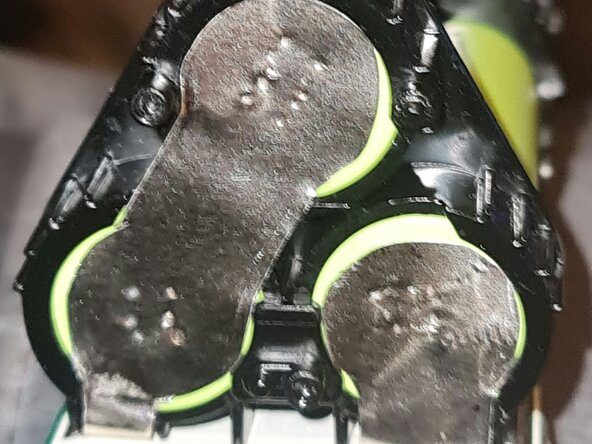
Now spot weld the new tin plates to the new cells. Fine cut the tin plates if needed. If you look underneath the PCB you should see where b+ and b- are. The batteries are all in series so the bottom cell (+ or -) should correspond to b+ and b-.
-
I'm sorry for bad picture's, I wasn't planning on making a guide on this.
-
-
-
Once everything is spotwelded back together then it should do all steps in reverse in order to assembly the battery again.
-
You should close the cut on the housing somehow. I'm planning on using som electrical tape to close it up. That way I can reopen it if needed, without having to cut it open again. Or I might use some epoxy or B-7000 glue.
-
As I stated in the intro, the issue I had is still happening, so I will update this guide as I go along. If you want to see the progress on the forum question, here is the link to that: Battery won't charge..
-


To reassemble your device, follow these instructions in reverse order.
To reassemble your device, follow these instructions in reverse order.