crwdns2915892:0crwdne2915892:0
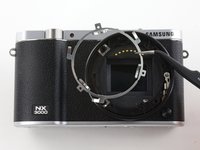
This guide gives you a look at the major components of the Samsung NX3000 and provides complete disassembly instructions.
We highly suggest you use a magnetic project mat or an organization tray. This camera has many different types of screws and keeping them organized is key to proper reassembly.
crwdns2942213:0crwdne2942213:0
-
-
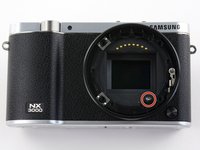
Turn the camera upside down. Only remove the lens if you have to in order to access the battery compartment, as dust particles could easily enter the main body and fall onto the delicate sensor.
-
Slide the button to the left to open the battery compartment.
-
Push the blue button up to release the battery.
-
-
crwdns2935267:0crwdne2935267:0Tweezers$4.99
-
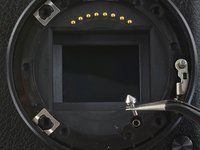
Remove the four 7.3 mm Phillips screws from the front of the lens assembly.
-
Remove the silver ring with tweezers.
-
-
-
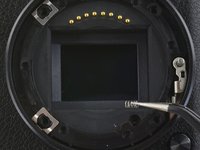
Use tweezers to remove the black plastic ring and small metal ring inside the lens assembly.
-
-
-
Use tweezers to remove the pin and small spring from the lens assembly.
-
-
-
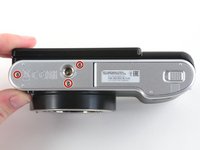
Remove the three 4.3 mm Phillips screws from the bottom of the camera.
-
Remove the 4.3 mm Phillips screw hiding inside the battery compartment.
-
-
-
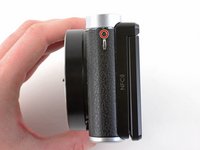
Remove the 4.2 mm Phillips screw from the left handgrip.
-
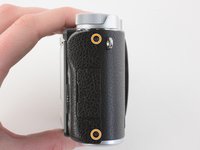
Remove the two 4.2 mm Phillips screws from the right handgrip.
-
-
-
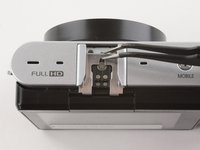
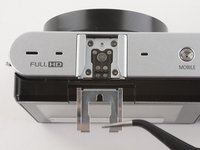
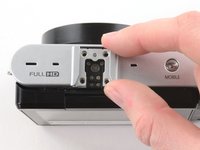
Use tweezers to pull the metal shield straight out of the external flash mount.
-
-
-
Remove the four 5 mm Phillips screws from the external flash mount .
-
-
-
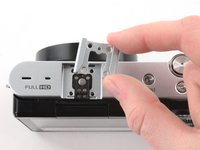
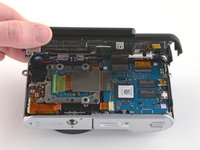
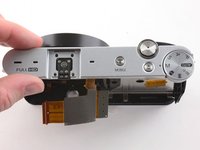
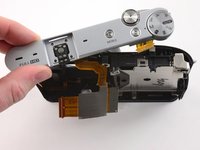
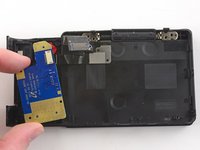
Slowly pull the bottom of the back case away from the camera.
-
-
-
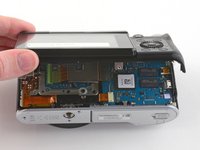
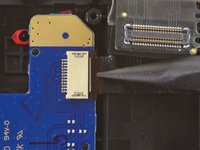
Use the flat end of a spudger to pry the flat topped connector straight up from the motherboard.
-
Remove the back case.
-
-
-
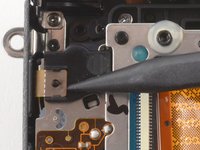
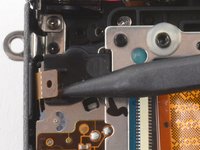
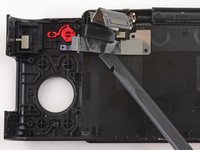
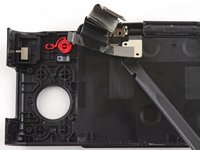
Use the pointed end of a spudger to lift the ribbon cable straight out of the black clip located near the left handgrip.
-
-
-
-
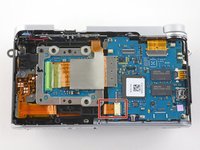
Use tweezers to pull the tripod mount out of the front case.
-
-
-
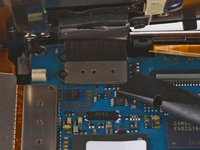
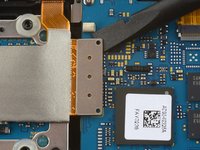
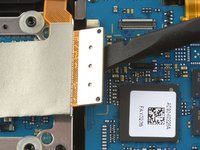
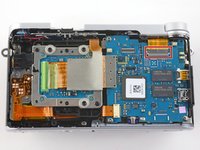
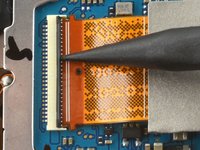
Use the flat end of a spudger to disconnect the large ribbon cable by prying its metal connector straight up from the motherboard.
-
-
-
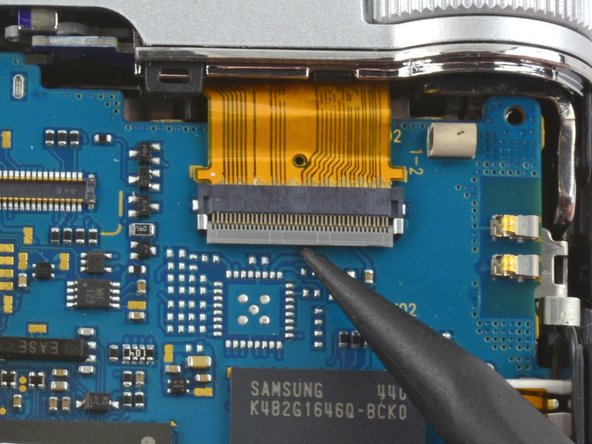
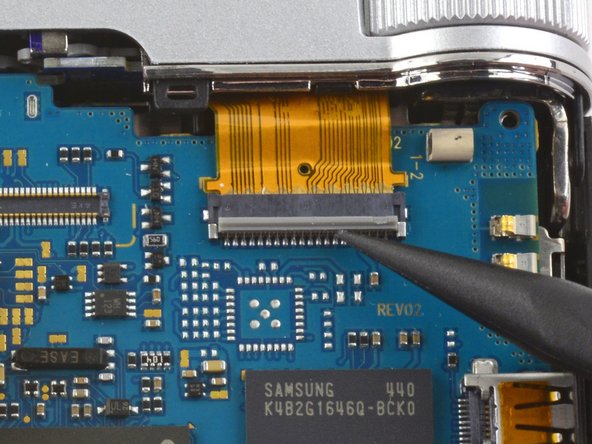
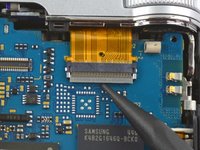
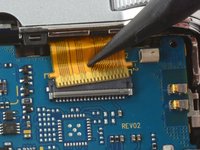
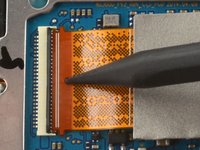
Use the pointed tip of a spudger to unlock the ZIF connector by flipping the black bar straight up from the motherboard.
-
-
-
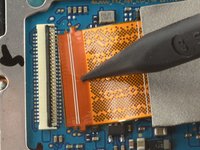
Insert the pointed end of a spudger into the hole on the ribbon cable.
-
Pull the ribbon cable straight out of the ZIF connector.
-
-
-
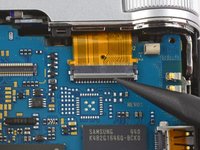
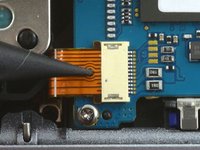
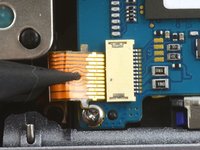
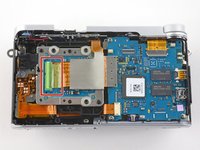
Insert the pointed end of a spudger into the hole on the ribbon cable in the bottom left corner of the motherboard.
-
Pull the ribbon straight out of the connector.
-
-
-
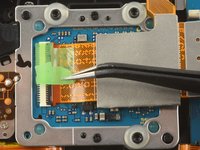
Use tweezers to remove the green tape covering the ribbon cable on the image sensor.
-
-
-
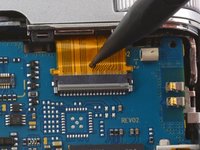
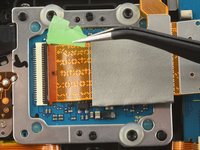
Use the pointed tip of a spudger to flip the black bar on the ZIF connector straight up from the ribbon cable.
-
-
-
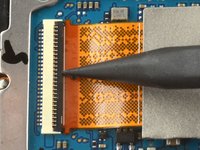
Insert the pointed end of a spudger into the hole on the ribbon cable.
-
Pull the ribbon cable straight out of the connector.
-
-
-
Use a spudger to peel back the large ribbon cable on the sensor assembly.
-
-
-
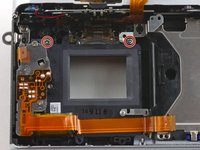
Remove the two black 3.8 mm Phillips screws on the sensor assembly.
-
-
-
Remove the three 5.3 mm Phillips screws holding the sensor assembly in place.
-
-
-
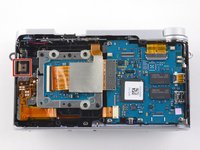
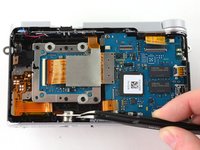
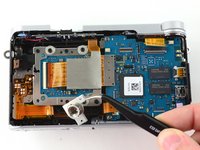
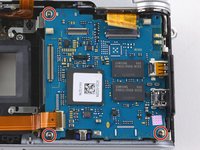
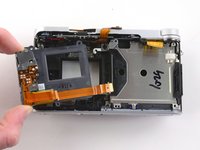
Remove the three 4.3 mm Phillips screws from the motherboard.
-
Remove the motherboard from the camera.
-
-
-
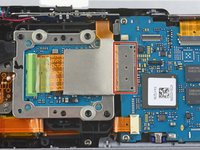
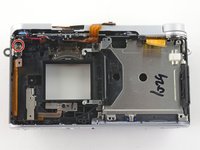
Remove the two 5.3 mm Phillips screws holding the sensor frame to the case.
-
Remove the sensor frame.
-
-
-
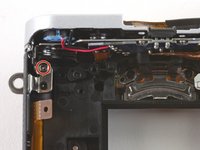
Remove the 4.3 mm Phillips screw in the upper left corner that secures the top plate to the front case
-
-
-
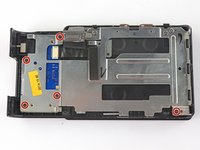
To remove the metal shield on the back case, remove the following screws:
-
Five black 4.2 mm Phillips screws .
-
Four silver 5.3 mm Phillips screws.
-
-
-
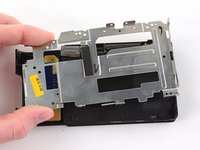
Use the pointed end of a spudger to remove the ribbon cable attaching the button panel to the back case.
-
Remove the button panel.
-
-
-
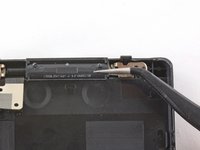
Use a spudger to peel back the LCD ribbon from the back case.
-
-
-
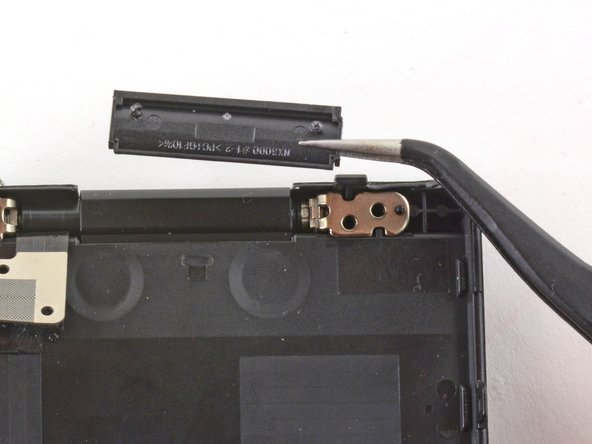
Use tweezers to remove the plastic cover on the LCD hinge.
-
-
-
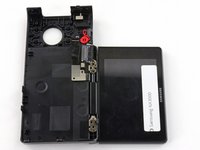
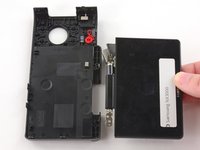
Tilt the LCD so it lays flat against the back case.
-
Wiggle the LCD joints and pull the LCD away from the back case.
-
-
-
You have successfully disassembled the Samsung NX 3000!
-


To reassemble your device, follow these instructions in reverse order.
To reassemble your device, follow these instructions in reverse order.
crwdns2935221:0crwdne2935221:0
crwdns2935229:09crwdne2935229:0

crwdns2947412:010crwdne2947412:0
Excellent photo documentation.
Thank you ernestliasa!
Where can I found the camera's microphone?
Hi dude. I did all the steps and disassembled the camera and I removed the IR filter from the sensor. All is good until that point. And then I assembled the camera in reverse order but now there is no display on screen. In my first attempt I got the menu working but I got no live view display or photo. Then I re-opened and assembled again. This time there is just nothing. Camera turns on but no display, no messages. the zoom button, on/off and even the video record button works all well but no display.. Any thoughts on this pls?
PS: This is an excellent tutorial by the way. I must have done smth. wrong, otherwise I had no issues on disassembly.
Thanks for the perfect instructions!
I was able to fix “random mode switching” glitch.
Went up to step 16 (skipping steps 12 and 14). Then removed the top panel.
Extracted the scheme and put it into a cup filled with 91% alcohol for 10 minutes. Meantime opened up the plastic part of the mode switcher and applied 2 drops of universal oil. Then took the scheme out of the cup and carefully cleaned it with cotton swabs and alcohol. Sprayed it with cleaning duster. Assembled everything back and so far the glitch is fixed.
Excellent, for disarm the lens, error 00?
camera NX 3000.
Thanks
Enhorabuena por este magnífico tutorial.
Mi objetivo fue retirar el filtro IR del sensor para poder utilizar la cámara en tomas de astrofotografía.
Seguí los pasos, aunque para mi no fue necesario realizarlos todos. Por ejemplo, las operaciones del objetivo no son necesarias.
Una vez extraído el sensor, es necesario separar el chasis (en plástico negro). También se encuentra el filtro de infrarrojos (un cristal rectangular muy fino y de color verde)
Para ello, hay que utilizar una llave allen 1.5 y retirar 3 tornillos sellados con plástico. Estos tornillos vienen montados con unos muelles.
Antes de realizar esta operación, hay que tener presente en el montaje posterior, que el sensor debe quedar a la misma distancia exacta del chasis antes del desmontarlo.
Un buen truco es contar con las vueltas en cada tornillo para extraerlos (a mí me daban 8 vueltas)
Una vez que se ha separado el texto, se puede retirar el marco que se ha convertido en una junta de goma.
What a useful guide! Thanks…
Hi! My camera have a problem during update firmware, now not working. What I can do? please!
Where's the internal battery located? The one that keeps the internal clock running when the battery's out? My camera resets it all if I take longer than a few seconds, and it's frustrating to have to set it back up again every other time.