crwdns2915892:0crwdne2915892:0
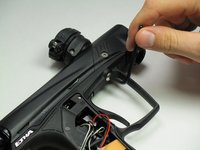
Removing the frame will allow access to the eyes and solenoid should they need replacement.
crwdns2942213:0crwdne2942213:0
-
-
Firmly grasp hold of the ring on the bottom of the 90 degree silver fitting on the front of the gun.
-
Pull hard, but slowly, on the macroline where it comes out of silver piece until it comes out.
-
-
-
Remove the regulator by unscrewing it in a clockwise direction.
-
-
-
Use the 5/64" hex key to remove the screw shown.
-
Remove the grip panel by gently holding the bottom of the panel and lifting the panel off.
-
-
-
-
Flip the marker over and use the 5/64" hex key to remove the screw shown.
-
Remove the grip panel by gently holding the bottom of the panel and lifting the panel off.
-
-
-
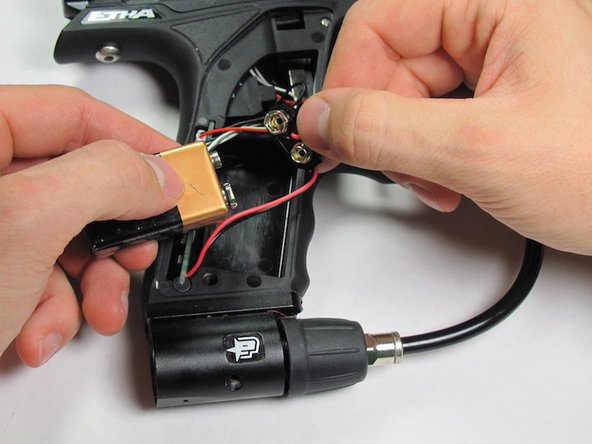
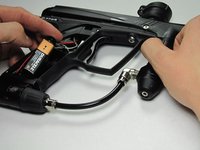
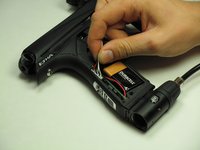
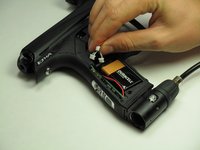
Carefully remove the 9V battery and connector.
-
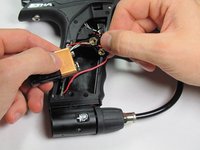
Remove the 9V battery from the connector.
-
-
-
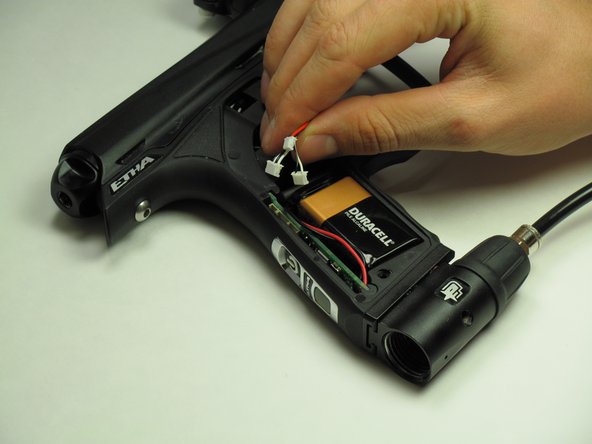
Carefully disconnect the three connectors from the circuit board.
-
-
-
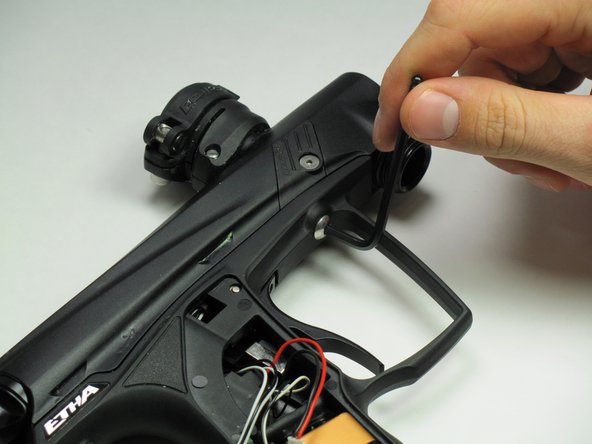
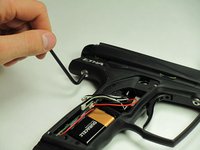
Use the 1/8" hex key to remove the two dome-headed screws by rotating them counter-clockwise.
-
-
-
Gently separate the top and bottom of the marker.
-
To reassemble your device, follow these instructions in reverse order.
To reassemble your device, follow these instructions in reverse order.


