crwdns2942213:0crwdne2942213:0
-
-
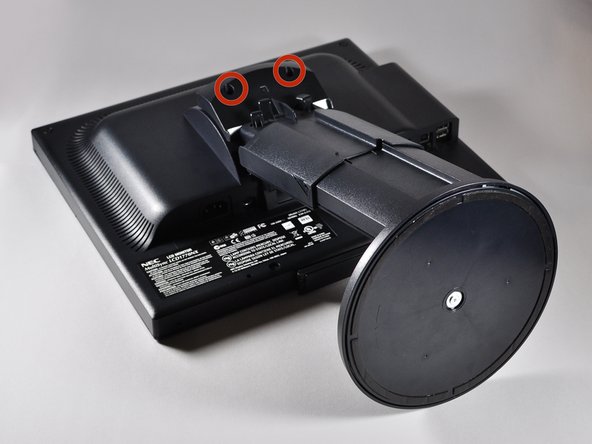
Place the monitor face down on a clean, flat surface.
-
-
-
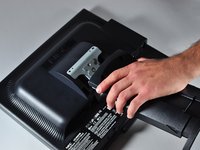
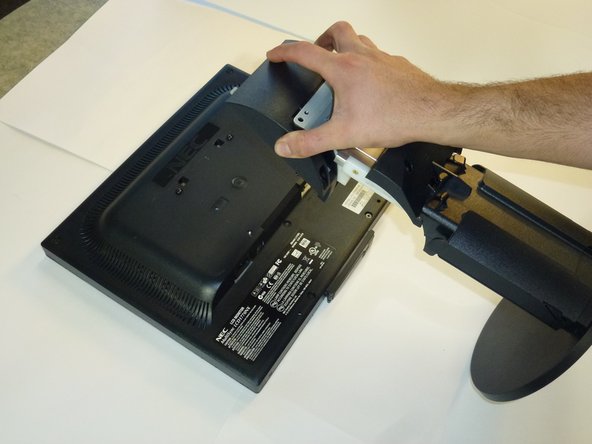
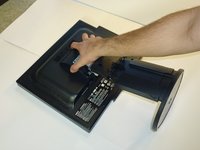
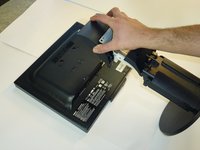
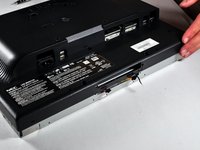
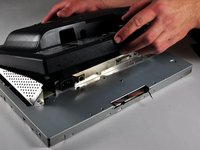
Firmly remove the back panel of the stand by pulling it up and away from the monitor.
-
-
-
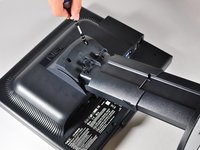
Unscrew the two 6mm Phillips PH2 screws to detach the stand enclosure from the stand.
-
-
-
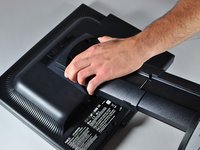
Firmly grasp the stand enclosure with your hand and slide it to base of stand.
-
-
-
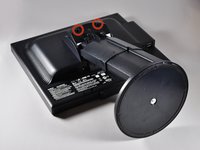
Unscrew the two 14.5mm Phillips PH2 screws holding the stand to the monitor.
-
-
-
-
Lift the the stand straight up to remove it.
-
-
-
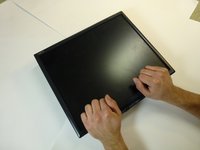
Place the monitor screen face up.
-
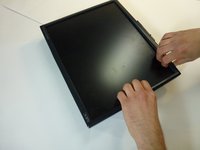
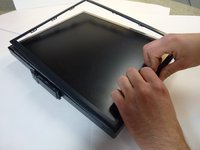
Pull the frame off by placing your fingers on the inside of the frame and pulling out and up, the frame should snap off.
-
Continue your way around the screen.
-
-
-
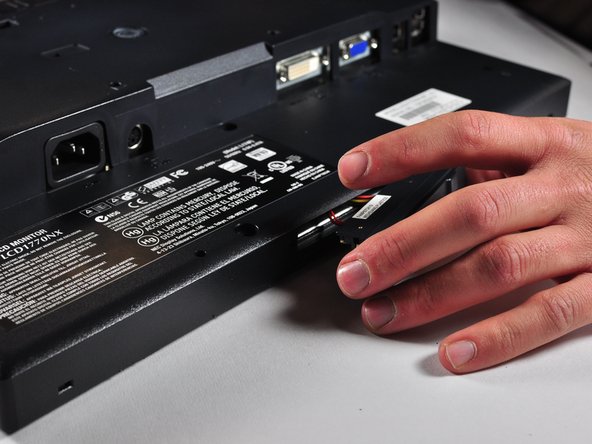
Unscrew the two 7mm screws from the bottom of the button assembly.
-
Pull the button assembly out a few inches and unplug the colored cables.
-
-
-
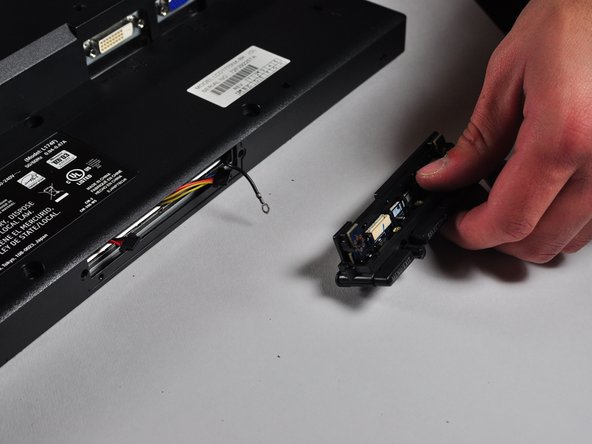
Unscrew the gold colored 7mm Phillips PH000 screw holding the button assembly to the monitor.
-
Remove the button assembly from the monitor.
-
-
-
With the monitor face-down, unscrew the 5 7mm Phillips PH2 screws around the outside of the enclosure.
-
-
-
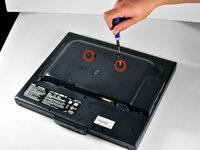
Unscrew the 2 14.5mm Phillips PH2 screws located on the raised center of the enclosure.
-
Carefully pull the enclosure off the monitor.
-
-
-
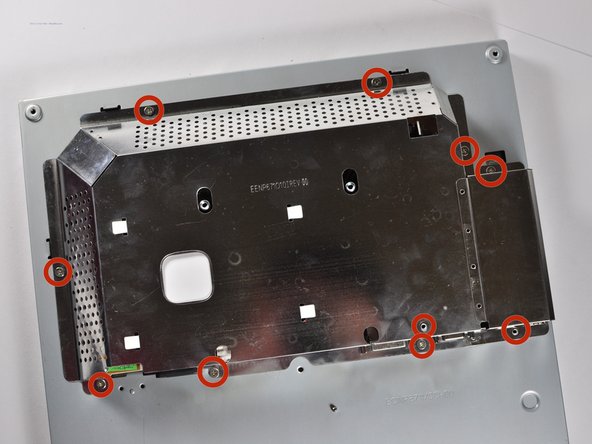
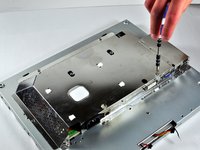
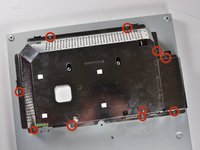
Unscrew the 10 5mm Philips PH2 screws holding the metal casing to the monitor.
-
-
-
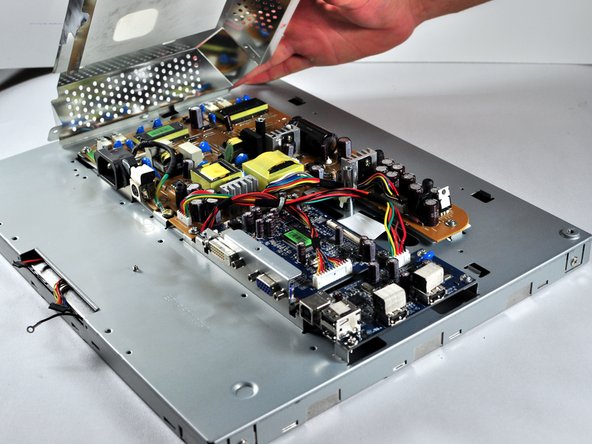
Pull the the metal casing off of the monitor to reveal the motherboards.
-
To reassemble your device, follow these instructions in reverse order.
To reassemble your device, follow these instructions in reverse order.
crwdns2935221:0crwdne2935221:0
crwdns2935229:03crwdne2935229:0
crwdns2947410:01crwdne2947410:0
very helpful
Thank you


