crwdns2915892:0crwdne2915892:0
This guide will show you how to remove the hard drive from your HP Compaq dx2000MT
crwdns2942213:0crwdne2942213:0
-
-
Turn off your computer and remove the power cable by pulling it straight out of its socket.
-
-
-
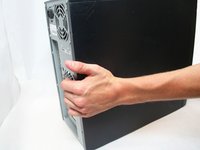
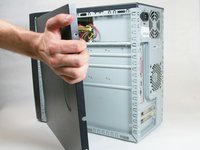
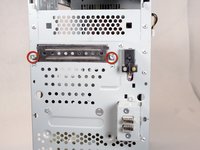
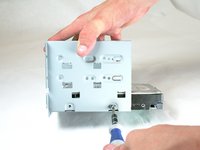
Remove the two Phillips #2 screws that secure the case door to the device.
-
-
-
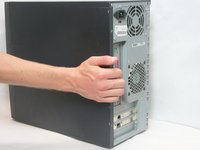
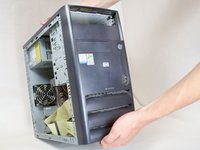
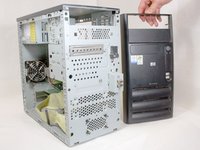
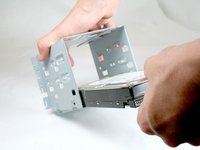
Remove the side case door by pushing towards the rear of the device with your hand.
-
Once you slide the door back, remove it by pulling it outwards from the device.
-
-
-
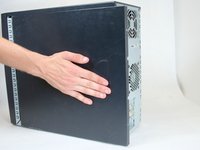
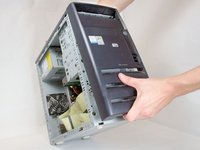
Remove the side case door by pushing towards the rear of the device with your hand.
-
Once you slide the door back, remove it by pulling it outwards from the device.
-
-
-
-
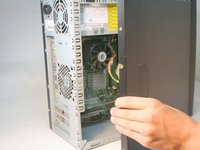
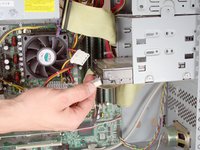
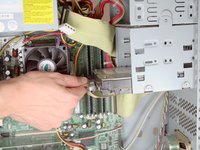
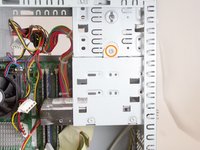
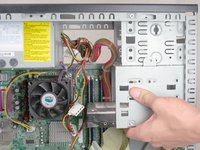
Remove the IDE data and power cables from the hard drive.
-
-
-
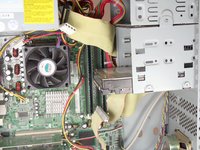
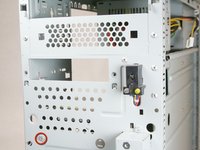
Remove the front bezel by pulling upwards and out from below the lowest air vent.
-
-
-
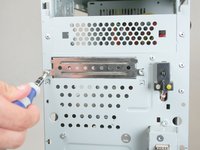
Remove the external drive faceplate by removing the two Torx T15 screws.
-
-
-
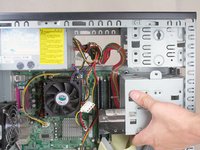
Remove the following screws:
-
Front Torx T15.
-
Torx T15 mounting the hard drive cage to the optical drive bay.
-
-
-
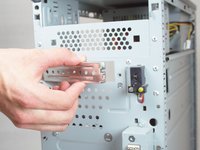
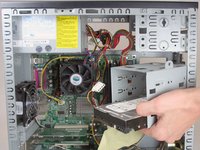
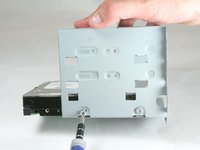
Fully remove the hard drive cage by sliding it towards the back of the device and pulling down.
-
-
-
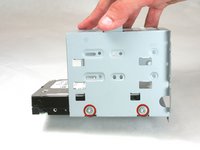
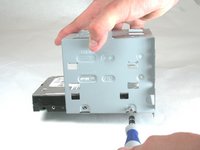
Remove the two Torx T15 screws holding this side of the hard drive in place.
-
-
-
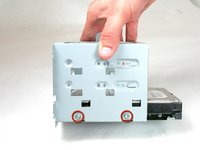
Proceed to the other side of the hard drive cage.
-
Remove the two Torx T15 screws holding this side of the hard drive in place.
-
-
-
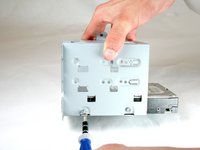
Remove the hard drive from the hard drive cage by pulling it outward from the cage.
-


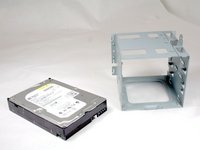
To reassemble your device, follow these instructions in reverse order.
crwdns2935221:0crwdne2935221:0
crwdns2935229:04crwdne2935229:0
crwdns2935287:0crwdne2935287:0

Cal Poly, Team 17-16, Regan Fall 2011 crwdns2935289:0Cal Poly, Team 17-16, Regan Fall 2011crwdne2935289:0
CPSU-REGAN-F11S17G16
crwdns2931471:04crwdne2931471:0
crwdns2935297:017crwdne2935297:0
crwdns2947412:02crwdne2947412:0
can i upgrade it to 500gb?
This was a bit misleading. The title of the article is “Disassembling HP Compaq dx2000MT Hard Drive.” Therefore, I expected to see someone actually disassembling a hard drive, which would have been really cool. Instead, the article shows only the removal of a hard drive from a desktop computer’s case. Perhaps the title should say “Removing HP Compaq dx2000MT Hard Drive” or at best “Disassembling HP Compaq dx2000MT Case.”