crwdns2933423:0crwdne2933423:0
crwdns2947577:0crwdnd2947577:0crwdne2947577:0

Disassembling Epson PPC650 Replacing Flash

crwdns2942213:0crwdne2942213:0

    1. Disassembling Epson PPC650 Replacing Flash, Case: crwdns2935265:01crwdnd2935265:01crwdnd2935265:03crwdne2935265:0 Disassembling Epson PPC650 Replacing Flash, Case: crwdns2935265:01crwdnd2935265:02crwdnd2935265:03crwdne2935265:0 Disassembling Epson PPC650 Replacing Flash, Case: crwdns2935265:01crwdnd2935265:03crwdnd2935265:03crwdne2935265:0
      • Locate the silver power button. Gently slide the button to the middle section labeled "off" to shut down the camera.

      • Remove the batteries from the battery compartment located on the underside of the camera.

      • Remove the SD card from the compartment located on the flat, left side of the camera.

      crwdns2952109:0crwdne2952109:0

      crwdns2917038:0crwdne2917038:0

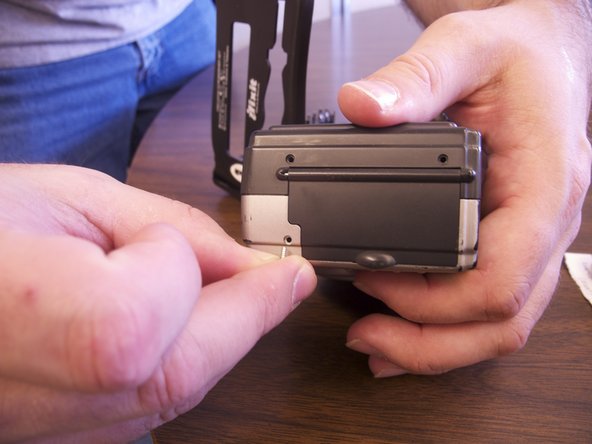
    2. Disassembling Epson PPC650 Replacing Flash: crwdns2935265:02crwdnd2935265:01crwdnd2935265:01crwdne2935265:0
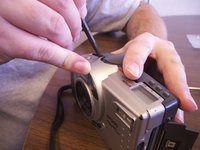
      • Remove the two screws on the rounded side of the camera.

      crwdns2952109:0crwdne2952109:0

      crwdns2917038:0crwdne2917038:0

    3. Disassembling Epson PPC650 Replacing Flash: crwdns2935265:03crwdnd2935265:01crwdnd2935265:02crwdne2935265:0 Disassembling Epson PPC650 Replacing Flash: crwdns2935265:03crwdnd2935265:02crwdnd2935265:02crwdne2935265:0
      • Remove the three screws on the flat side of the camera.

      • All of the silver screws go into the side of the camera that is silver.

      • All of the black screws go into the side of the camera that is black.

      crwdns2952109:0crwdne2952109:0

      crwdns2917038:0crwdne2917038:0

    4. Disassembling Epson PPC650 Replacing Flash: crwdns2935265:04crwdnd2935265:01crwdnd2935265:01crwdne2935265:0
      • Remove the four screws from the bottom of the camera.

      • All of the silver screws go into the side of the camera that is silver.

      • All of the black screws go into the side of the camera that is black.

      crwdns2952109:0crwdne2952109:0

      crwdns2917038:0crwdne2917038:0

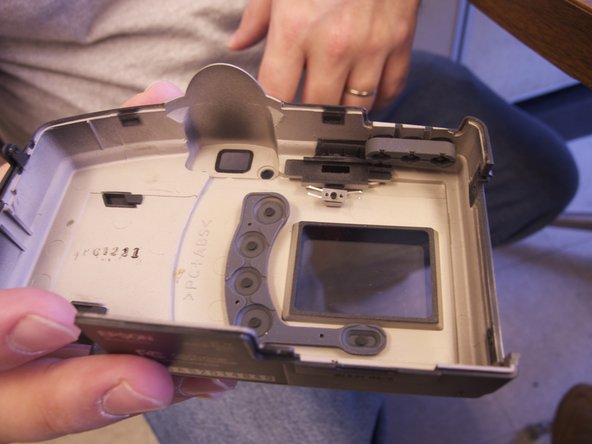
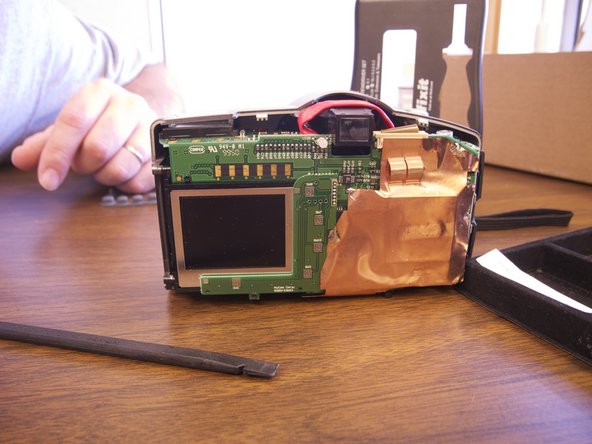
    5. Disassembling Epson PPC650 Replacing Flash: crwdns2935265:05crwdnd2935265:01crwdnd2935265:03crwdne2935265:0 Disassembling Epson PPC650 Replacing Flash: crwdns2935265:05crwdnd2935265:02crwdnd2935265:03crwdne2935265:0 Disassembling Epson PPC650 Replacing Flash: crwdns2935265:05crwdnd2935265:03crwdnd2935265:03crwdne2935265:0
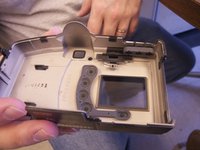
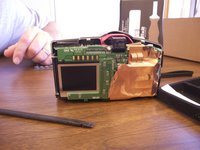
      • Separate the front and the back pieces of the camera's plastic casing using a spudger.

      • WARNING: When pulling the front plastic casing, be careful of the wires that are connected to the aperture control.

      • Use minimal force so that the plastic casing does not break.

      • When separating the small silver siding, the indicator for the view/off/playback may fall out.

      • The plastic viewing window located on the top of the camera may also become lose and fall out.

      crwdns2952109:0crwdne2952109:0

      crwdns2917038:0crwdne2917038:0

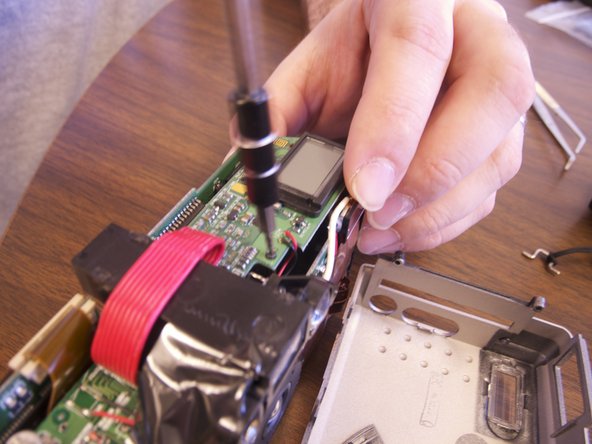
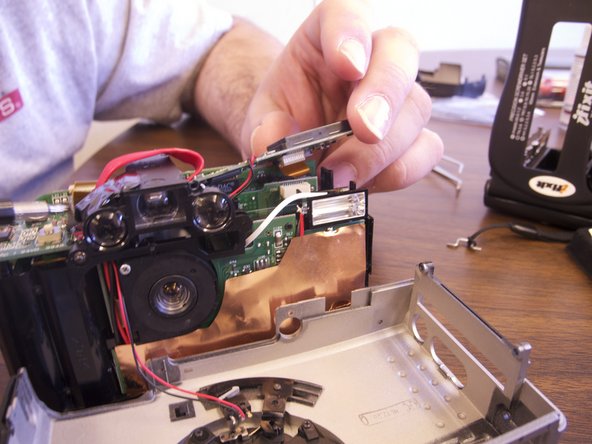
    1. Disassembling Epson PPC650 Replacing Flash, Disassembling Epson PPC650 Replacing Flash: crwdns2935265:06crwdnd2935265:01crwdnd2935265:03crwdne2935265:0 Disassembling Epson PPC650 Replacing Flash, Disassembling Epson PPC650 Replacing Flash: crwdns2935265:06crwdnd2935265:02crwdnd2935265:03crwdne2935265:0 Disassembling Epson PPC650 Replacing Flash, Disassembling Epson PPC650 Replacing Flash: crwdns2935265:06crwdnd2935265:03crwdnd2935265:03crwdne2935265:0
      • Optional: Remove two black screws from top of camera on the flash side for more working space.

      crwdns2952109:0crwdne2952109:0

      crwdns2917038:0crwdne2917038:0

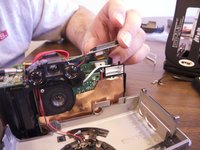
    2. Disassembling Epson PPC650 Replacing Flash: crwdns2935265:07crwdnd2935265:01crwdnd2935265:01crwdne2935265:0
      • Remove clear rubber band holding flash in line with wiring.

      crwdns2952109:0crwdne2952109:0

      crwdns2917038:0crwdne2917038:0

      • Cut white wire, red wire, and black wire connecting flash element to circuit board by unsoldering ends

      crwdns2952109:0crwdne2952109:0

      crwdns2917038:0crwdne2917038:0

      • Connect new flash by soldering copper ends to their respective ends to new flash element.

      crwdns2952109:0crwdne2952109:0

      crwdns2917038:0crwdne2917038:0

crwdns2915888:0crwdne2915888:0

To reassemble your device, follow these instructions in reverse order.

crwdns2935221:0crwdne2935221:0

Xan Danes

crwdns2935283:002/14/13crwdne2935283:0

134 crwdns2915208:0crwdne2915208:0

crwdns2935295:0crwdne2935295:0

crwdns2935287:0crwdne2935287:0

Ohio State, Team 1-5, Buehl Spring 2013 crwdns2935289:0Ohio State, Team 1-5, Buehl Spring 2013crwdne2935289:0

OSU-BUEHL-S13S1G5

crwdns2931471:04crwdne2931471:0

crwdns2935297:036crwdne2935297:0

crwdns2947412:00crwdne2947412:0

crwdns2917038:0crwdne2917038:0

crwdns2936625:0crwdne2936625:0:

crwdns2936751:024crwdne2936751:0 1

crwdns2936753:07crwdne2936753:0 13

crwdns2936753:030crwdne2936753:0 27

crwdns2942667:0crwdne2942667:0 695