crwdns2915892:0crwdne2915892:0
Use this guide to remove the camera lens piece.
crwdns2942213:0crwdne2942213:0
-
-
Remove wrist strap and battery.
-
-
-
Remove 2 screws from each side of the camera (4 total, 0.102 in).
-
Remove 2 screws from the bottom on the camera (0.138 in).
-
-
-
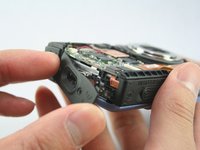
Gently pull off the front cover.
-
Gently pull off the back cover.
-
-
-
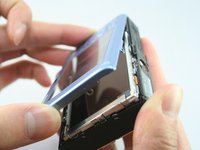
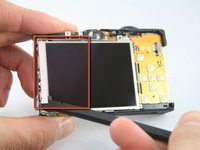
Remove the top-left screw above the LCD screen (0.100 in).
-
Remove the C-shaped plate from the side of the LCD screen.
-
-
-
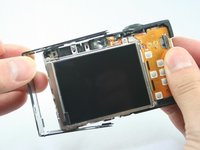
Remove the screw from the top-right of the LCD screen (0.098 in).
-
Remove the L-shaped bar from the right of the LCD screen.
-
-
-
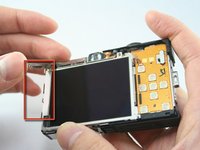
Use the spudger to remove the L-shaped bar from the left-side of the LCD screen.
-
-
-
crwdns2935267:0crwdne2935267:0Tweezers$4.99
-
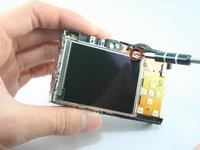
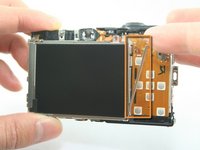
Use tweezers to remove the connector ribbon from the top-left corner above the LCD screen.
-
-
-
Use a spudger to lift the connector lock (black flap) at the end of the larger LCD connector ribbon on the front side of the camera.
-
Use the tweezers to lift this ribbon.
-
Use the tweezers to gently peel this ribbon from the one underneath it.
-
-
-
The LCD screen should now be removed.
-
-
-
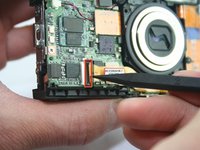
Remove the screw located on the side of the camera (0.072 in).
-
-
-
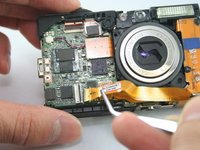
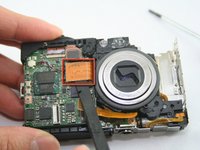
Use the spudger to remove the lens ribbon from the circuit board.
-
Use the spudger to lift the ribbon.
-
-
-
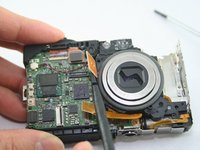
Disconnect the flash assembly ribbon.
-
-
-
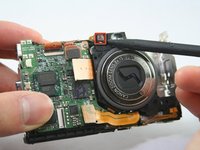
Remove the flash assembly, which includes the capacitor. If it resists, note the small hook on the right side near the bottom.
-
-
-
The capacitor should now be removed.
-
-
-
Remove 4 screws from silver plate (0.106 in).
-
-
-
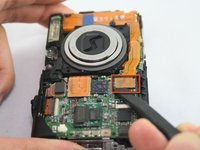
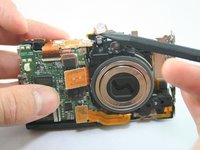
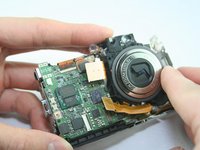
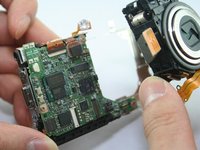
Use spudger to lift the second lens ribbon.
-
-
-
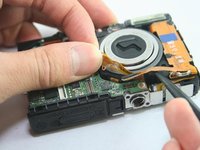
Use spudger to carefully lift the LED light off the upper-left corner of the lens.
-
-
-
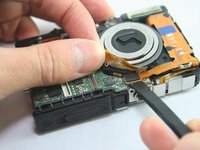
The camera lens should now be removed.
-


To reassemble your device, follow these instructions in reverse order.
To reassemble your device, follow these instructions in reverse order.
crwdns2935221:0crwdne2935221:0
crwdns2935229:018crwdne2935229:0
crwdns2915084:0crwdne2915084:0

Cal Poly, Team 3-32, Regan Winter 2011 crwdns2935289:0Cal Poly, Team 3-32, Regan Winter 2011crwdne2935289:0
CPSU-REGAN-W11S3G32
crwdns2931471:03crwdne2931471:0
crwdns2935297:08crwdne2935297:0
crwdns2947410:01crwdne2947410:0
How do you CLEAN the lens?