crwdns2933423:0crwdne2933423:0

Disassembling Ambient Weather AQIN Particulate Sensor

crwdns2942213:0crwdne2942213:0

  1. Disassembling Ambient Weather AQIN Particulate Sensor, Particulate Sensor: crwdns2935265:01crwdnd2935265:01crwdnd2935265:03crwdne2935265:0 Disassembling Ambient Weather AQIN Particulate Sensor, Particulate Sensor: crwdns2935265:01crwdnd2935265:02crwdnd2935265:03crwdne2935265:0 Disassembling Ambient Weather AQIN Particulate Sensor, Particulate Sensor: crwdns2935265:01crwdnd2935265:03crwdnd2935265:03crwdne2935265:0
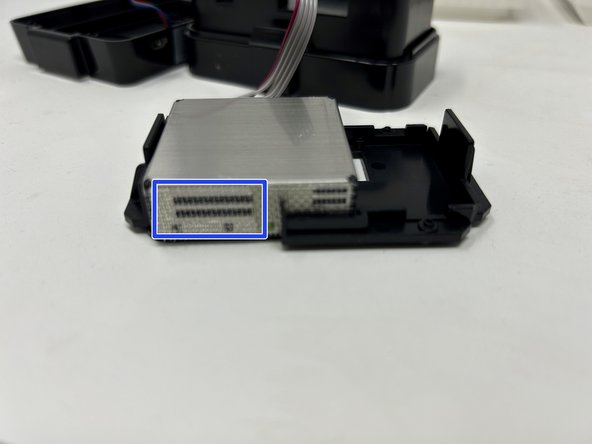
    • Looking at the sensor from the bottom, you can see the two tabs/prongs that hold the outer case together.

    • There is a fine cable attaching the internal components of the PM sensor. Be careful not to disrupt/break it.

    • The internal housing will now be exposed. You can use the two tabs/prongs on this porting to remove that portion of the case.

    • Next, you can remove the 4 small screws holding the internal components to the outer shell.

  2. Disassembling Ambient Weather AQIN Particulate Sensor: crwdns2935265:02crwdnd2935265:01crwdnd2935265:02crwdne2935265:0 Disassembling Ambient Weather AQIN Particulate Sensor: crwdns2935265:02crwdnd2935265:02crwdnd2935265:02crwdne2935265:0
    • Once the unit is disassembled, you can locate the internal motor of the unit.

    • Using compressed air, you may remove any debris that has become lodged on the intake shield of the motor.

crwdns2915888:0crwdne2915888:0

To reassemble your device, follow these instructions in reverse order.

Tim Elafros

crwdns2935283:001/23/24crwdne2935283:0

445 crwdns2915208:0crwdne2915208:0

crwdns2935297:02crwdne2935297:0

crwdns2947412:00crwdne2947412:0

crwdns2917038:0crwdne2917038:0

crwdns2936625:0crwdne2936625:0:

crwdns2936751:024crwdne2936751:0 0

crwdns2936753:07crwdne2936753:0 2

crwdns2936753:030crwdne2936753:0 5

crwdns2942667:0crwdne2942667:0 38