crwdns2915892:0crwdne2915892:0
If your Dirt Devil Gator (Model Number: BD10100) isn’t starting or staying on for more than 15 seconds, you may need to replace the motor. Follow this guide to replace the motor to keep your Dirt Devil Gator in use!
However before using this guide, you may not need to fully replace the motor! An obstructed motor can prevent the motor or its fans from working properly. This can be a simple fix to get your started vacuuming again quickly!
The motor on the Dirt Devil Gator keeps all components together to ensure a properly working device. An obstructed/damaged motor can also affect the Dirt Devil Gator’s performance and its ability to remain powered, leading to a replacement.
Before beginning, make sure to power off your device completely and disconnect from any external power source.
crwdns2942213:0crwdne2942213:0
-
-
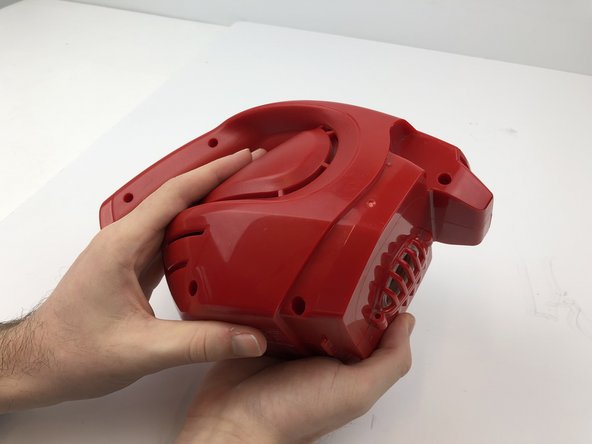
Press the button found at the top of the vacuum to separate the suction cup and the motor halves.
-
-
-
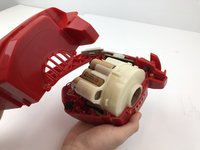
Pull apart the two halves to obtain the back half and set the front half aside
-
-
-
-
Unscrew each of the 13 mm screws with the micro screwdriver.
-
Once unscrewed, pull the case of the Dirt Devil Gator apart.
-
-
-
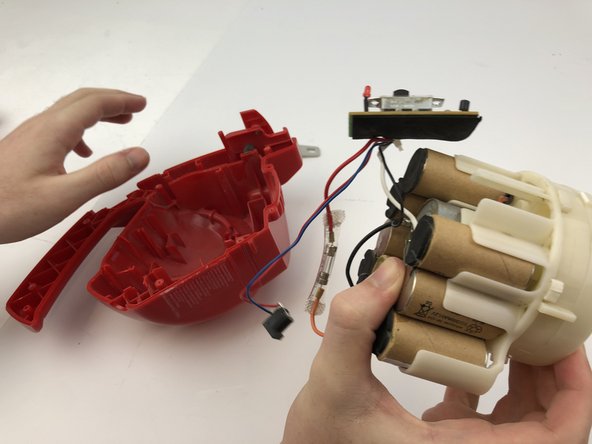
Pull out the grey switch and circuit board from its slot in the red case.
-
Remove all of the wires from the vacuum to where only the battery and wires are left.
-
Firmly pull out the battery and motor assembly. The circuit board and wires will remain attached.
-
-
-
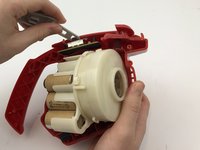
Remove the motor from the Dirt Devil Gator exterior by pulling slightly on the white socket.
-
Replace it with a new motor by fitting the motor back into its socket.
-


To reassemble your device, follow these instructions in reverse order.
To reassemble your device, follow these instructions in reverse order.
crwdns2935221:0crwdne2935221:0
crwdns2935227:0crwdne2935227:0
crwdns2915084:0crwdne2915084:0

Embry-Riddle Aeronautical University, Team S5-G4, Watkins Spring 2020 crwdns2935289:0Embry-Riddle Aeronautical University, Team S5-G4, Watkins Spring 2020crwdne2935289:0
ERAU-WATKINS-S20S5G4
crwdns2931471:04crwdne2931471:0
crwdns2935297:05crwdne2935297:0