crwdns2915892:0crwdne2915892:0
This guide will be showing you how to replace the charging port for the Digital2 D2-861G model. Be sure to carefully remove parts to avoid damaging the device.
crwdns2942213:0crwdne2942213:0
-
-
Flip your device over so back panel is facing upwards.
-
-
-
Insert spudger in the slot below the micro SD card.
-
With the spudger tool, run along the edges of the backing undoing 20 plastic clips.
-
-
-
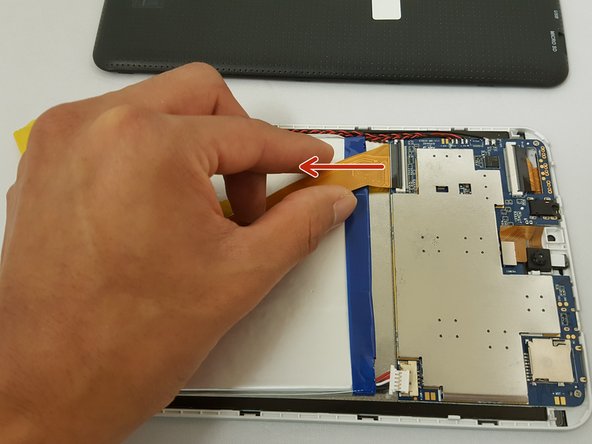
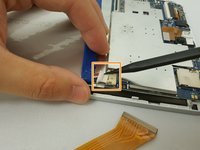
Locate the gold colored ZIF (Zero insertion force) connector and disconnect it from the motherboard.
-
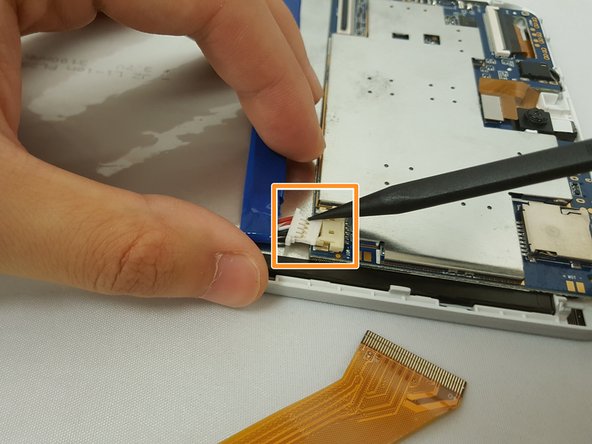
Locate the bundled cable connector and disconnect it by simply pulling it gently or using a spudger.
-
-
-
-
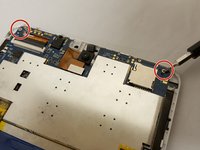
Remove two 3.51mm screws that are located on the top corners with your Phillips #00 screwdriver.
-
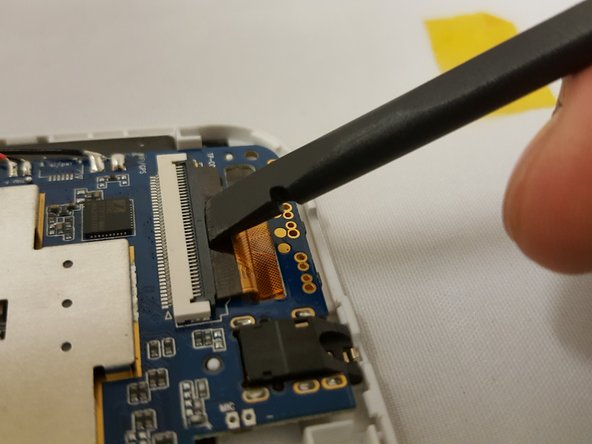
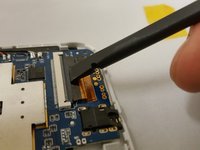
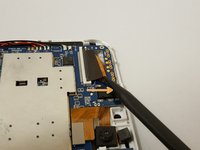
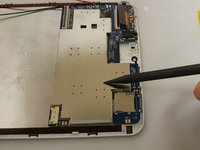
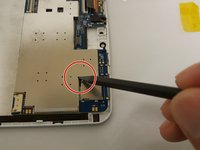
Next, unplug the ZIF connector by going under the black tab and simply lift up.
-
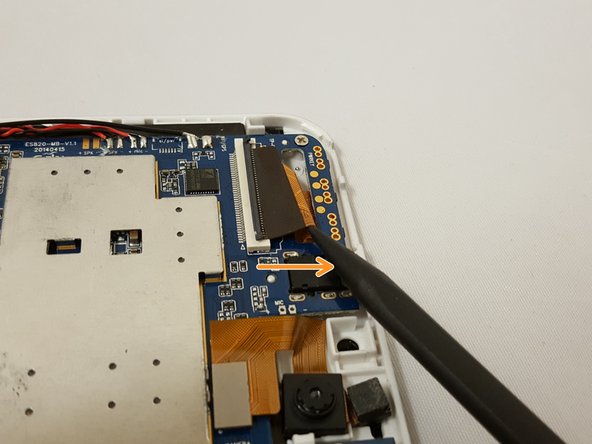
Slide the connector out with the pointed side of the spudger.
-
-
-
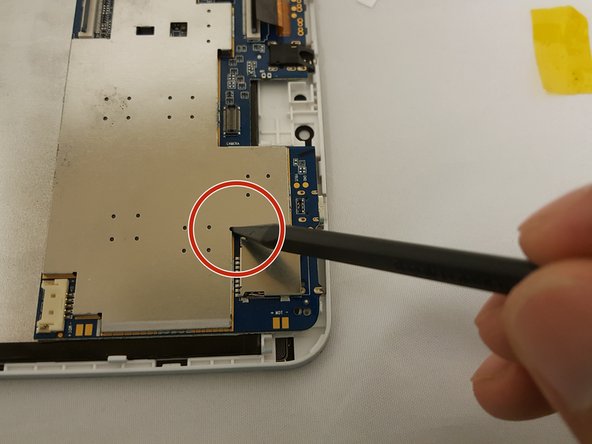
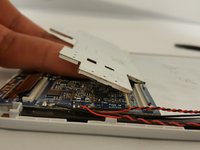
Insert the pointed side of the spudger in the corner and gently lift.
-
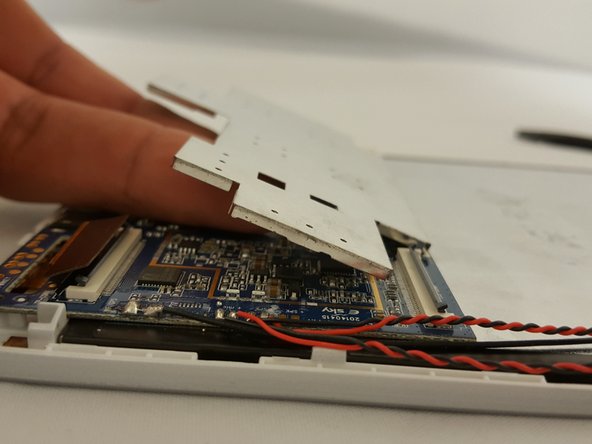
Once one side is lifted, use your fingers and with little force, lift up to remove the case.
-
-
-
To remove the motherboard, grab the component on the top left and gently lift while pushing or pulling to the right.
-
-
-
To replace the charging port, you can either replace the motherboard or desolder the port.
-
To reassemble your device, follow these instructions in reverse order.
To reassemble your device, follow these instructions in reverse order.


