crwdns2915892:0crwdne2915892:0
This guide will show how to replace the mainboard in the event of failure. The process is relatively simple, though some soldering will be required. It is advised to review soldering techniques here.
crwdns2942213:0crwdne2942213:0
-
-
Remove the device's back cover using the plastic opening tool.
-
-
-
Remove the three pieces of adhesive placed over the edges of the battery.
-
-
-
Remove the wifi antenna from the bottom of the battery.
-
-
-
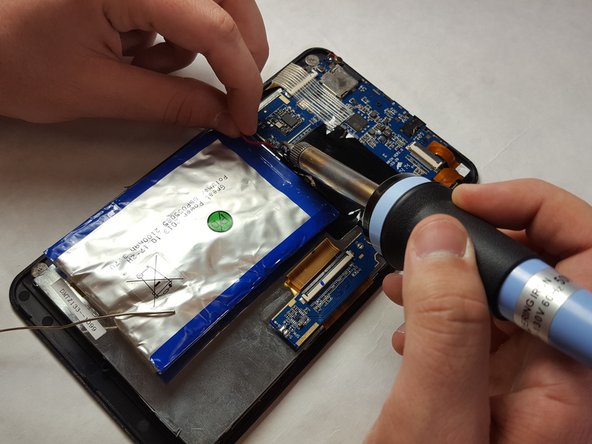
Heat up the soldering iron, proceed to desolder and remove the battery connections.
-
-
-
-
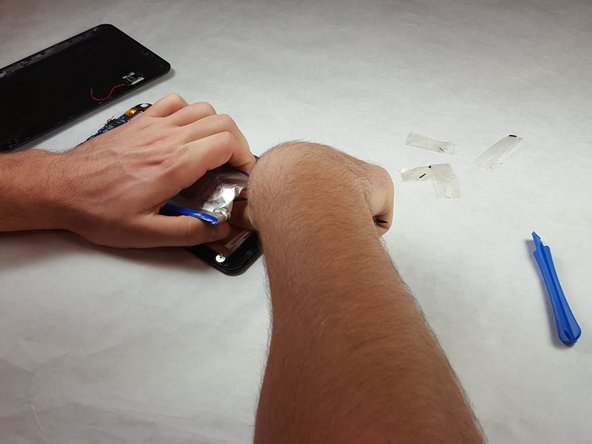
Remove the battery from the casing using a nylon spudger.
-
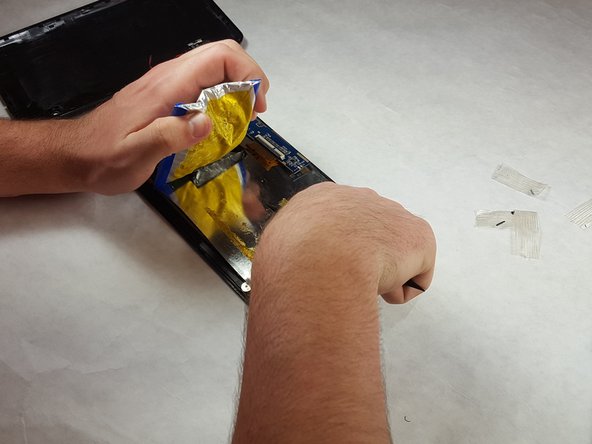
Carefully peel the battery free from the casing.
-
-
-
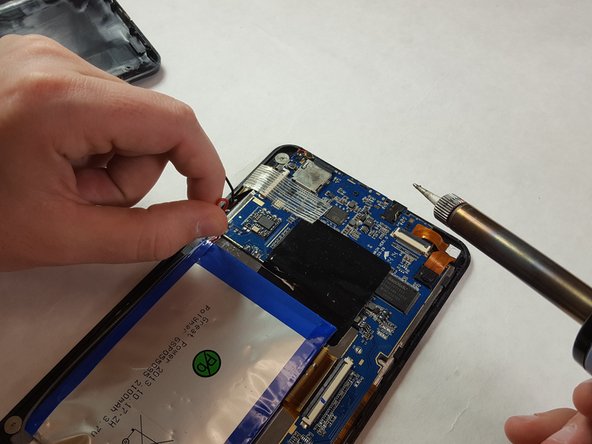
Desolder the WiFi antenna from the motherboard.
-
-
-
Remove 3 ribbon cables attached to the motherboard by lifting the plastic retainer, then pulling the cable out.
-
-
-
Remove adhesive attaching the motherboard to the casing.
-
-
-
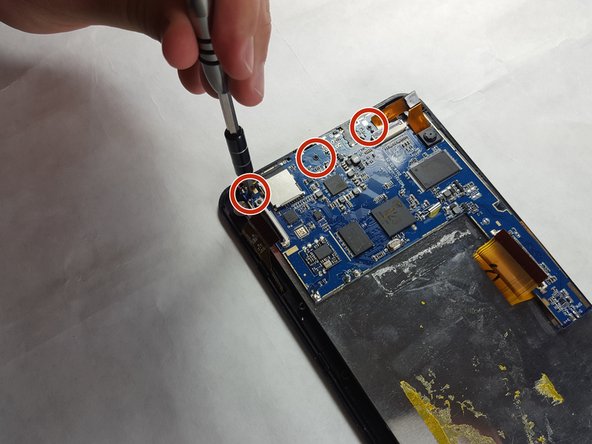
Remove the three 2.5 mm Phillips #1 screws holding the motherboard to the case.
-
-
-
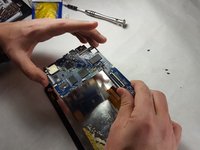
Remove motherboard from the case and replace.
-


To reassemble, follow these instructions in reverse order.
To reassemble, follow these instructions in reverse order.
crwdns2915084:0crwdne2915084:0

IUPUI, Team S3-G4, Harley Spring 2018 crwdns2935289:0IUPUI, Team S3-G4, Harley Spring 2018crwdne2935289:0
IUPUI-HARLEY-S18S3G4
crwdns2931471:03crwdne2931471:0
crwdns2935297:04crwdne2935297:0