crwdns2933423:0crwdne2933423:0

Dexter Corded Jigsaw 750W Charcoal Replacement

crwdns2942213:0crwdne2942213:0

  1. Dexter Corded Jigsaw 750W Charcoal Replacement, Débranchez: crwdns2935265:01crwdnd2935265:01crwdnd2935265:01crwdne2935265:0
    • Before you start, remember to disconnect the power plug.

  2. Dexter Corded Jigsaw 750W Charcoal Replacement: crwdns2935265:02crwdnd2935265:01crwdnd2935265:01crwdne2935265:0
    • Remove the vacuum adapter from the back of the unit.

  3. Dexter Corded Jigsaw 750W Charcoal Replacement: crwdns2935265:03crwdnd2935265:01crwdnd2935265:02crwdne2935265:0 Dexter Corded Jigsaw 750W Charcoal Replacement: crwdns2935265:03crwdnd2935265:02crwdnd2935265:02crwdne2935265:0
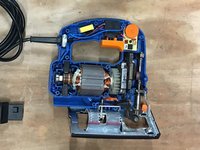
    • Using a screwdriver unscrew and open the unit.

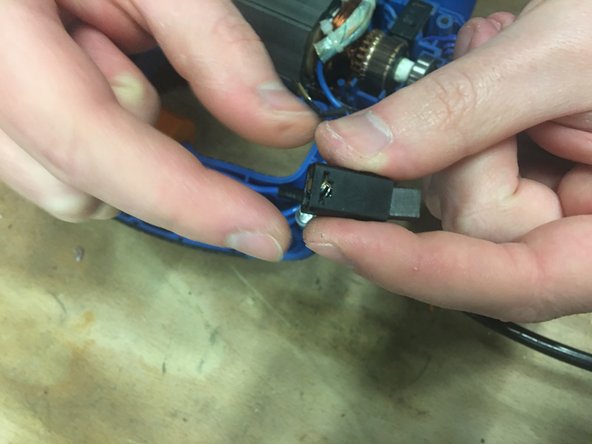
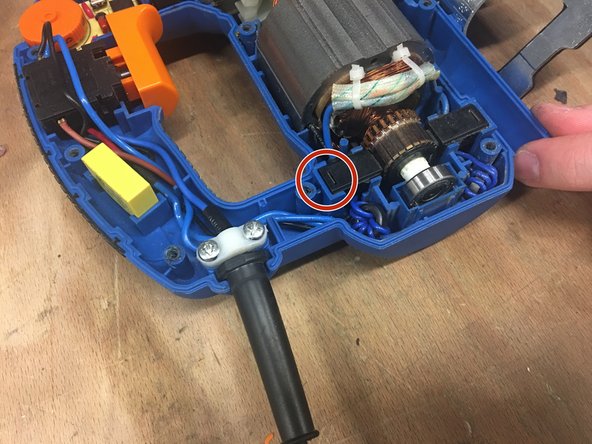
    • Unlock the tray by lifting the lever.

    • Lever the coal out of its housing.

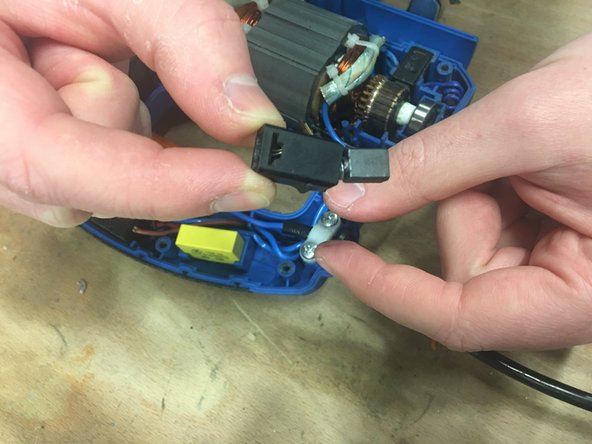
    • Press lightly on the paw with a point to make it come out.

    • Remove the coal by pressing on it.

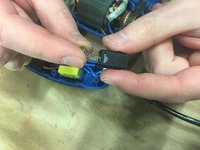
    • Lift the small tab from the inside by pressing on it, it should stick out slightly.

  4. Dexter Corded Jigsaw 750W Charcoal Replacement: crwdns2935265:07crwdnd2935265:01crwdnd2935265:03crwdne2935265:0 Dexter Corded Jigsaw 750W Charcoal Replacement: crwdns2935265:07crwdnd2935265:02crwdnd2935265:03crwdne2935265:0 Dexter Corded Jigsaw 750W Charcoal Replacement: crwdns2935265:07crwdnd2935265:03crwdnd2935265:03crwdne2935265:0
    • Put the new coal in the coal holder.

    • Pull on the charcoal to make it stick out.

    • Clip the tip into the charcoal holder and check that it fits properly.

    • Check the mechanism, so that everything slides perfectly.

  5. Dexter Corded Jigsaw 750W Charcoal Replacement: crwdns2935265:010crwdnd2935265:01crwdnd2935265:02crwdne2935265:0 Dexter Corded Jigsaw 750W Charcoal Replacement: crwdns2935265:010crwdnd2935265:02crwdnd2935265:02crwdne2935265:0
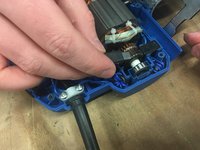
    • Compress the carbon holder and put it back in its housing.

    • The coal holder must be in the right direction, the small line is at the end.

  6. Dexter Corded Jigsaw 750W Charcoal Replacement: crwdns2935265:011crwdnd2935265:01crwdnd2935265:01crwdne2935265:0
    • Close and screw the unit back on.

crwdns2935217:0crwdne2935217:0

crwdns2935227:0crwdne2935227:0

crwdns2934873:0crwdne2934873:0

fr en

100%

crwdns2934885:0crwdne2934885:0 crwdns2934875:0crwdne2934875:0
crwdns2934877:0crwdne2934877:0 ›

Céline Chemineau

crwdns2935283:001/29/20crwdne2935283:0

16 581 crwdns2915208:0crwdne2915208:0

crwdns2935297:095crwdne2935297:0

crwdns2915084:0crwdne2915084:0

Leroy Merlin crwdns2935289:0Leroy Merlincrwdne2935289:0

Community

crwdns2931471:036crwdne2931471:0

crwdns2935297:0239crwdne2935297:0

crwdns2944067:00crwdne2944067:0

crwdns2917038:0crwdne2917038:0

crwdns2936625:0crwdne2936625:0:

crwdns2936751:024crwdne2936751:0 0

crwdns2936753:07crwdne2936753:0 2

crwdns2936753:030crwdne2936753:0 16

crwdns2942667:0crwdne2942667:0 645