crwdns2915892:0crwdne2915892:0
This guide will show you how to replace the dead batteries of a Dexcom G4 "slim" transmitter.
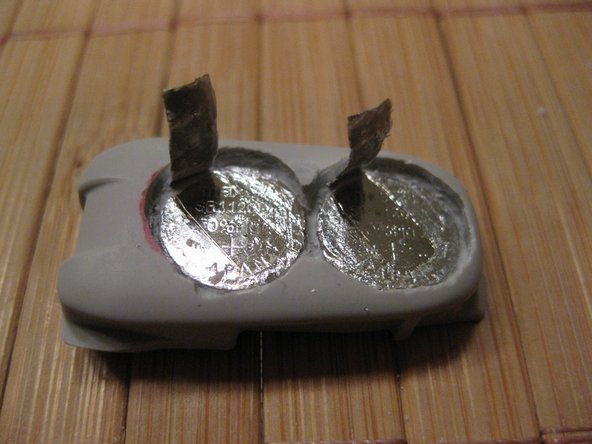
The Dexcom G4 features a molded plastic body encasing two coin-cell batteries. Replacing the batteries will require grinding away the plastic over the cells, cutting them out, and refilling the excavated plastic with epoxy.
Be very careful not to damage the battery cells when grinding!
crwdns2942213:0crwdne2942213:0
-
-
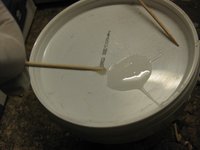
Take a marker and paint two circles at this position.
-
-
-
Use the 2-3mm cutter and grind slowly down to the batteries.
-
-
-
Lever both contact plates carefully with the screwdriver.
-
-
-
Use a 0.5mm cutter and grind around the batteries.
-
-
-
-
Use the edge of the screwdriver and lever it carefully left-right-left ... till it's detached. Then push the contact plate down.
-
-
-
The original batteries are Maxell SR1120W (391) with a capacity of 55mAh. I suggest that you use the same ones because of the profile form inside of the transmitter.
-
If you prefer to use another brand, I can suggest Energizer 391 (60mAh) and Renata 391 (50mAh). First you have to scratch the contact plates with the screwdriver.
-
-
-
Apply some superglue at three points in the battery hole sidely.
-
Then insert the new battery and push it down for 2 minutes.
-
Do the same with the second battery.
-
-
-
First you have to scratch the upper sides of the batteries with the screwdriver.
-
Then add a small amount of superglue under the plate and push it down for 2 minutes. Same with the other battery.
-
Do the same with the other battery.
-
-
-
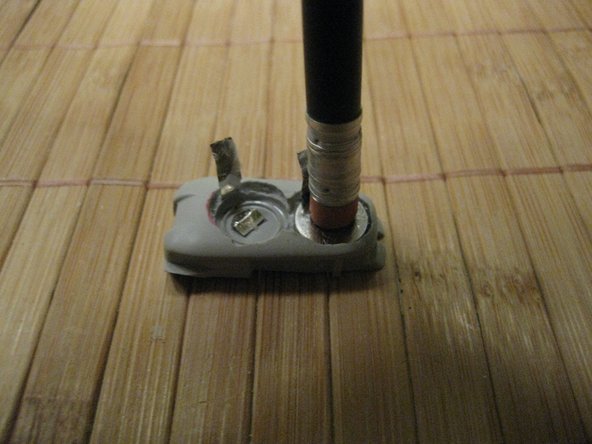
At this point, the transmitter should work again. Let's check it out and take the multimeter.
-
Set it to 2000mV and add the measuring pens on the sensor contacts. It should show 019.
-
If yes ... congratulations! You can move on to the next step.
-
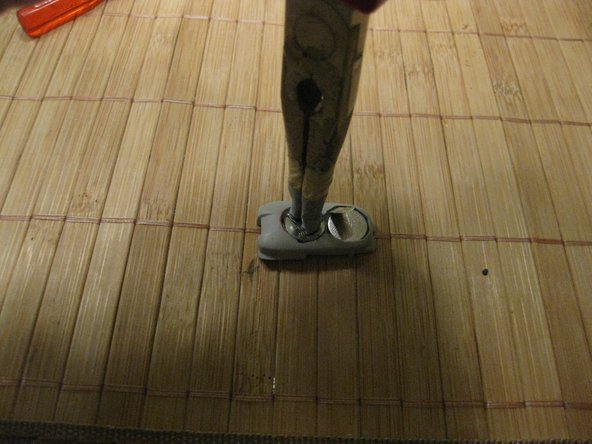
If not, there's a contact problem. First, check the upper contact plates. Set the multimeter to continuity.
-
Touch one pen on the plate and the other on the battery. 000 should be displayed.
-
If not, you have found the problem. You have to remove it, clean it, and re-glue it.
-
If both plates have continuity, you have to check out the lower contacts and remove the batteries again. Maybe pull up the lower contact a little bit before attaching the battery.
-
-
-
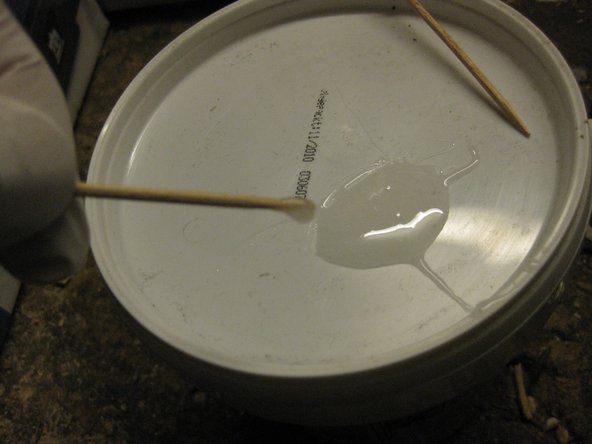
Slip on some latex gloves and add some 2K-Epoxy glue on a piece of plastic, glass or something else.
-
Mix it about 2 minutes with a toothpick.
-
-
-
Use the toothpick to add the epoxy glue on the batteries and seal the grinded holes completely.
-
After 2Std, it's 80% dried, and you can insert it into your sensor pod.
-
All done! Have fun with your new transmitter. It should now last for about a year. After that ... you now know what to do. Cheers :)
-


crwdns2935221:0crwdne2935221:0
crwdns2935229:029crwdne2935229:0
crwdns2947412:059crwdne2947412:0
Thanks for posting Joern!
Awesome! Thank you for the guide.
I'm wondering which model of dexcom G4 this is? Apparently one has a dual pc board structure with the batteries sandwiched between. I don't want to cut from the top as you've done if I'll cut thru the top pc board. Thoughts?
It's the slim model. You can check this by measuring it's height. 6mm - slim, 8mm - the old one (sandwich PCB).
Joern -
Excellent post Joern. The batteries were exactly as you described. I am up to step 7 and just ordered my batteries on eBay. I will post an update once I get the batteries installed. To do the surgery, I mounted the transmitter in a vise and then went at it with my Dremel. I used the multi-purpose cutting bit (561) and the engraver tool for the fine work.
My only setback was when I bent back one of the top contact plates and it broke off. I will need to solder it back in but I am not too worried.
I found this posting after I paid out of pocket for a new unit but I really want to see if I can get my old one back up and running.
If anyone has any dead units they want to donate to science please contact me. I would like to see if I can do an even finer job.