crwdns2915892:0crwdne2915892:0
This is a prerequisite guide! This guide is part of another procedure and is not meant to be used alone. This guide shows how to separate the solenoid module from the PTO assembly. To fully remove the solenoid, you have to disconnect the solenoid wires.
crwdns2942213:0crwdne2942213:0
-
-
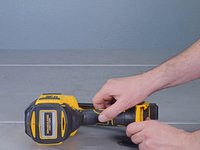
Use a T10 driver to remove the ten screws securing the outer housing.
-
-
-
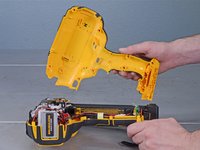
Lay the device on its left side (with the belt hook).
-
Lift and remove the right housing from the device.
-
-
-
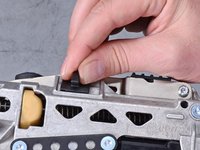
Remove the lock button from its recess.
-
-
-
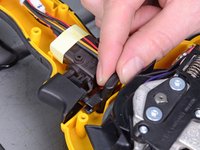
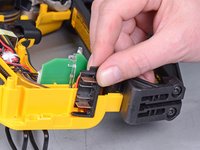
Slide the battery connector out of its recess.
-
-
-
-
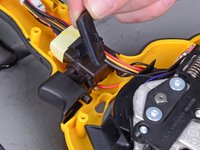
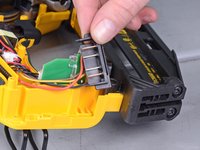
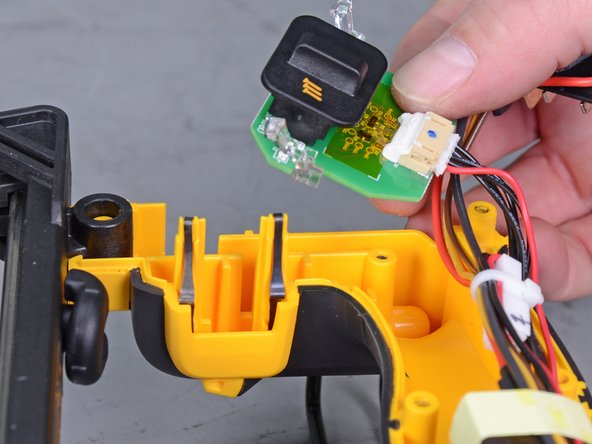
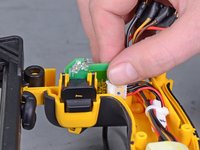
Remove the switch board from its housing recess.
-
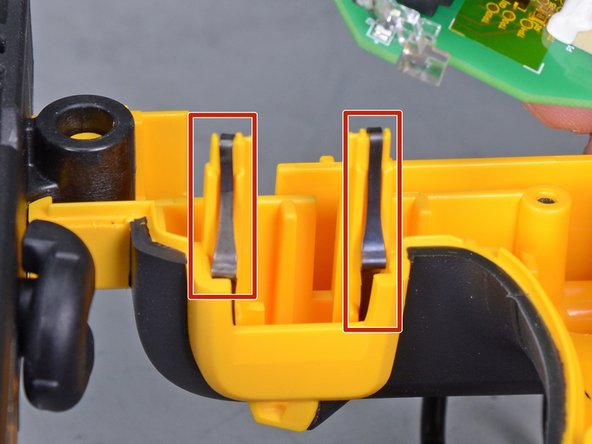
Remove the two spring clips from the housing.
-
-
-
Be sure to route the wires through the yellow groove.
-
Be sure to reattach the spring clips.
-
-
-
Carefully flip the device over.
-
Remove the left housing from the device.
-
-
-
Carefully remove the release button from the device.
-
Remove the button spring from the device.
-
-
-
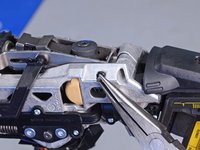
Slide the dowel pin securing the PTO assembly out of the device.
-
-
-
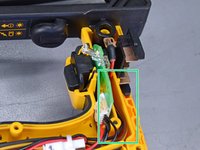
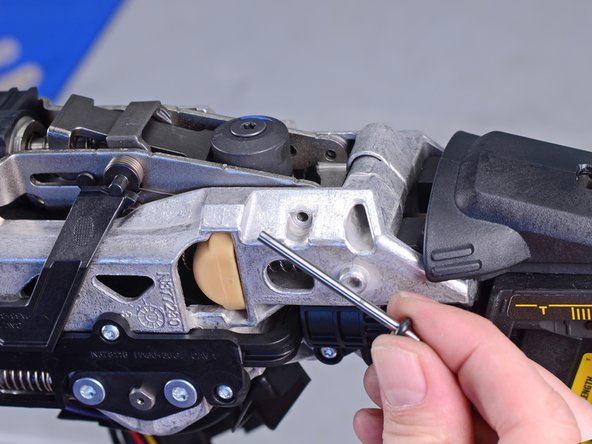
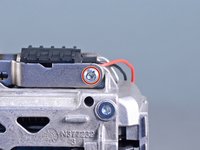
Use a T10 driver to remove the two screws securing the solenoid.
-
-
-
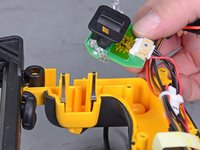
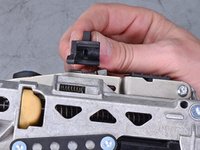
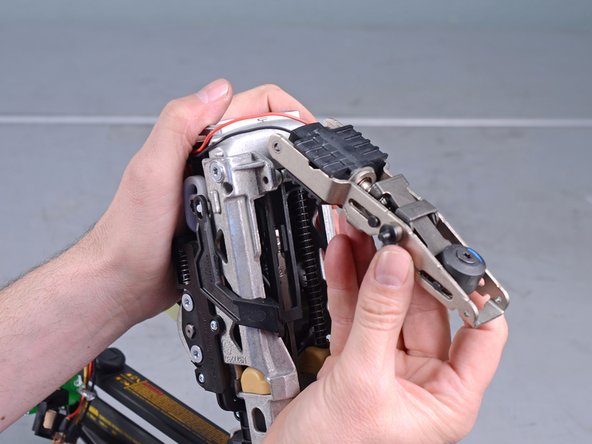
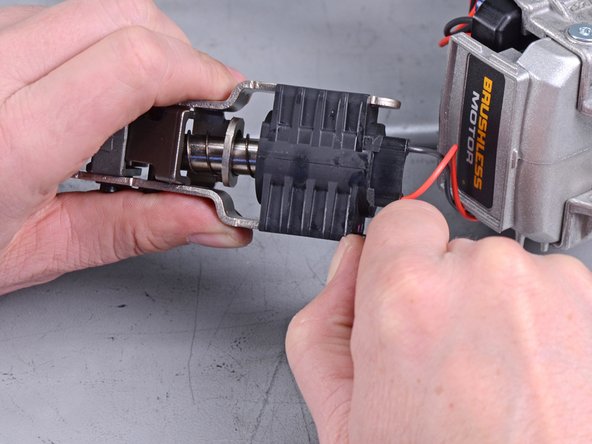
Lift the solenoid away from the device.
-
-
-
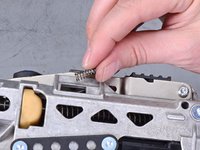
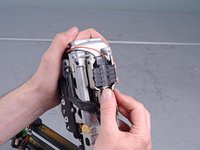
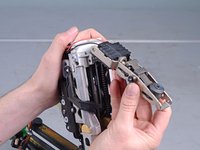
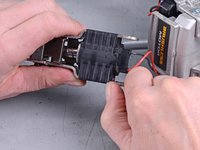
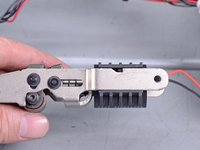
Slide the solenoid off the PTO assembly's rails.
-
-
-
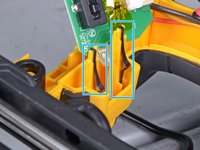
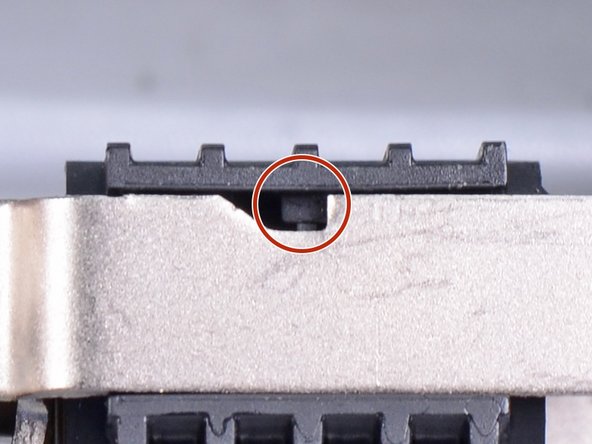
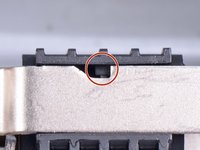
Reassembly tip: When you slide the solenoid back onto the PTO assembly, make sure to align the plastic pin to the notch.
-


To reassemble your device, follow these instructions in reverse order.
To reassemble your device, follow these instructions in reverse order.

