crwdns2915892:0crwdne2915892:0
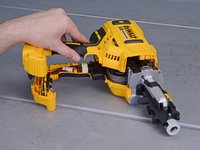
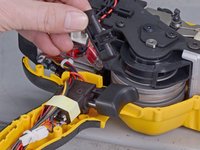
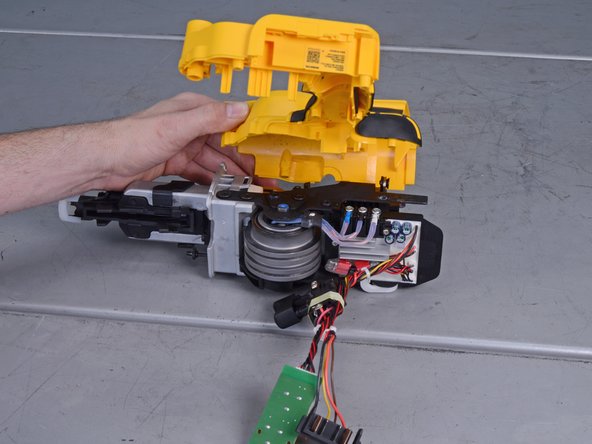
Prerequisite only! Use this guide to remove the outer housing and open the Dewalt Nailer DCN21PL 2018 for further repairs.
crwdns2942213:0crwdne2942213:0
-
-
Before you begin the repair, remove the battery from the device.
-
-
-
Use a T10 driver to remove the four screws securing the bottom half of the casing.
-
Remove the four T10 screws securing the top half of the casing.
-
-
-
Use a T10 driver to remove the screw securing the magazine to the base.
-
-
-
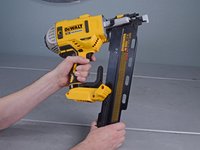
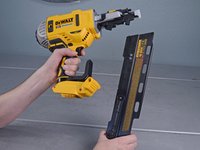
Pull the magazine down and away to unlatch and release it from the nailer.
-
-
-
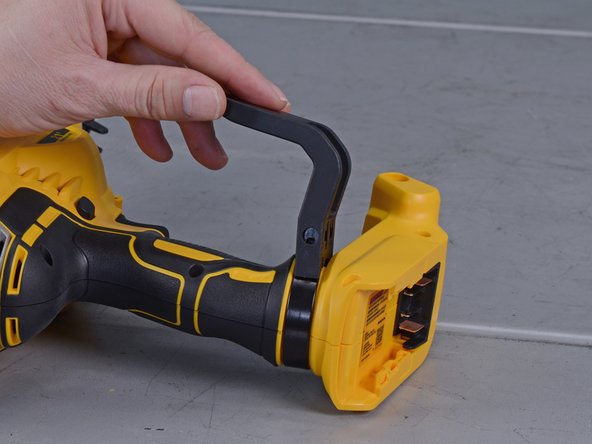
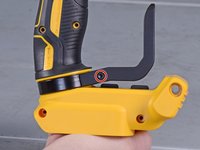
Use a T15 driver to remove the framing hook retaining screw.
-
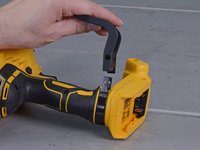
Remove the hook.
-
-
-
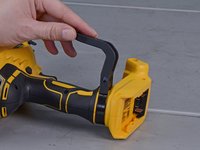
Use your two thumbs to firmly spread the metal hook clamp apart while slowly pushing it forward off the handle.
-
-
-
-
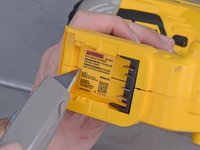
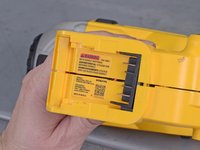
Use a sharp blade to slice the label underneath the battery mount to disconnect the two halves of the case.
-
-
-
Use a T20 driver to remove the two screws securing the two halves of the case to the front assembly.
-
-
-
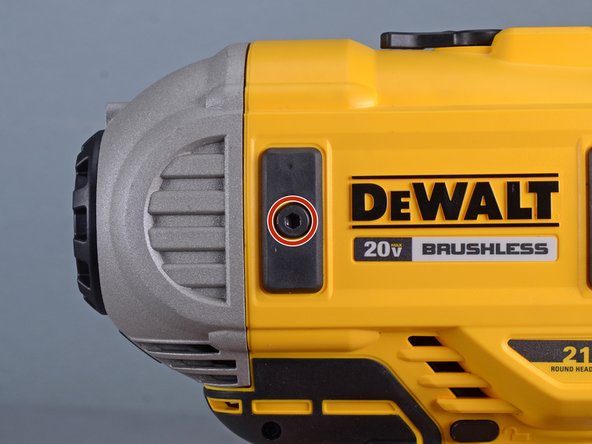
Use the provided 3.5 mm hex key to remove the two return system bolts on either side of the nailer.
-
-
-
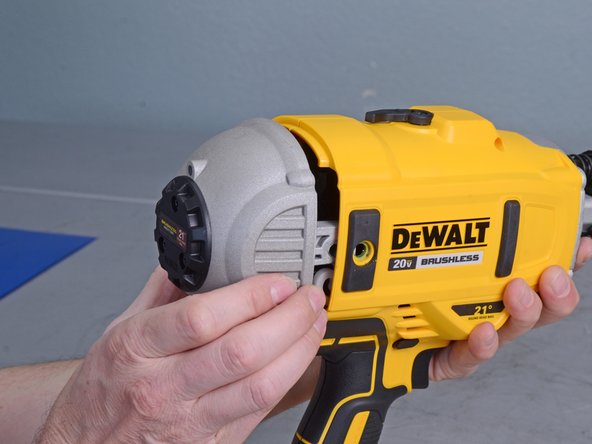
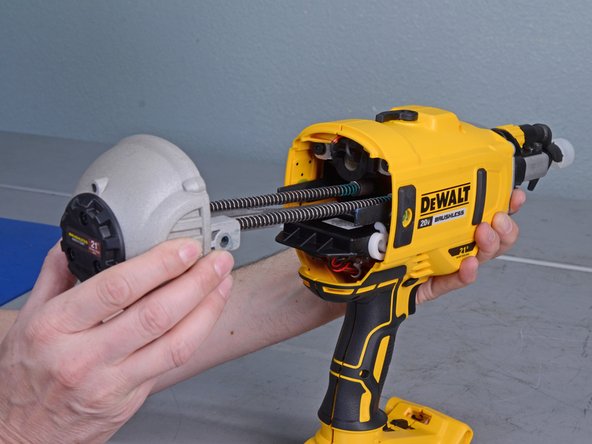
Grab the end cap and slide the return system assembly out of the back of the nailer to remove it.
-
-
-
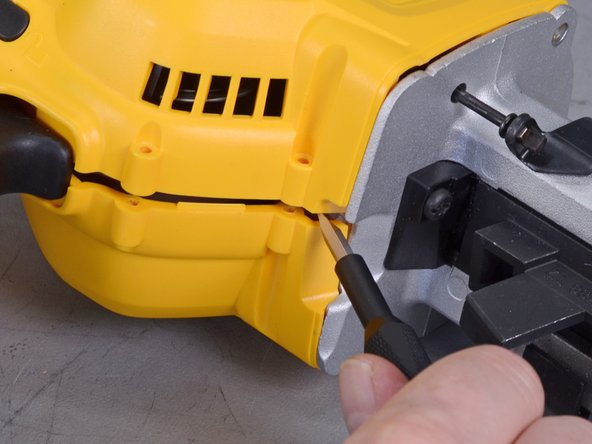
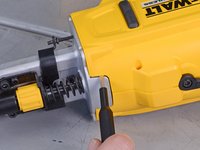
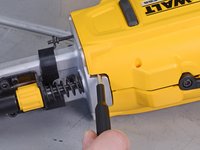
Use a small flathead screwdriver in the gap between the two halves of the casing near the trigger to pry the two halves apart.
-
-
-
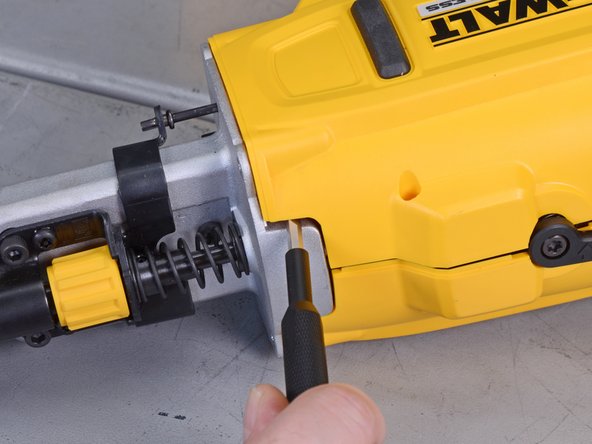
Use a small flathead screwdriver near the top seam to continue prying the case apart .
-
-
-
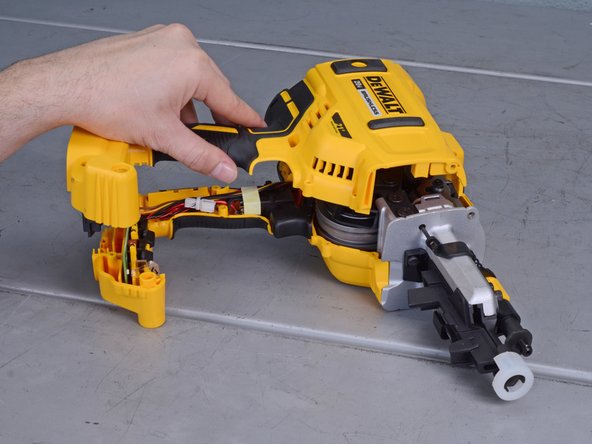
Once loose, lift up to remove the right half of the clamshell case.
-
-
-
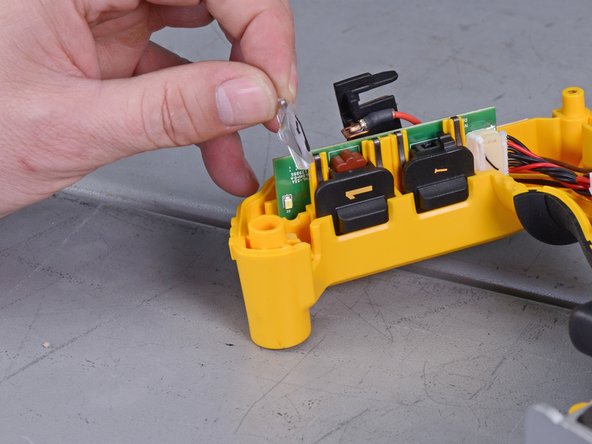
Remove the plastic lens cover.
-
-
-
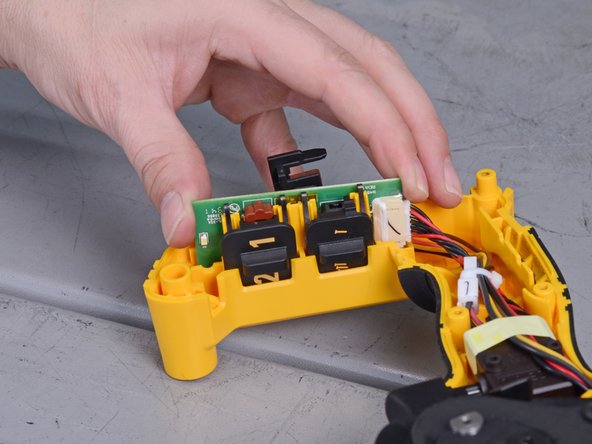
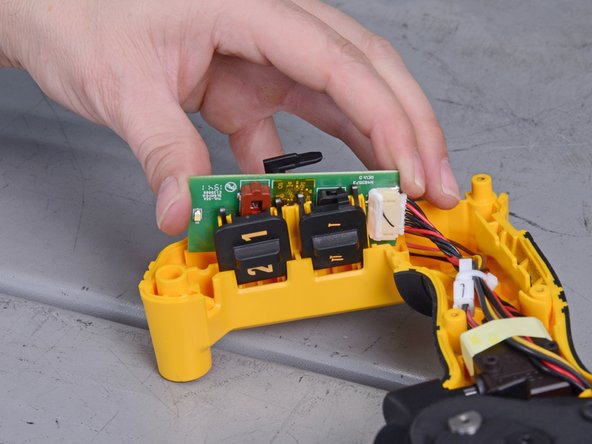
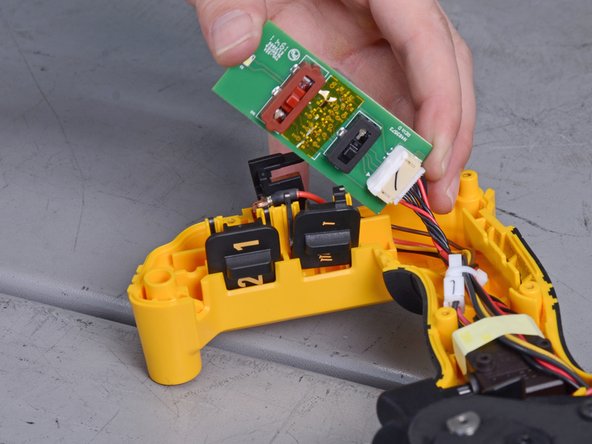
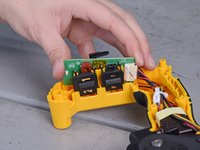
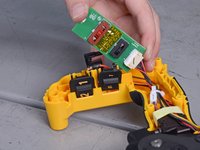
Grasp either side of the main circuit board and slowly pull it up and out of the slot in the casing.
-
-
-
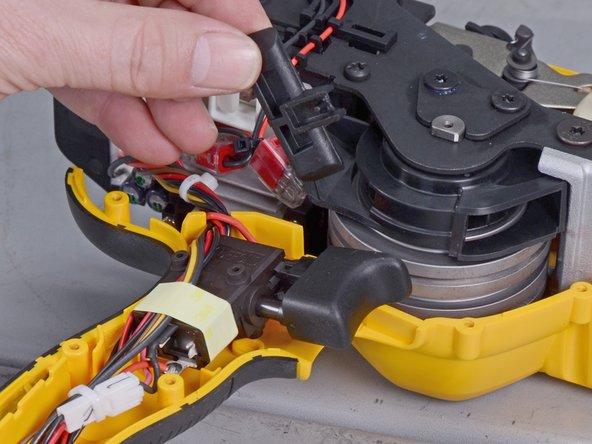
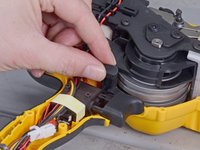
Pull up on the trigger lock to remove.
-
-
-
Flip the nailer over.
-
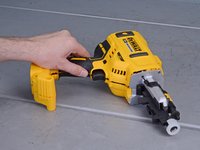
Remove the remaining clamshell casing.
-
To reassemble your device, follow these instructions in reverse order.
To reassemble your device, follow these instructions in reverse order.


