crwdns2915892:0crwdne2915892:0
Here's how you can detach the control panel from the HP Photosmart 2575 All-in-One Printer. It's a prerequisite for taking the scanner glass off.
crwdns2942213:0crwdne2942213:0
-
-
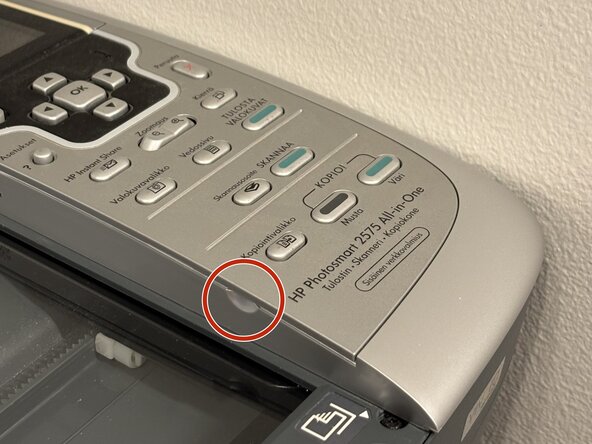
Remove the control panel faceplate by lifting up at the notch.
-
-
-
-
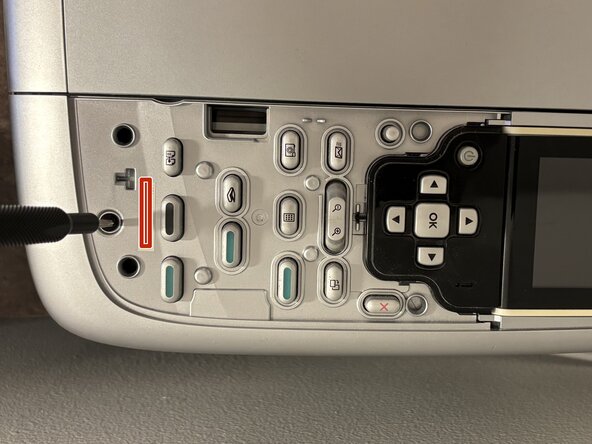
Unscrew one T10 screw near the bottom of the control panel
-
Lift the control panel up at the bottom, around 5 mm above the machine and pull the panel towards the front of the machine.
-
Now you have access to the screws below the control panel. Note: I haven't been able to disconnect the flat flexible cable and the JST connector from the PCB.
-
To reassemble your device, follow these instructions in reverse order.
crwdns2935221:0crwdne2935221:0
crwdns2935227:0crwdne2935227:0