crwdns2915892:0crwdne2915892:0
This guide will help users properly and safely disassemble their Dell XPS M140 laptop to reach the LCD (Liquid Crystal Display). Users will be able to see which exact step-wise components they will have to remove in order to gain access to the LCD screen.
crwdns2942213:0crwdne2942213:0
-
-
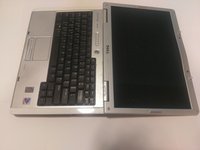
Open the slide lock and pull out the battery.
-
-
-
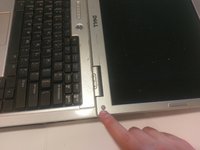
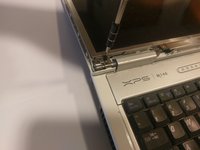
The plastic casing around the screen has a gray rubber circle, lining the perimeter of the casing.
-
Remove the casing by peeling them off. This will expose the screws underneath.
-
-
-
-
Unscrew the screws on the casing that you just exposed.
-
-
-
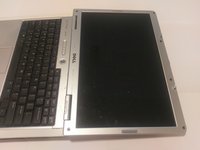
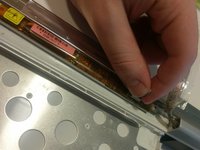
With care, pop off the plastic clips sourrounding the casing.
-
Run your hand, or a tool, around the perimeter, to remove the casing.
-
-
-
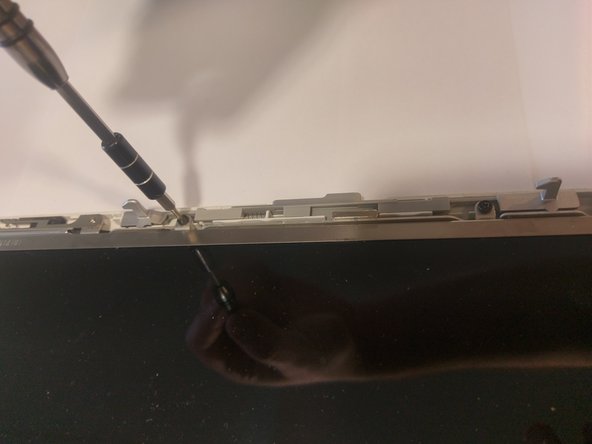
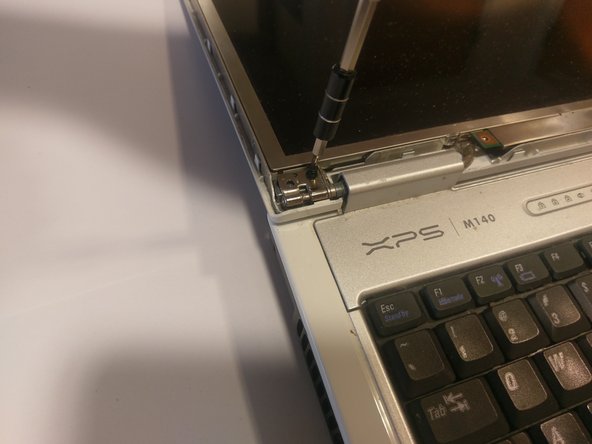
Once the casing is removed, more screws should be exposed.
-
Remove every screw.
-
-
-
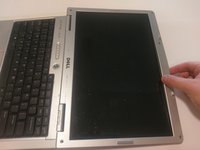
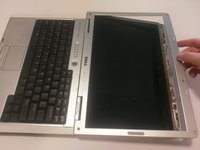
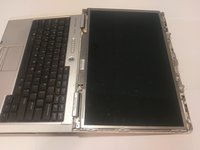
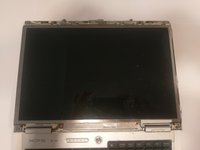
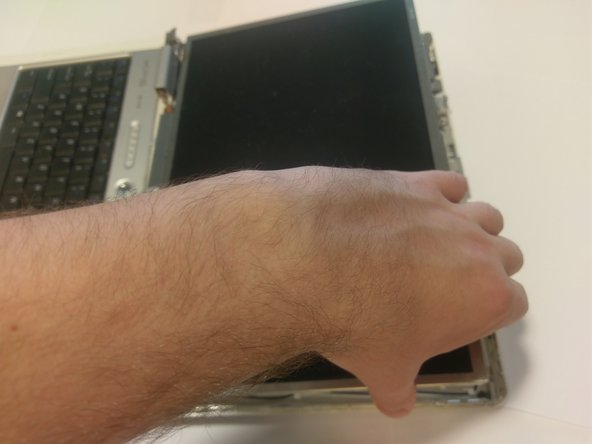
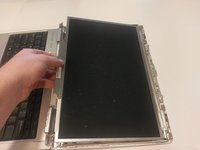
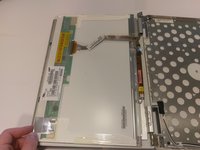
Once all of the screws are removed, the screen should be loose.
-
Gently pick it up and place it face down onto the keyboard.
-
-
-
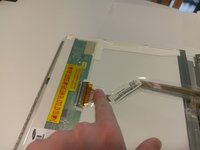
There should be two connections.
-
One with a blue looking handle, and one with clips.
-
To remove the connection with the clips, squeeze the two clips together and pull the ribbon cable.
-
To remove the connection with the blue handle, gently pull on the blue handle, it should come right off.
-


To reassemble your device, follow these instructions in reverse order.
crwdns2935287:0crwdne2935287:0

UMass Dartmouth, Team S9-G5, Martin Spring 2017 crwdns2935289:0UMass Dartmouth, Team S9-G5, Martin Spring 2017crwdne2935289:0
UMASSD-MARTIN-S17S9G5
crwdns2931471:04crwdne2931471:0
crwdns2935297:05crwdne2935297:0