crwdns2915892:0crwdne2915892:0
This guide shows how to remove and replace the I/O board of your Dell XPS 15 9575. Before you begin this repair, turn off your laptop and unplug it from the charger.
crwdns2942213:0crwdne2942213:0
-
-
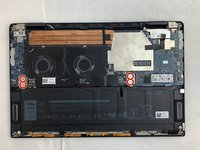
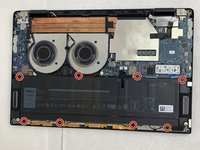
Use your T5 Torx driver to remove all eight 3.2 mm screws holding down the back panel.
-
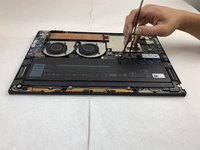
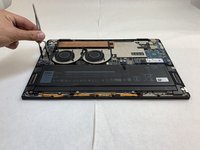
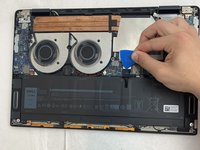
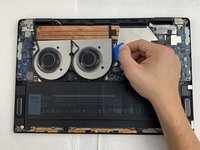
Wedge an opening pick between the back cover and the base of the board, then slightly lift the tool to pop the clips on the back cover off.
-
-
-
Remove the bottom cover from the device when all sides are free.
-
-
-
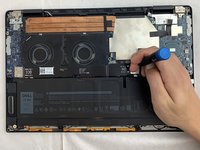
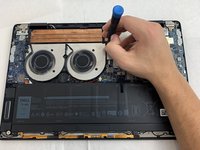
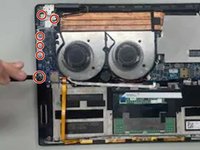
Use the Phillips #0 screwdriver to remove all four silver 3.2 mm screws fastening the interconnect cable.
-
-
-
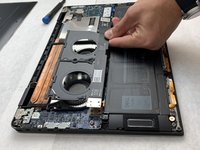
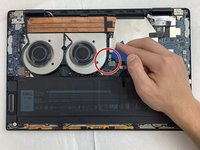
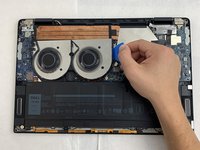
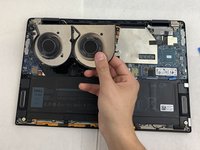
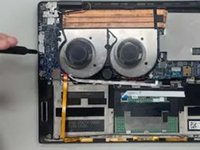
Carefully wedge the plastic opening pick between the fan and the interconnect cable.
-
Remove the interconnect cable.
-
-
-
Use the nylon tweezers to remove the interconnect pins from each of the circuit boards.
-
-
-
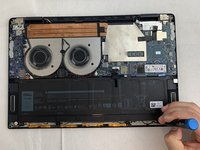
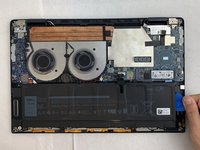
Use the Phillips #0 screwdriver to remove all eight 6.4 mm screws from the battery.
-
-
-
-
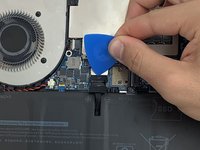
Use a plastic opening pick to pry the black battery cable away from its silver adapter.
-
-
-
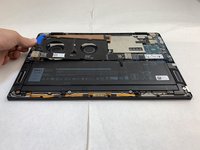
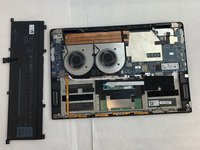
Use a plastic opening pick to separate the battery from the device.
-
Lift the battery straight up and remove it when it is completely separated.
-
-
-
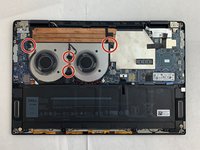
Use the Phillips 0 Screwdriver to carefully extract each of the four 3.2 mm screws.
-
-
-
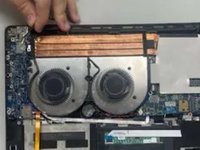
Find the wire connecting the fan into the motherboard and use the plastic opening tool to push the wire out from the motherboard's port.
-
-
-
The fan has been completely disconnected and is now safe to remove.
-
-
-
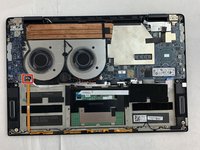
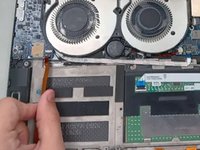
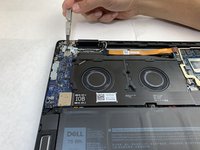
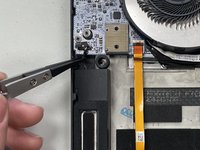
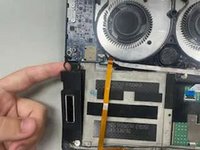
Use a spudger or a clean fingernail to flip up the locking flap of the ZIF connector.
-
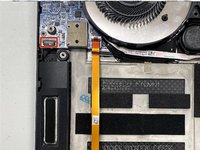
Use tweezers or your fingers to gently pull the orange cable out of its socket on the I/O board.
-
-
-
Use a Phillips #0 screwdriver to remove the six 3.2 mm screws securing the I/O board.
-
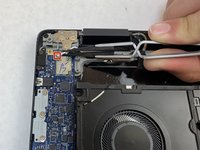
Use the tweezers to remove the silver bracket covering the coaxial cable connectors.
-
-
-
Use the point of a spudger to push on alternating sides of the connector to "walk" it out of its socket and disconnect the speaker cable from the I/O board (also known as the daughterboard).
-
-
-
To disconnect the black and white coaxial cables, slide a thin, ESD-safe pry tool or angled tweezers under the metal neck of the connector (as close to the head as possible) and lift straight up from the board.
-
-
-
Slide the I/O board away from the edge of the laptop towards the inside of the device to release it.
-
To reassemble your device, follow these instructions in reverse order.
To reassemble your device, follow these instructions in reverse order.
crwdns2935221:0crwdne2935221:0
crwdns2935227:0crwdne2935227:0


