crwdns2933423:0crwdne2933423:0

Dell XPS 14 RAM Replacement

crwdns2942213:0crwdne2942213:0

  1. Dell XPS 14 RAM Replacement, Back Panel: crwdns2935265:01crwdnd2935265:01crwdnd2935265:01crwdne2935265:0
    • Position the computer back side up so that the “XPS” logo is facing you.

    • Remove six 3 mm screws along the perimeter of the back panel using a T5 Torx screwdriver.

  2. Dell XPS 14 RAM Replacement: crwdns2935265:02crwdnd2935265:01crwdnd2935265:03crwdne2935265:0 Dell XPS 14 RAM Replacement: crwdns2935265:02crwdnd2935265:02crwdnd2935265:03crwdne2935265:0 Dell XPS 14 RAM Replacement: crwdns2935265:02crwdnd2935265:03crwdnd2935265:03crwdne2935265:0
    • Use an opening tool to pry up the metal plate.

    • Remove the two 6 mm screws under the silver flap using a Phillips #0 screwdriver.

  3. Dell XPS 14 RAM Replacement: crwdns2935265:03crwdnd2935265:01crwdnd2935265:02crwdne2935265:0 Dell XPS 14 RAM Replacement: crwdns2935265:03crwdnd2935265:02crwdnd2935265:02crwdne2935265:0
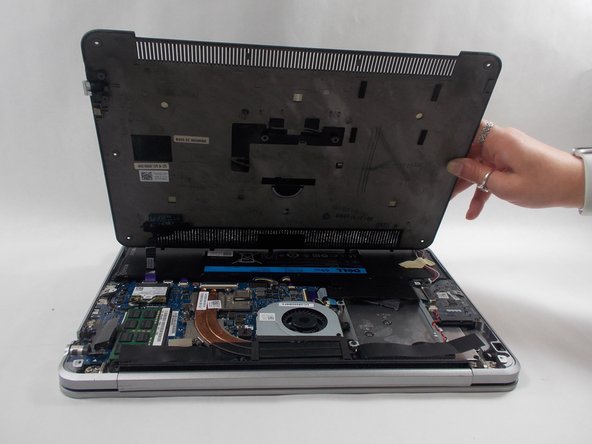
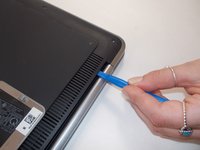
    • Use an opening tool to pop out the back panel.

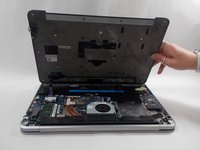
    • Once unhinged, the panel will open away from you.

    • The back panel will still be attached by a ribbon cable. Be cautious when opening the panel to ensure the ribbon stays intact.

  4. Dell XPS 14 RAM Replacement: crwdns2935265:04crwdnd2935265:01crwdnd2935265:03crwdne2935265:0 Dell XPS 14 RAM Replacement: crwdns2935265:04crwdnd2935265:02crwdnd2935265:03crwdne2935265:0 Dell XPS 14 RAM Replacement: crwdns2935265:04crwdnd2935265:03crwdnd2935265:03crwdne2935265:0
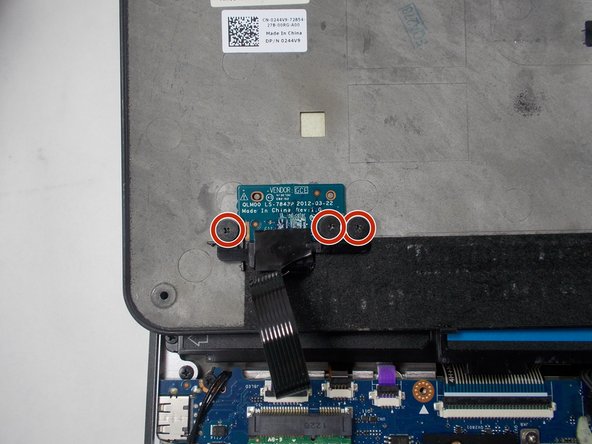
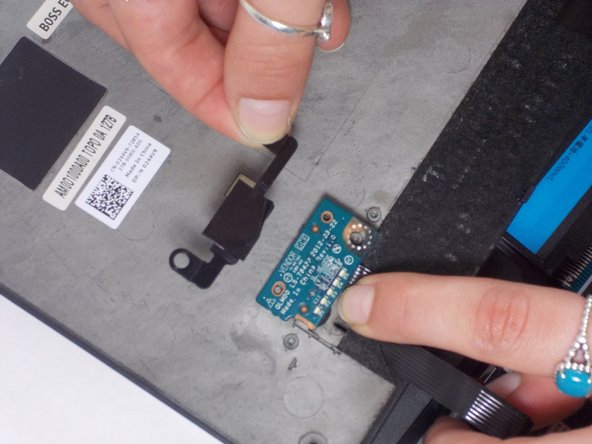
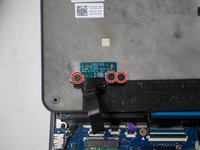
    • Flip over the back panel so that the interior of the panel is facing up.

    • Remove three 2 mm screws that are connected to the vendor GCE disk on the bottom left corner of the back panel using a Phillips #0 screwdriver.

    • Remove the black plastic cover that holds the disk in place.

    • Remove the back panel.

    • The GCE disk should still be connected to the computer via a purple ribbon cable.

  5. Dell XPS 14 RAM Replacement, Speaker: crwdns2935265:05crwdnd2935265:01crwdnd2935265:02crwdne2935265:0 Dell XPS 14 RAM Replacement, Speaker: crwdns2935265:05crwdnd2935265:02crwdnd2935265:02crwdne2935265:0
    • Remove four 2 mm screws that are connected to the speaker using a Phillips #0 screwdriver.

  6. Dell XPS 14 RAM Replacement: crwdns2935265:06crwdnd2935265:01crwdnd2935265:02crwdne2935265:0 Dell XPS 14 RAM Replacement: crwdns2935265:06crwdnd2935265:02crwdnd2935265:02crwdne2935265:0
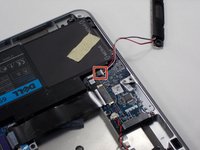
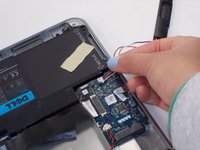
    • Remove the speaker from its original location so the wire connector is visible.

    • Unplug the red and white cable plug by pulling out the white end tag.

    • The speaker is now fully removed.

  7. Dell XPS 14 RAM Replacement, Battery: crwdns2935265:07crwdnd2935265:01crwdnd2935265:01crwdne2935265:0
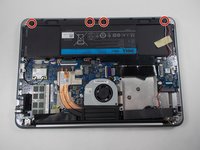
    • Make sure to ground yourself before removing the battery.

    • Remove the four 6 mm screws from the sides of the battery using a T5 Torx screwdriver.

    • Remove the two 3 mm screws from the top of the battery using a Phillips #0 screwdriver.

  8. Dell XPS 14 RAM Replacement: crwdns2935265:08crwdnd2935265:01crwdnd2935265:03crwdne2935265:0 Dell XPS 14 RAM Replacement: crwdns2935265:08crwdnd2935265:02crwdnd2935265:03crwdne2935265:0 Dell XPS 14 RAM Replacement: crwdns2935265:08crwdnd2935265:03crwdnd2935265:03crwdne2935265:0
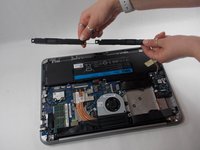
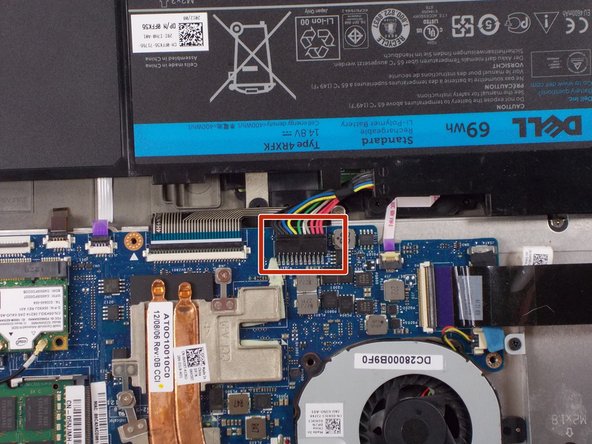
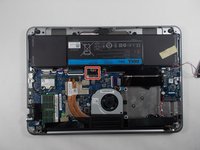
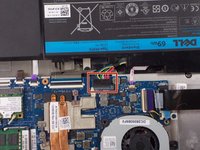
    • Detach the battery connector from the motherboard using two thumbs to pop it out.

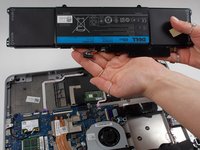
    • Remove the battery from the laptop.

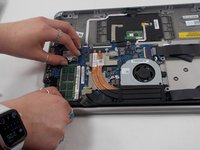
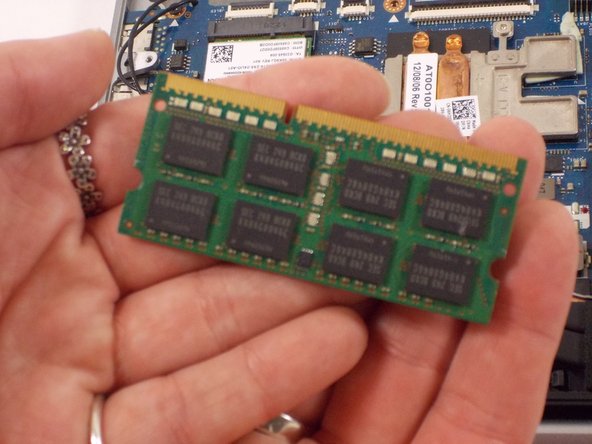
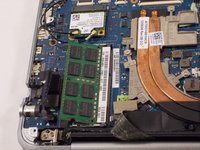
  9. Dell XPS 14 RAM Replacement, RAM: crwdns2935265:09crwdnd2935265:01crwdnd2935265:03crwdne2935265:0 Dell XPS 14 RAM Replacement, RAM: crwdns2935265:09crwdnd2935265:02crwdnd2935265:03crwdne2935265:0 Dell XPS 14 RAM Replacement, RAM: crwdns2935265:09crwdnd2935265:03crwdnd2935265:03crwdne2935265:0
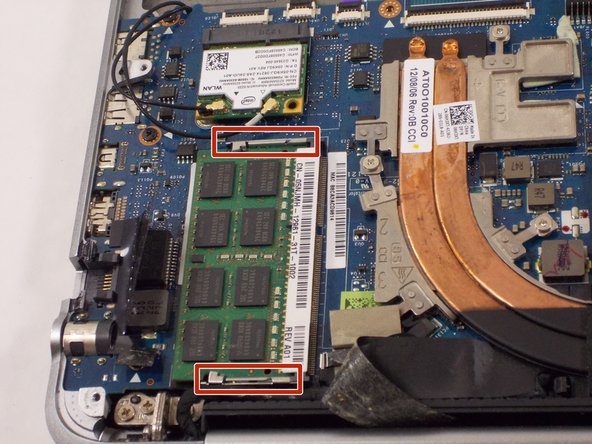
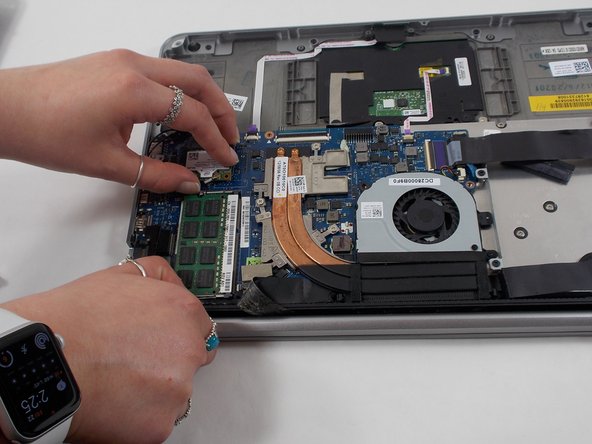
    • Remove any electrical tape that may be covering or overlapping the RAM cartridge.

    • Push the two metal latches on either side of the RAM outward.

    • The cartridge will pop out of the laptop.

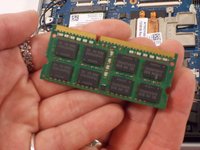
  10. Dell XPS 14 RAM Replacement: crwdns2935265:010crwdnd2935265:01crwdnd2935265:02crwdne2935265:0 Dell XPS 14 RAM Replacement: crwdns2935265:010crwdnd2935265:02crwdnd2935265:02crwdne2935265:0
    • Slide the RAM cartridge out of its slot.

crwdns2915888:0crwdne2915888:0

To reassemble your device, follow these instructions in reverse order.

Gabriella Monico

crwdns2935283:003/23/22crwdne2935283:0

457 crwdns2915208:0crwdne2915208:0

crwdns2935297:05crwdne2935297:0

crwdns2915084:0crwdne2915084:0

UMass Dartmouth, Team 1-3, Botvin Spring 2022 crwdns2935289:0UMass Dartmouth, Team 1-3, Botvin Spring 2022crwdne2935289:0

UMASSD-BOTVIN-S22S1G3

crwdns2931471:03crwdne2931471:0

crwdns2935297:05crwdne2935297:0

crwdns2944067:00crwdne2944067:0

crwdns2917038:0crwdne2917038:0

crwdns2936625:0crwdne2936625:0:

crwdns2936751:024crwdne2936751:0 1

crwdns2936753:07crwdne2936753:0 3

crwdns2936753:030crwdne2936753:0 22

crwdns2942667:0crwdne2942667:0 238