crwdns2915892:0crwdne2915892:0
If you need to replace or upgrade the SSD for your Dell XPS 13 9360 laptop, follow this guide.
Replacing the SSD on this model could help improve its storage space and performance. The model shown in this guide contains a 256 GB M.2 PCIe NVMe SSD, however, the model can upgrade to a 1 TB SSD.
Before you begin this repair, power off your computer and disconnect it from the charger. In addition, make sure to disconnect the battery before replacing the SSD. This will help prevent accidental damage to the computer or its electrical components.
crwdns2942213:0crwdne2942213:0
-
-
Power off your laptop and unplug it from the charger.
-
-
-
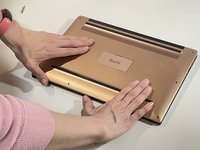
Close the laptop lid and place it so the bottom side faces up.
-
-
-
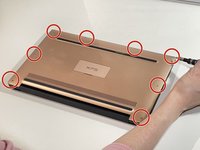
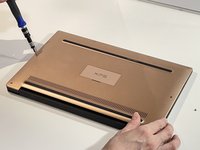
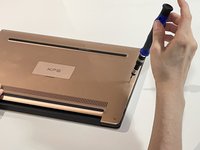
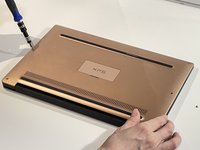
Use a Torx T5 screwdriver to remove eight 3 mm screws around the edge of the back cover.
-
-
-
-
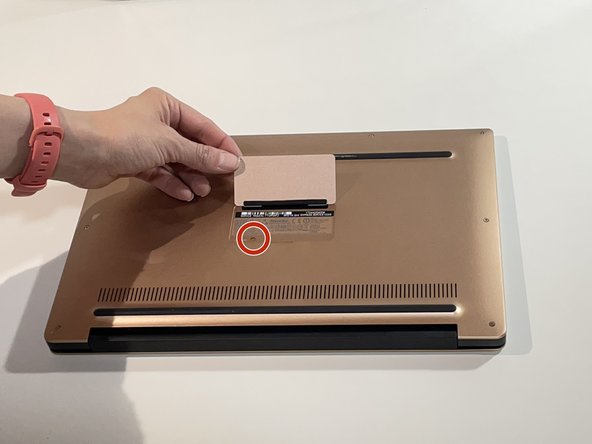
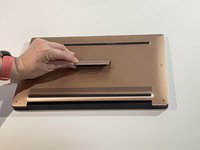
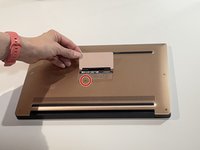
Lift the small magnetic flap cover in the center of the back case.
-
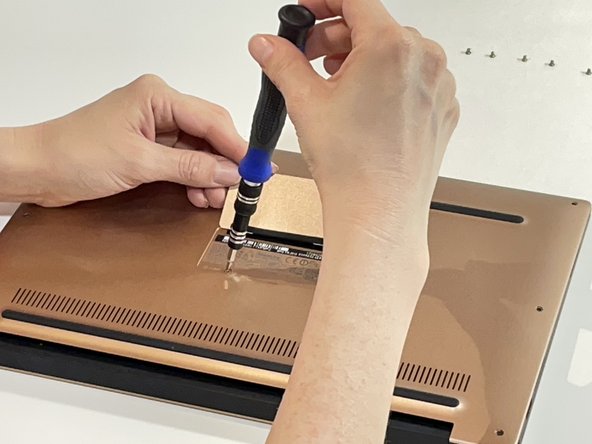
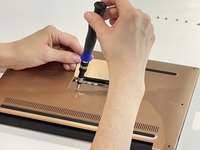
Use a JIS J0 screwdriver to remove the 6 mm screw under the flap cover.
-
-
-
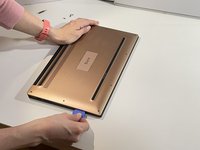
Wedge the guitar pick between the cover and the base of the laptop.
-
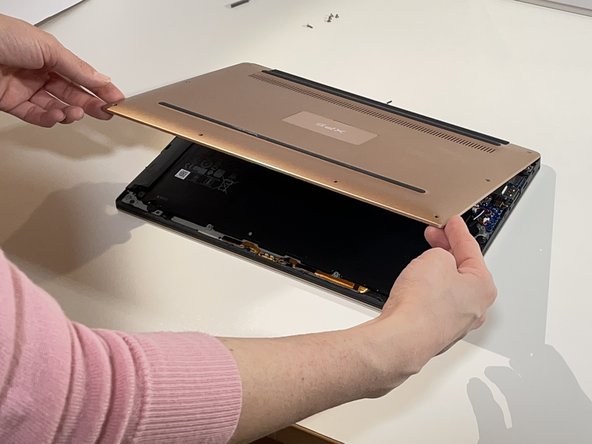
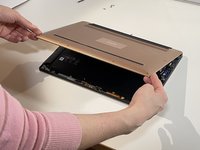
Start at the front edge of the base cover and continue around the perimeter of the laptop, carefully prying up the base cover.
-
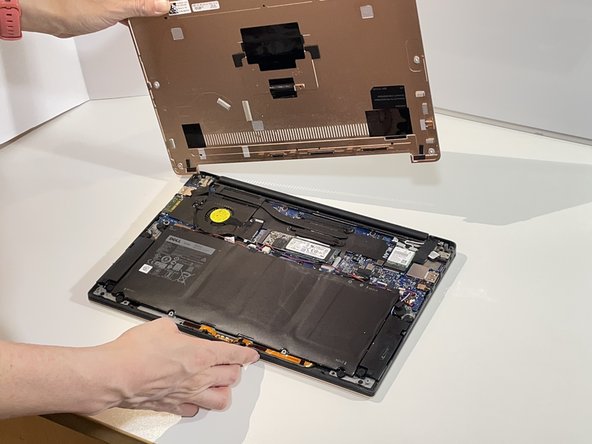
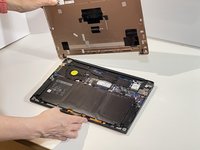
Pull off the base cover.
-
-
-
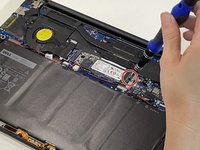
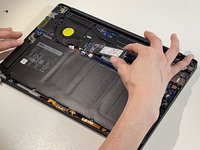
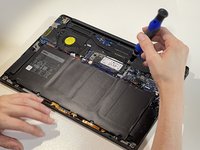
Use the JIS J0 screwdriver to remove the single 2 mm screw securing the existing SSD.
-
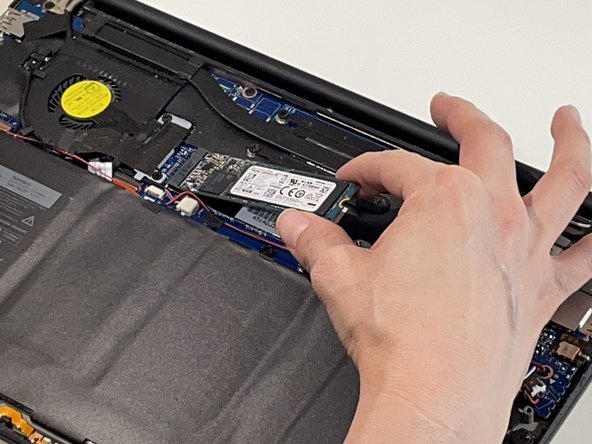
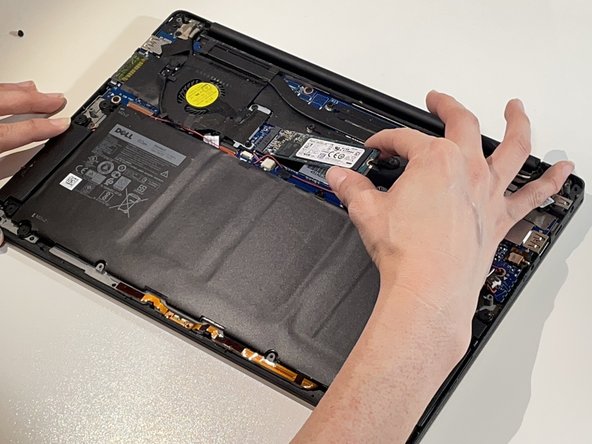
Gently slide it out from the socket.
-
-
-
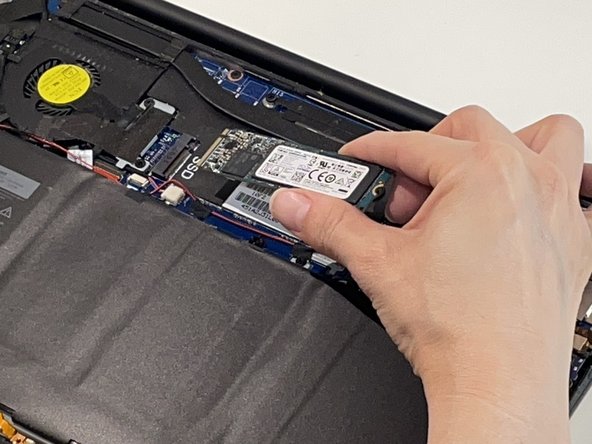
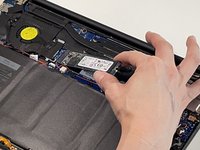
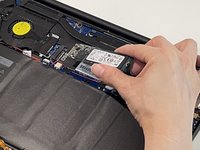
Slide the new SSD into the slot at the same angle used when removing the old one.
-
Press down on the SSD gently to hold it down.
-
-
-
Follow the remaining instructions in reverse order to reassemble.
-
-
-
Now you can power on the laptop again and use it!
-
To reassemble your device, follow these instructions in reverse order.
To reassemble your device, follow these instructions in reverse order.
crwdns2935221:0crwdne2935221:0
crwdns2935227:0crwdne2935227:0
crwdns2947410:01crwdne2947410:0
Simple instructions. Could have used a little more detail in step 6 on how to disconnect the battery cable.


