crwdns2915892:0crwdne2915892:0
Is your laptop losing charge quickly, overheating, or recharging slowly? These could be signs that your battery needs replacement. Check the battery's health to determine if it's time for a new one.
Replacing the battery in a Dell Vostro 3590 is straightforward but requires precision. Follow each step of this guide to ensure a safe and accurate replacement.
Beware of swollen batteries: they can catch a fire. This guide will show you how to handle swollen batteries safely.
crwdns2942213:0crwdne2942213:0
-
-
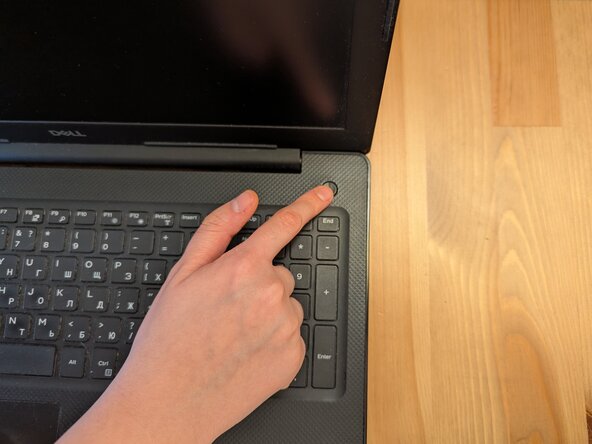
Turn off the laptop by clicking the Shut Down button in the Windows Start menu.
-
Unplug the laptop.
-
-
-
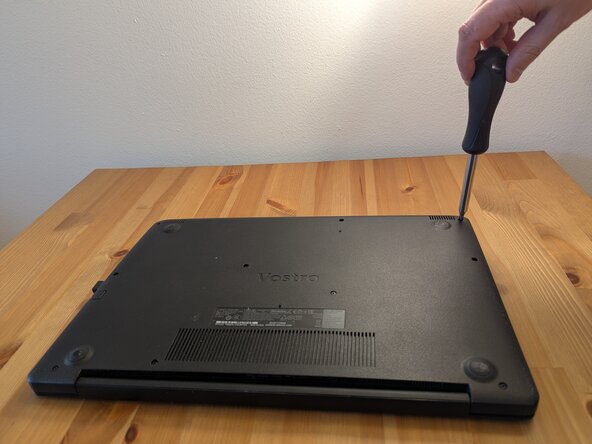
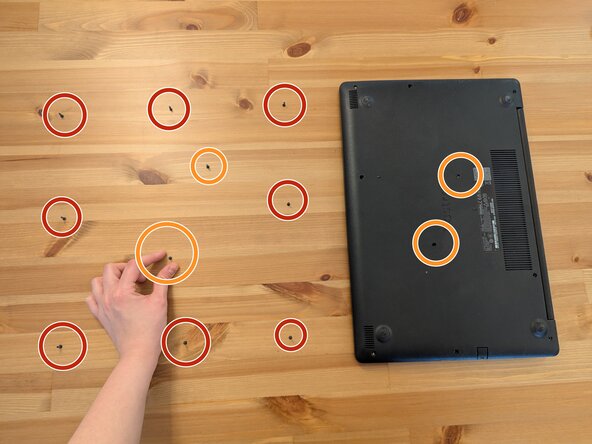
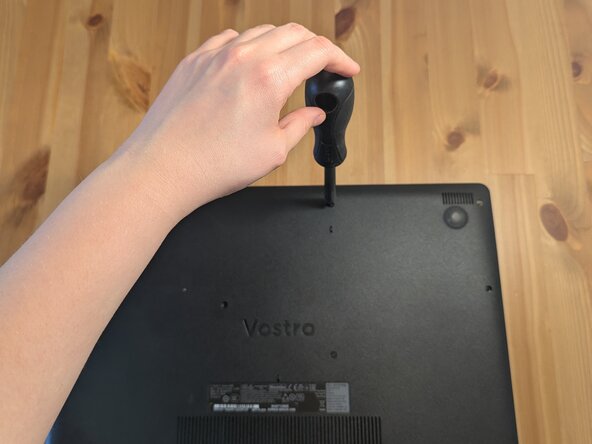
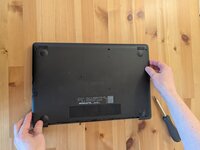
Unscrew the back panel using a Phillips #0 screwdriver.
-
-
-
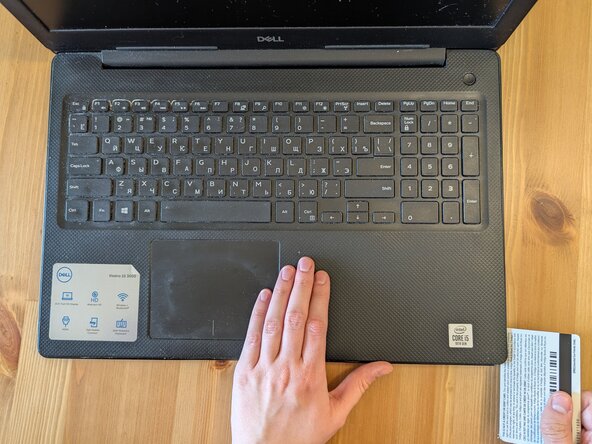
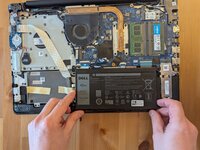
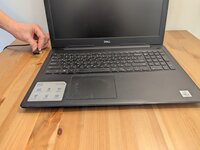
Return the laptop to its normal position and open it.
-
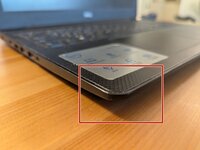
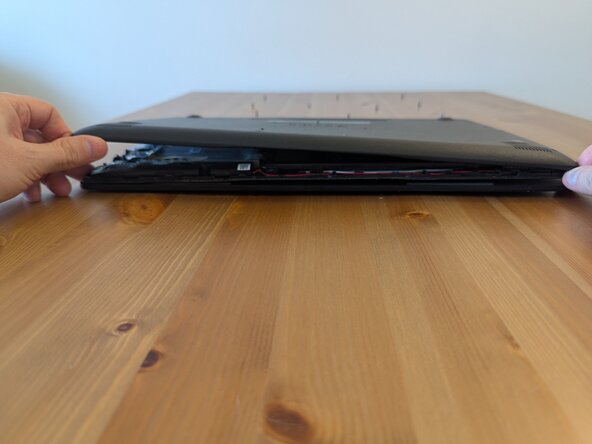
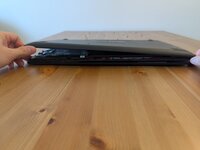
Locate the seam at the corner of the laptop and gently insert a pry tool or a plastic card into the gap.
-
Carefully slide the tool or card along the seam to separate the panels.
-
-
-
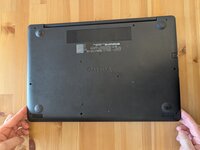
Turn the laptop over so that the back panel is facing up.
-
Remove the back panel by lifting upwards.
-
-
-
-
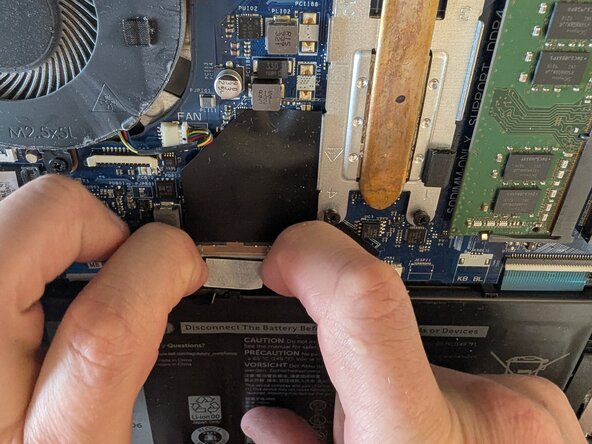
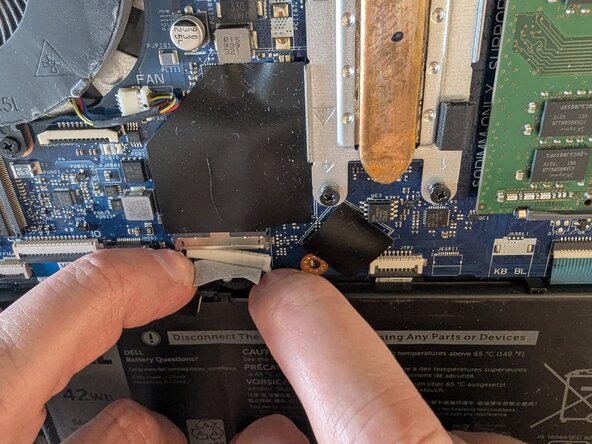
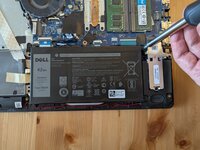
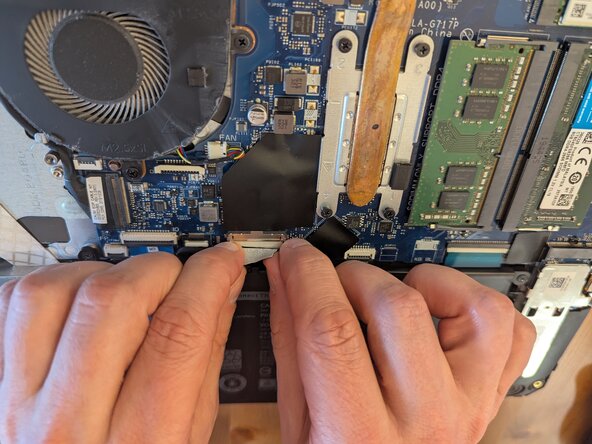
Locate the battery and the cable.
-
The battery is attached to the motherboard with a cable.
-
-
-
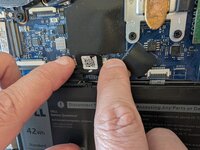
Carefully pull the battery cable out of the socket on the motherboard.
-
-
-
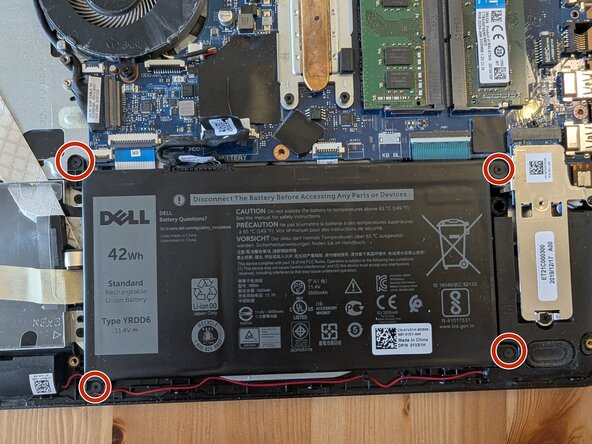
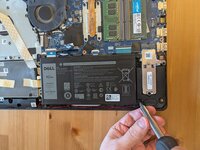
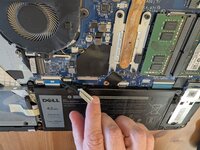
Remove four screws holding the battery in place.
-
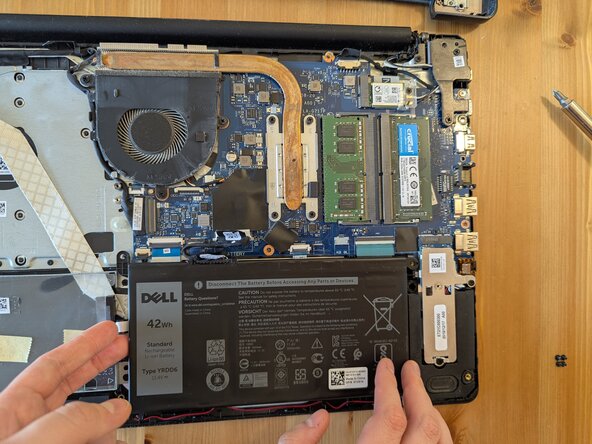
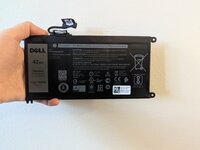
Lift and remove the battery.
-
-
-
Place the new battery exactly where the old one was. Ensure that the battery logo is facing the same direction.
-
Secure it with the original four screws.
-
-
-
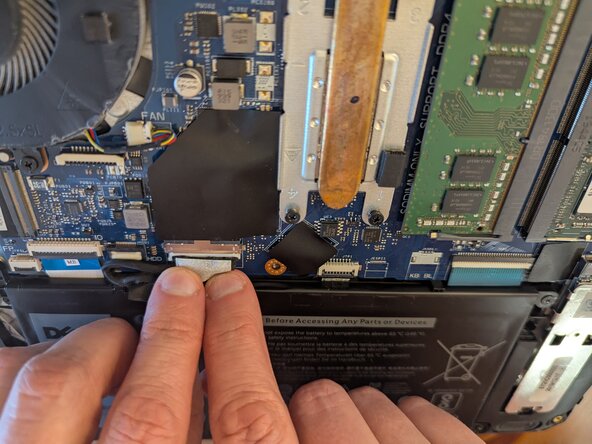
Plug the cable back into the motherboard.
-
Make sure that the white part of the cable fits perfectly into the metal socket on the motherboard.
-
-
-
Reattach the back panel.
-
Make sure no space is left between panels.
-
Put the screws back in the correct order.
-
-
-
Plug in and turn on the laptop.
-
Check the battery status in the lower right corner of the display.
-
Run a battery report if any concerns arise.
-
The repair is finished after you ensure that the battery is working properly!
-


crwdns2935221:0crwdne2935221:0
crwdns2935229:03crwdne2935229:0

crwdns2915084:0crwdne2915084:0

York University, Team 2-1, Woodhouse Winter 2025 crwdns2935289:0York University, Team 2-1, Woodhouse Winter 2025crwdne2935289:0
YORK-WOODHOUSE-W25S2G1
crwdns2931471:04crwdne2931471:0
crwdns2935303:01crwdne2935303:0