crwdns2933423:0crwdne2933423:0

Dell Vostro 3550 Disk Drive Tray Latch Replacement

crwdns2942213:0crwdne2942213:0

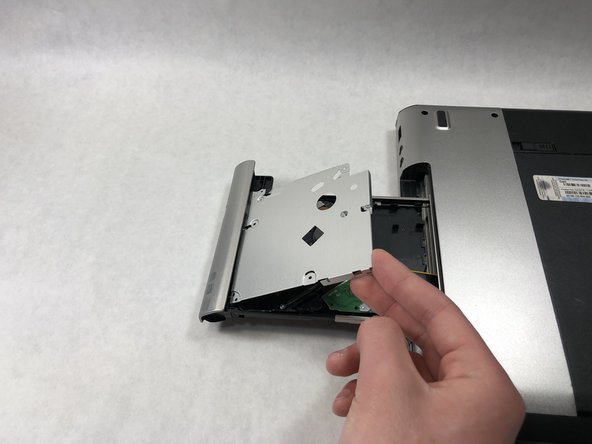
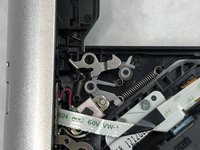
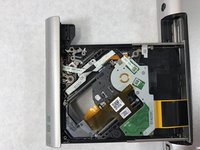
  1. Dell Vostro 3550 Disk Drive Tray Latch Replacement, Disk Drive Tray Latch Mechanism: crwdns2935265:01crwdnd2935265:01crwdnd2935265:03crwdne2935265:0 Dell Vostro 3550 Disk Drive Tray Latch Replacement, Disk Drive Tray Latch Mechanism: crwdns2935265:01crwdnd2935265:02crwdnd2935265:03crwdne2935265:0 Dell Vostro 3550 Disk Drive Tray Latch Replacement, Disk Drive Tray Latch Mechanism: crwdns2935265:01crwdnd2935265:03crwdnd2935265:03crwdne2935265:0
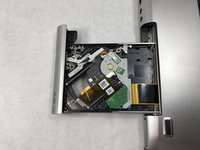
    • Push a paperclip that is bent straight into the small pin hole on the right of the release button.

    • When 3/4" of the paperclip is inserted the tray will pop open.

    • Pull the disk tray out as far as it will extend.

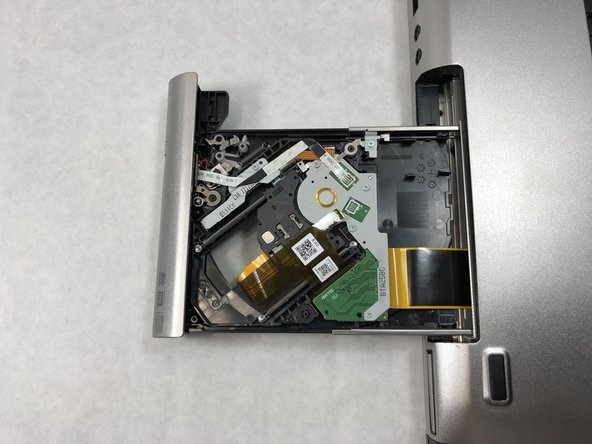
  2. Dell Vostro 3550 Disk Drive Tray Latch Replacement: crwdns2935265:02crwdnd2935265:01crwdnd2935265:03crwdne2935265:0 Dell Vostro 3550 Disk Drive Tray Latch Replacement: crwdns2935265:02crwdnd2935265:02crwdnd2935265:03crwdne2935265:0 Dell Vostro 3550 Disk Drive Tray Latch Replacement: crwdns2935265:02crwdnd2935265:03crwdnd2935265:03crwdne2935265:0
    • Flip the laptop over and position it so the disk drive is in front of you.

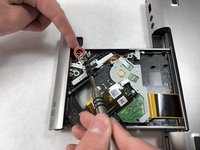
    • Remove the five 5mm Phillips #0 screws fastening the top plate to the disk tray.

  3. Dell Vostro 3550 Disk Drive Tray Latch Replacement: crwdns2935265:03crwdnd2935265:01crwdnd2935265:03crwdne2935265:0 Dell Vostro 3550 Disk Drive Tray Latch Replacement: crwdns2935265:03crwdnd2935265:02crwdnd2935265:03crwdne2935265:0 Dell Vostro 3550 Disk Drive Tray Latch Replacement: crwdns2935265:03crwdnd2935265:03crwdnd2935265:03crwdne2935265:0
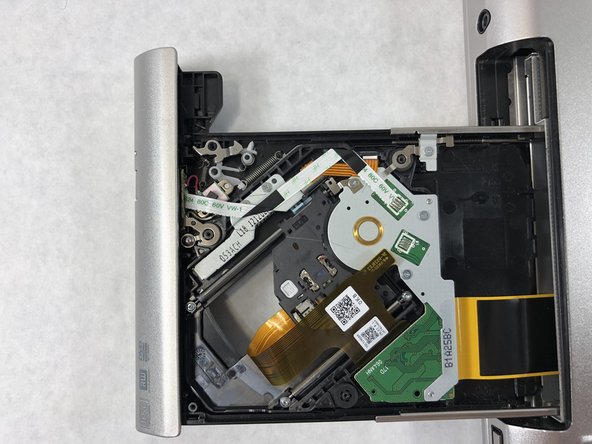
    • Remove the top plate of the disk tray and place it off to the side.

  4. Dell Vostro 3550 Disk Drive Tray Latch Replacement: crwdns2935265:04crwdnd2935265:01crwdnd2935265:03crwdne2935265:0 Dell Vostro 3550 Disk Drive Tray Latch Replacement: crwdns2935265:04crwdnd2935265:02crwdnd2935265:03crwdne2935265:0 Dell Vostro 3550 Disk Drive Tray Latch Replacement: crwdns2935265:04crwdnd2935265:03crwdnd2935265:03crwdne2935265:0
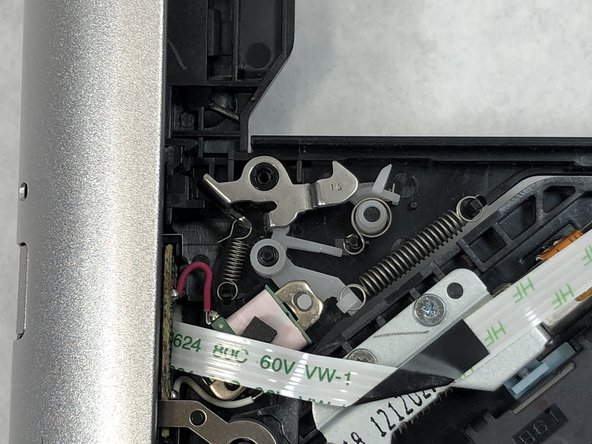
    • Remove the single 5mm Phillips #0 screw securing the latch mechanism to the disk drive.

    • Pull the damaged latch away from the disk drive and replace with the new latch.

crwdns2915888:0crwdne2915888:0

To reassemble your device, follow these instructions in reverse order.

Dylan J. Souza

crwdns2935283:003/22/19crwdne2935283:0

781 crwdns2915208:0crwdne2915208:0

crwdns2935297:05crwdne2935297:0

crwdns2915084:0crwdne2915084:0

UMass Dartmouth, Team S8-G6, Bailey Spring 2019 crwdns2935289:0UMass Dartmouth, Team S8-G6, Bailey Spring 2019crwdne2935289:0

UMASSD-BAILEY-S19S8G6

crwdns2931471:03crwdne2931471:0

crwdns2935297:07crwdne2935297:0

crwdns2944067:00crwdne2944067:0

crwdns2917038:0crwdne2917038:0

crwdns2936625:0crwdne2936625:0:

crwdns2936751:024crwdne2936751:0 0

crwdns2936753:07crwdne2936753:0 0

crwdns2936753:030crwdne2936753:0 1

crwdns2942667:0crwdne2942667:0 239