crwdns2915892:0crwdne2915892:0
The Motherboard is one of the most essential parts of a computer. The Motherboard allows the other components to "talk" to one another in order to carry out every process imaginable on a computer.
The Motherboard is one of the most complicated parts to remove on a computer, often times requiring removing every other part from the computer. Care must be taken to avoid damaging the more sensitive parts of the computer.
crwdns2942213:0crwdne2942213:0
-
-
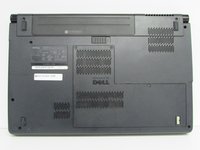
To begin, flip over the laptop.
-
-
-
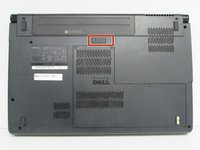
Next, slide the slider to the right and hold it in place.
-
-
-
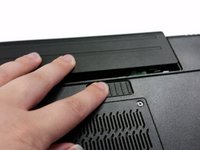
While holding down the slider, gently remove the battery.
-
-
-
The battery has been successfully removed.
-
-
-
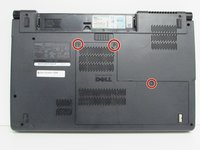
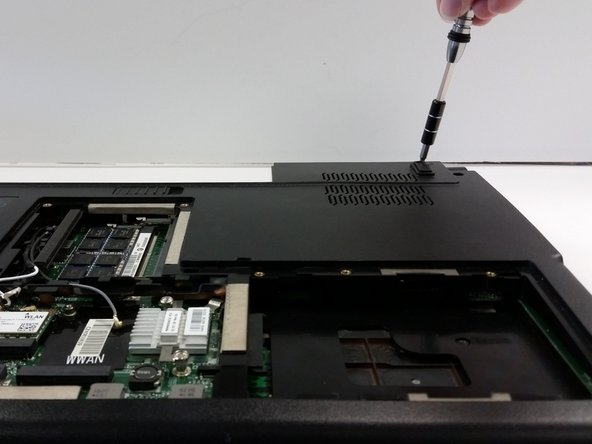
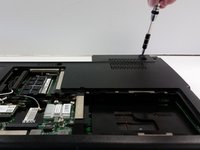
Unscrew the three screws (Phillips #0) on the back panel to reveal the innards underneath the panel. It is helpful to keep these screws in the holes of the back panel.
-
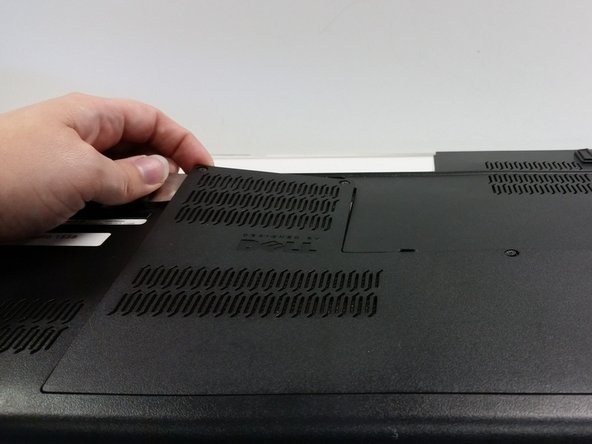
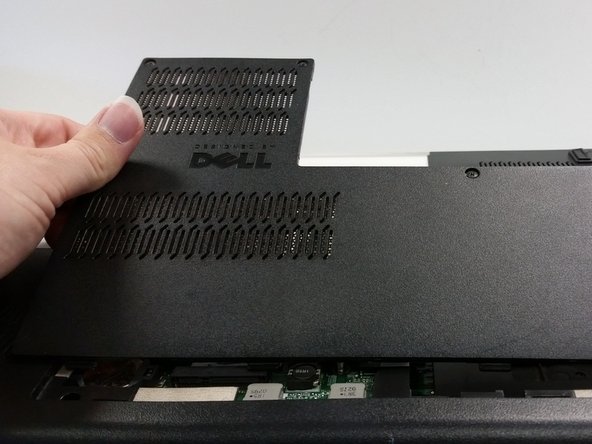
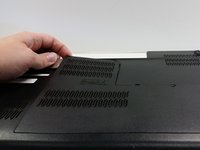
Pry the back panel off and set aside.
-
-
-
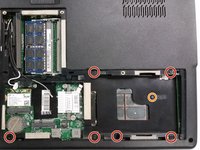
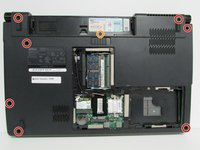
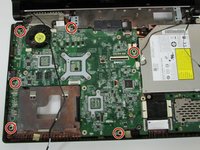
Remove the visible screws with a Phillips #0 screwdriver.
-
There are six regular screws.
-
There is one screw marked M 2X3 .
-
-
-
-
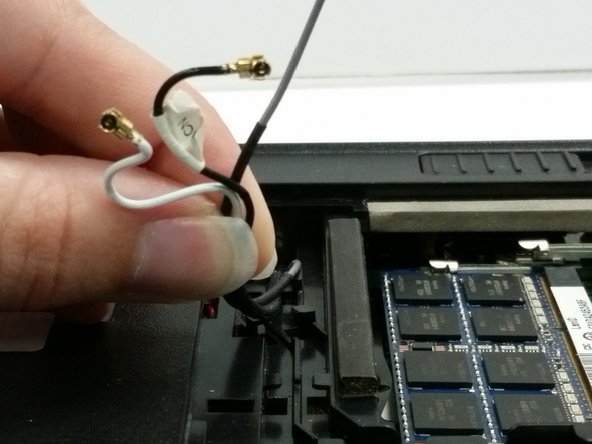
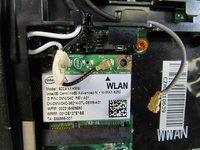
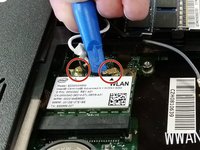
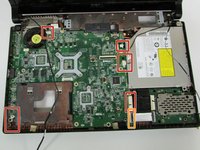
Disconnect the WLAN (Wi-Fi) antenna cables.
-
Gather the antenna cables (black, white, and grey) and unwind them from the clips they are pinned under to keep them from rattling around.
-
-
-
Remove the screws from the laptop's base.
-
There are seven regular screws.
-
There is one M2X3 screw that is where the battery was located.
-
-
-
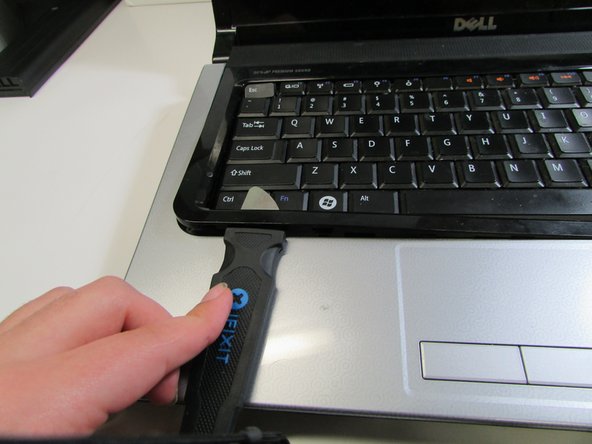
Now flip the laptop over and open it up.
-
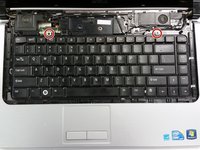
Insert a pry tool under the black plastic guard around the edge of the keyboard and pry the guard up. Plastic snaps are holding the guard in place.
-
Place the keyboard guard in a safe location out of harm's way.
-
-
-
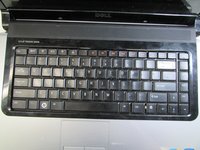
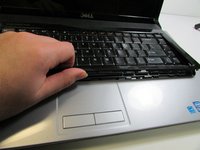
Use the Phillips screwdriver to remove the two screws that attach the keyboard to the casing.
-
Once the screws are out, gently tip the keyboard up to view the ribbon cable beneath.
-
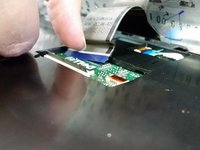
Carefully unlatch and remove the ribbon cable from the motherboard by lifting up the black tab (with a spudger or finger) and slipping the cable out.
-
Put the keyboard off to the side. Make sure it is in a secure location.
-
-
-
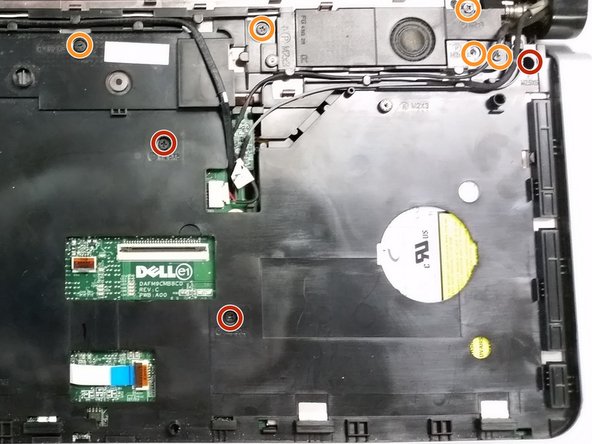
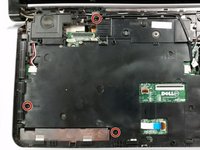
Remove M2. 5x5 screws (6 total)
-
Remove M2x3 screws (5 total)
-
-
-
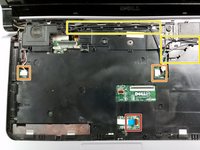
Let's undo some cables!
-
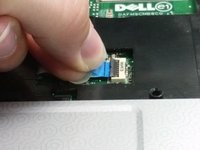
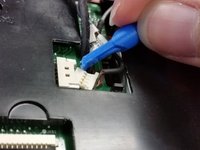
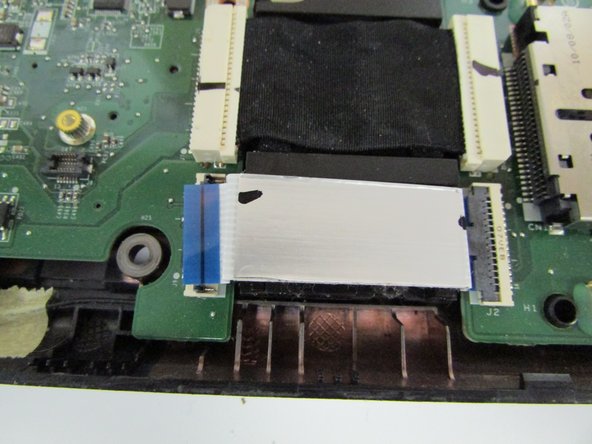
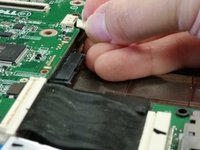
Disconnect the ribbon from the ZIF (Zero Insertion Force) connector by flipping up the small black flap with a spudger or fingernail and removing the cable using the blue tab to pull away.
-
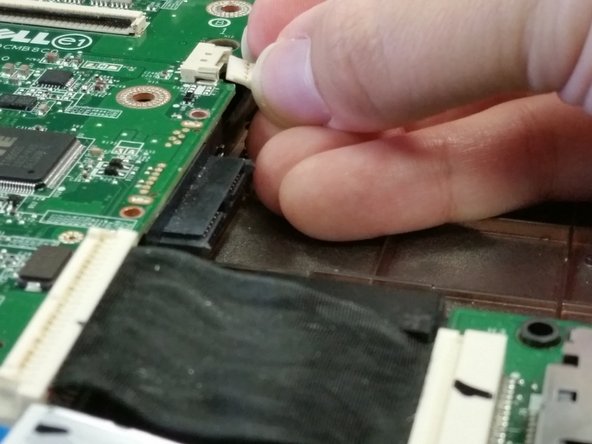
Undo both bundled cable connectors by pulling collectively on the wires and helping it along with a spudger to disconnect.
-
Once the cables are disconnected, unthread the cables from their grooved paths in the upper housing.
-
-
-
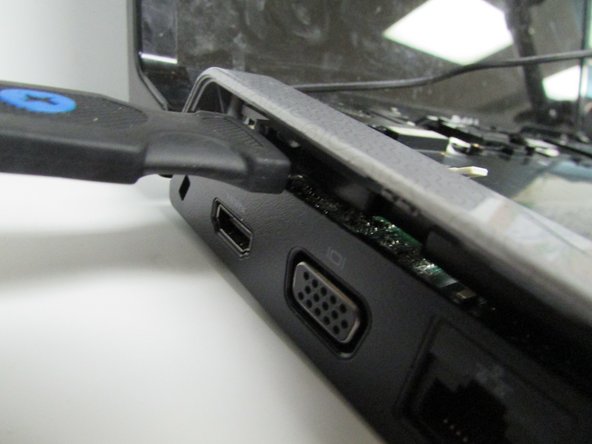
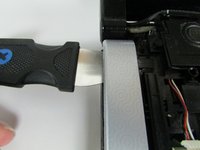
Now, to remove the rest of the upper casing (the silver part which includes the touchpad).
-
Take the flat edge of a pry tool and slip it between the upper and lower casings.
-
Pry the upper casing up with the pry tool. You will hear some snaps as it comes loose. Those are supposed to happen.
-
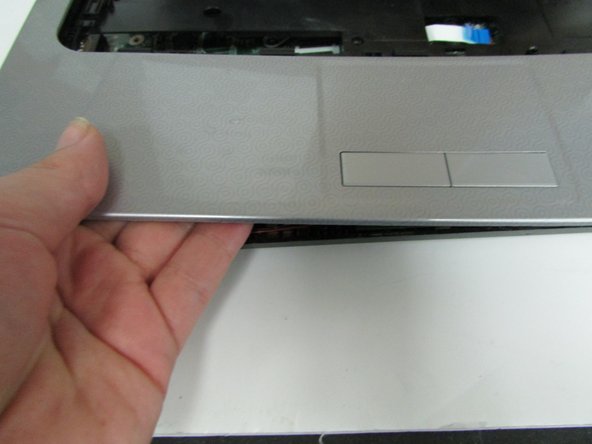
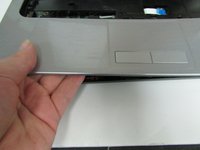
Once you got enough lifted up, you can take your hand and pry it up that way.
-
-
-
Disconnect any visible cables that you can spot and access.
-
There are five bundled cables that you can removed by gently tugging on the gathered wires as you assist it's exit with a spudger.
-
Disconnect the ZIF connector by flipping up the black flap with a fingernail or spudger and then pulling the ribbon cable away.
-
-
-
Remove the screws from the board that are labeled B. There should be 6 of them.
-
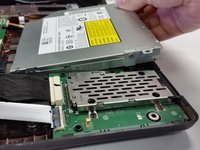
We're going to remove the DVD/CD Drive next, so make sure that the two ribbons that are next to the CD drive are disconnected.
-
-
-
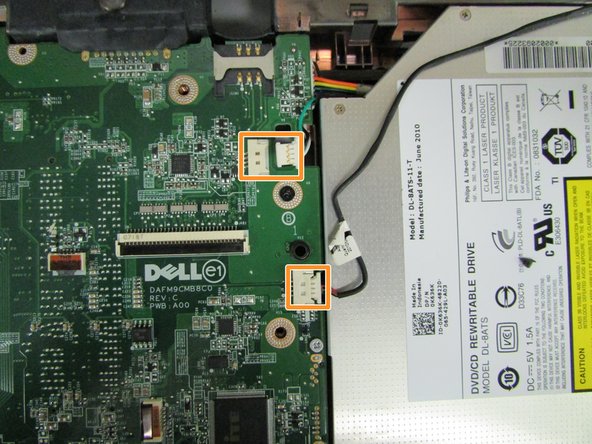
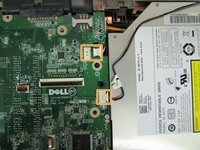
The next step will be to remove the CD/DVD drive from the laptop.
-
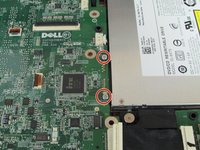
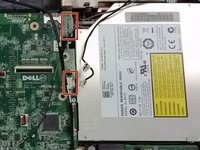
Unscrew the two silver screws attached to the motherboard.
-
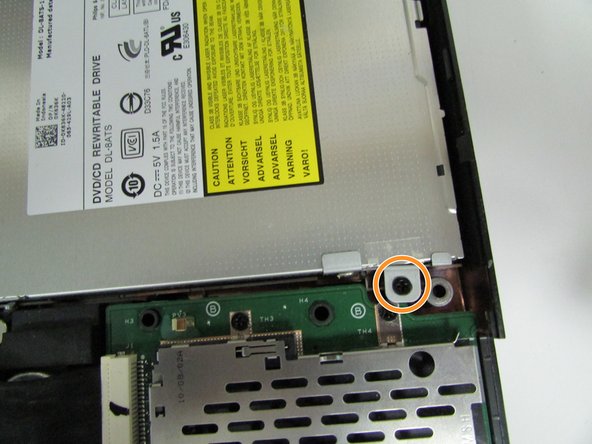
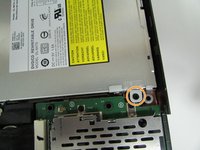
Then unscrew the black screw attaching it to the motherboard close to the outer edge of the laptop.
-
Lift the CD ROM slightly, and disengage it from the motherboard.
-
-
-
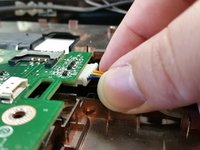
Disconnect two more bundled cables you're now able to access with the CD/DVD drive removed.
-
-
-
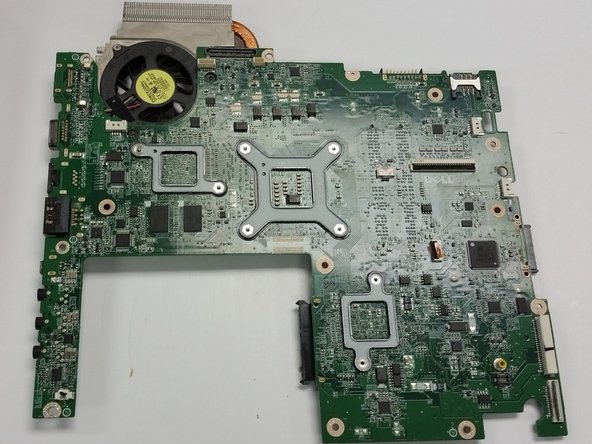
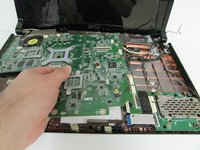
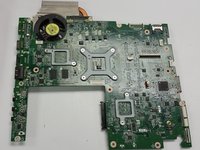
Lift the motherboard up and out of the case and set the case aside.
-


To reassemble your device, follow these instructions in reverse order. Take care when placing the components back in to avoid damaging any of the parts.
crwdns2935287:0crwdne2935287:0

IUPUI, Team 4-4, Beck Spring 2022 crwdns2935289:0IUPUI, Team 4-4, Beck Spring 2022crwdne2935289:0
IUPUI-BECK-S22S4G4
crwdns2931471:04crwdne2931471:0
crwdns2935297:04crwdne2935297:0