crwdns2933423:0crwdne2933423:0

Dell Precision M4700 RAM Replacement

crwdns2942213:0crwdne2942213:0

  1. Dell Precision M4700 RAM Replacement, RAM: crwdns2935265:01crwdnd2935265:01crwdnd2935265:03crwdne2935265:0 Dell Precision M4700 RAM Replacement, RAM: crwdns2935265:01crwdnd2935265:02crwdnd2935265:03crwdne2935265:0 Dell Precision M4700 RAM Replacement, RAM: crwdns2935265:01crwdnd2935265:03crwdnd2935265:03crwdne2935265:0
    • Unplug the charging cable before disassembly to avoid electric shocks.

    • Shut down the laptop.

    • Slide the battery eject button to the right until the battery lifts.

    • Carefully remove the battery from the laptop.

  2. Dell Precision M4700 RAM Replacement: crwdns2935265:02crwdnd2935265:01crwdnd2935265:03crwdne2935265:0 Dell Precision M4700 RAM Replacement: crwdns2935265:02crwdnd2935265:02crwdnd2935265:03crwdne2935265:0 Dell Precision M4700 RAM Replacement: crwdns2935265:02crwdnd2935265:03crwdnd2935265:03crwdne2935265:0
    • Remove two 5 mm screws using a Phillips #0 screwdriver.

  3. Dell Precision M4700 RAM Replacement: crwdns2935265:03crwdnd2935265:01crwdnd2935265:02crwdne2935265:0 Dell Precision M4700 RAM Replacement: crwdns2935265:03crwdnd2935265:02crwdnd2935265:02crwdne2935265:0
    • Slide the back panel upwards.

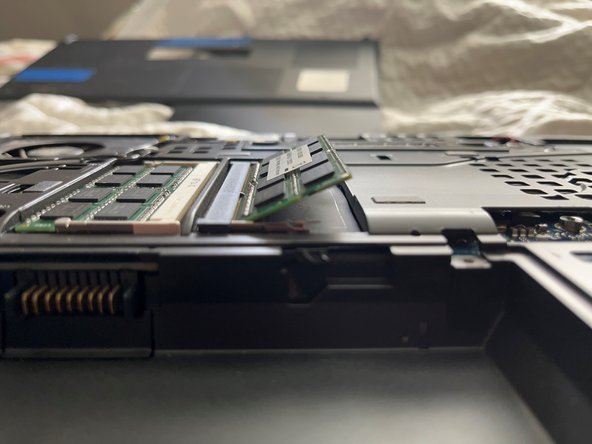
    • Lift the panel out of the way to access the RAM bay.

  4. Dell Precision M4700 RAM Replacement: crwdns2935265:04crwdnd2935265:01crwdnd2935265:02crwdne2935265:0 Dell Precision M4700 RAM Replacement: crwdns2935265:04crwdnd2935265:02crwdnd2935265:02crwdne2935265:0
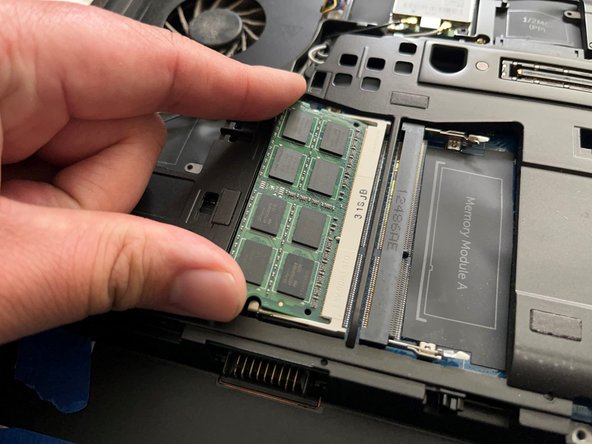
    • Use your fingers to push the metal retaining clips in opposite directions.

    • The RAM will pop up.

    • Remove the RAM from its slot.

  5. Dell Precision M4700 RAM Replacement: crwdns2935265:05crwdnd2935265:01crwdnd2935265:02crwdne2935265:0 Dell Precision M4700 RAM Replacement: crwdns2935265:05crwdnd2935265:02crwdnd2935265:02crwdne2935265:0
    • If you have purchased more than one RAM chipset, repeat Step 4 for the right side of the RAM bay.

crwdns2915888:0crwdne2915888:0

To reassemble your device, follow these instructions in reverse order.

crwdns2935227:0crwdne2935227:0

dvalencia

crwdns2935283:002/21/24crwdne2935283:0

148 crwdns2915208:0crwdne2915208:0

crwdns2935295:0crwdne2935295:0

crwdns2947412:00crwdne2947412:0

crwdns2917038:0crwdne2917038:0

crwdns2936625:0crwdne2936625:0:

crwdns2936751:024crwdne2936751:0 0

crwdns2936753:07crwdne2936753:0 4

crwdns2936753:030crwdne2936753:0 15

crwdns2942667:0crwdne2942667:0 169