crwdns2915892:0crwdne2915892:0
These are the steps to remove the screen from the Precision Dell 5510, see the prerequisites for the back removal.
crwdns2942213:0crwdne2942213:0
-
-
Open the system badge flap over to reveal the screws underneath (marked 1 on the image).
-
Remove the 12 screws that secure the base cover to the computer.
-
-
-
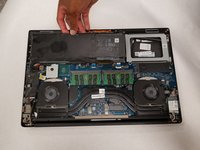
Pry the edges base cover and lift it to remove it from computer.
-
-
-
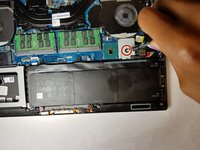
Unplug the connection that links the battery to the computer.
-
-
-
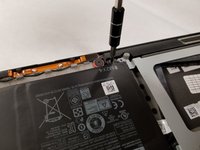
Remove the four 4.0 mm JIS #0 screws surrounding the battery.
-
-
-
-
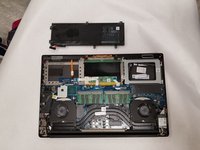
Carefully remove the battery from the computer.
-
-
-
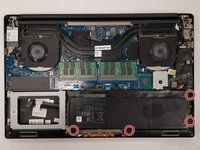
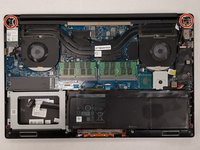
Remove the six 4.0 mm Phillips #1 screws.
-
-
-
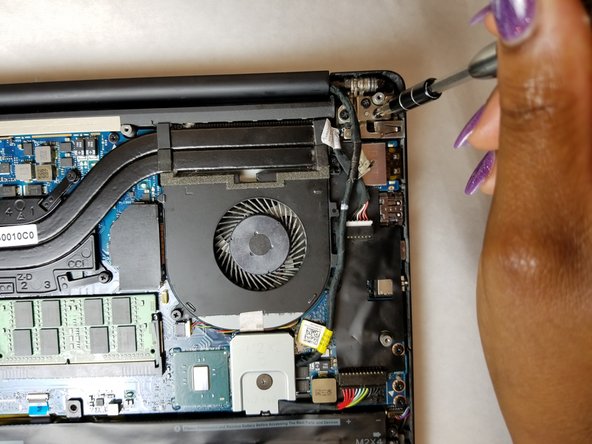
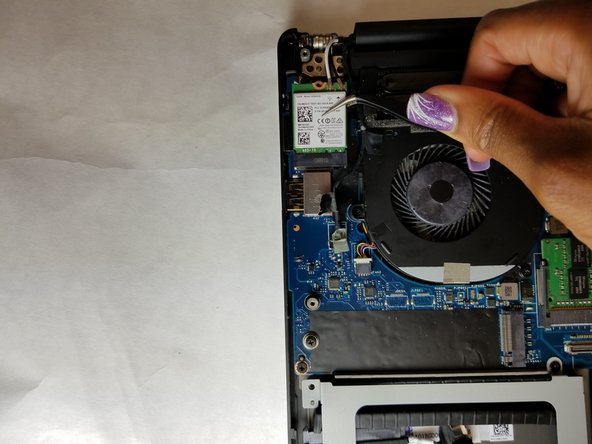
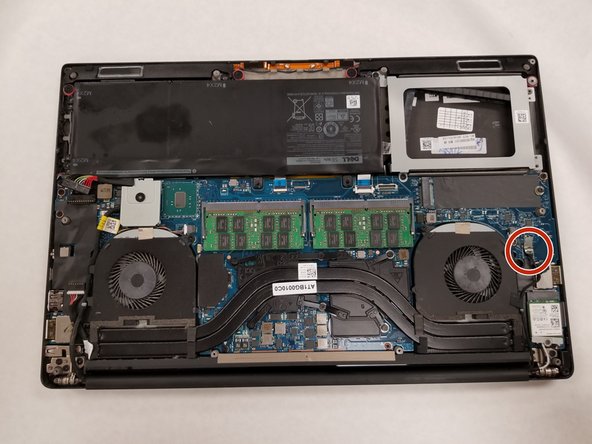
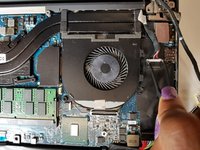
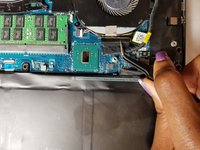
Unscrew the one 4.0 mm Phillips #1 screw from the WiFi chip, then remove it.
-
-
crwdns2935267:0crwdne2935267:0Tweezers$4.99
-
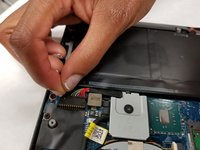
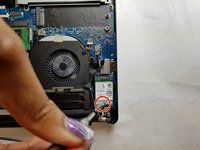
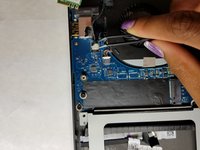
Disconnect the black wire. Use tweezers to help.
-
-
-
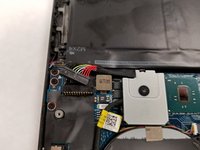
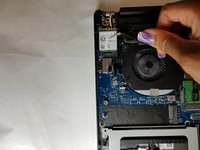
Disconnect the multi wire. Use tweezers to help.
-
-
-
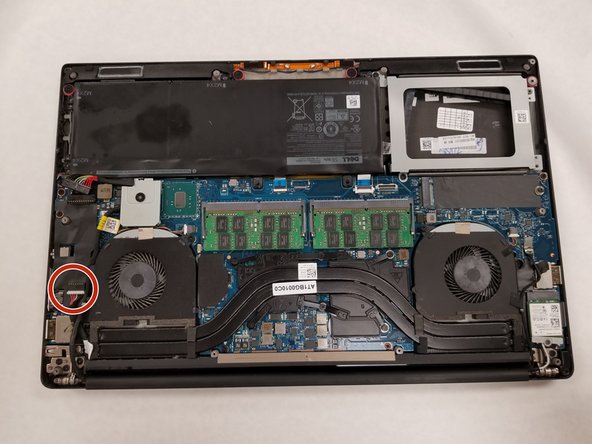
Remove the 1.0 mm Phillips #1 screw.
-
-
-
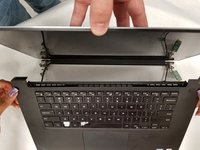
Flip the laptop over, so it is sitting in the normal upright position. Hold onto the screen, and pull the keyboard up and away from the screen.
-


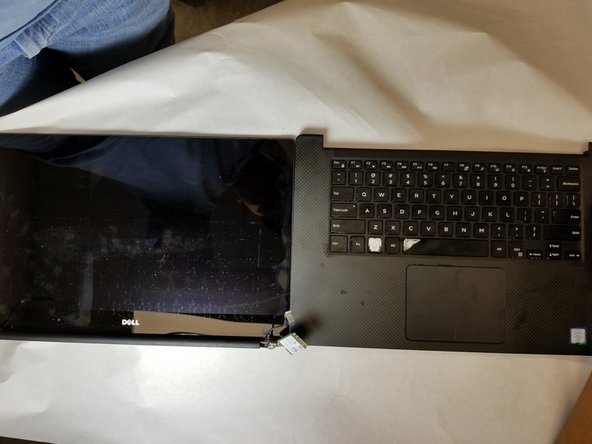

To reassemble your device, follow these instructions in reverse order.
crwdns2935221:0crwdne2935221:0
crwdns2935227:0crwdne2935227:0
crwdns2935287:0crwdne2935287:0

IUPUI, Team S1-G5, Arle Fall 2018 crwdns2935289:0IUPUI, Team S1-G5, Arle Fall 2018crwdne2935289:0
IUPUI-ARLE-F18S1G5
crwdns2931471:03crwdne2931471:0
crwdns2935297:06crwdne2935297:0
crwdns2947410:01crwdne2947410:0
Can I just change the LCD? Or is changing the entire display assembly the only option?