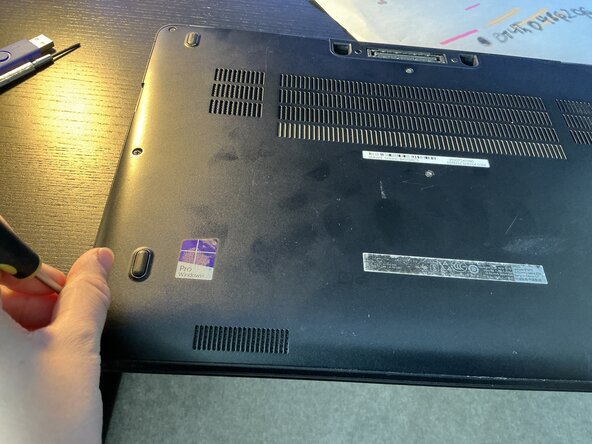
crwdns2942213:0crwdne2942213:0
-
-
It is important to remove these if needed.
-
-
-
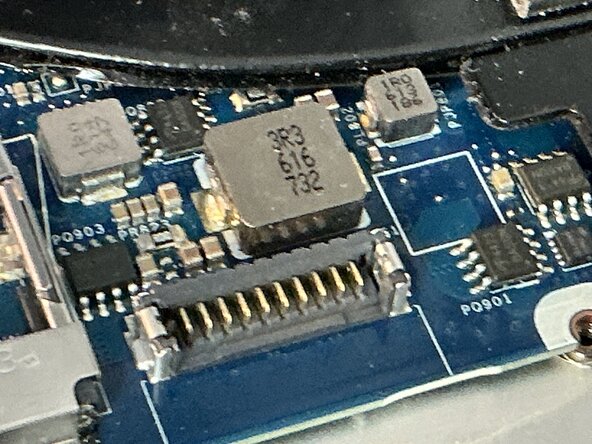
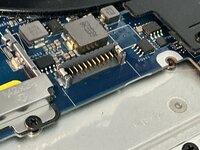
Disconnect the cable to release the battery
-
-
-
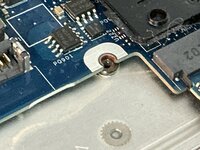
Unscrew battery with all screws removed from the battery
-
-
-
-
Unbox the battery by peeling the tabs as you see in the box. Next, lift it up and take it out of its wrap
-
-
-
Screw the screws after you place the battery inside.
-
-
-
Put back the backplate by putting it on the bottom of the laptop. Screw all screws in.
-
-
-
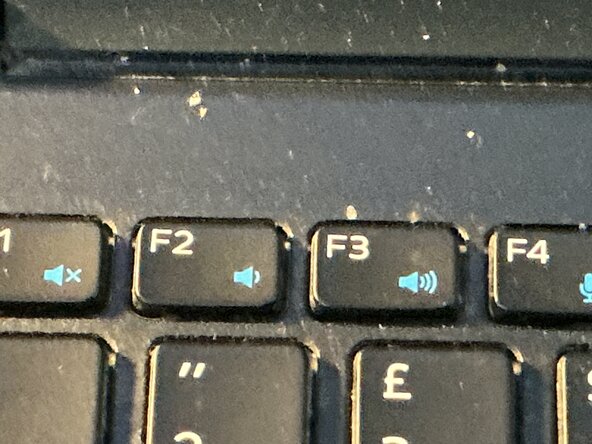
Plug in the charger and turn on the laptop. Hit F2 repeatedly and you’re in the BIOS.
-
-
-
Go to Security > Data wipe. On the conformation screen, tap on Wipe On Next Boot option, then tap Save Changes.
-
Tap “Continue” to confirm that all data will be erased and on Windows Server, the device will disappear from the list.
-


To reassemble your device, reverse steps 1-3
To reassemble your device, reverse steps 1-3
