crwdns2933423:0crwdne2933423:0

Dell Latitude E6440 Hard Drive Replacement

crwdns2942213:0crwdne2942213:0

    • Make sure all external components are removed from the device( ie. USBs, power cords, network cables, headphones, etc.) and the device is powered off.

  1. Dell Latitude E6440 Hard Drive Replacement, Remove Battery: crwdns2935265:02crwdnd2935265:01crwdnd2935265:03crwdne2935265:0 Dell Latitude E6440 Hard Drive Replacement, Remove Battery: crwdns2935265:02crwdnd2935265:02crwdnd2935265:03crwdne2935265:0 Dell Latitude E6440 Hard Drive Replacement, Remove Battery: crwdns2935265:02crwdnd2935265:03crwdnd2935265:03crwdne2935265:0
    • Slide the battery release latches into the unlock position. Then, rotate the outer edge of the battery upward and remove from the system.

  2. Dell Latitude E6440 Hard Drive Replacement, Remove Screws: crwdns2935265:03crwdnd2935265:01crwdnd2935265:01crwdne2935265:0
    • After removing the battery, locate the two screws securing the hard drive assembly in place and remove them.

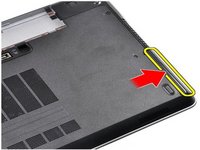
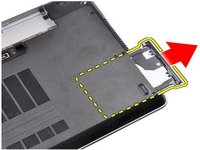
  3. Dell Latitude E6440 Hard Drive Replacement, Remove Hard Drive Assembly: crwdns2935265:04crwdnd2935265:01crwdnd2935265:02crwdne2935265:0 Dell Latitude E6440 Hard Drive Replacement, Remove Hard Drive Assembly: crwdns2935265:04crwdnd2935265:02crwdnd2935265:02crwdne2935265:0
    • Press on the edge of the hard drive assembly to disengage from the slot. Then, remove the hard drive assembly.

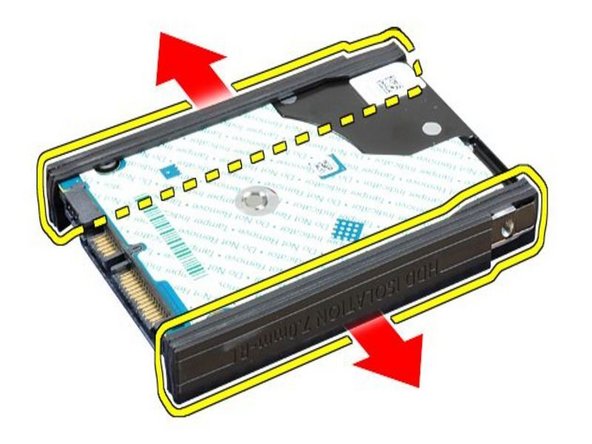
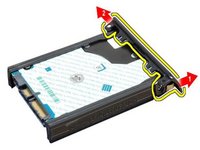
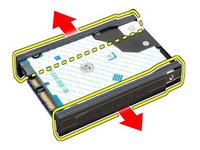
  4. Dell Latitude E6440 Hard Drive Replacement, Remove Hard Drive Caddy: crwdns2935265:05crwdnd2935265:01crwdnd2935265:03crwdne2935265:0 Dell Latitude E6440 Hard Drive Replacement, Remove Hard Drive Caddy: crwdns2935265:05crwdnd2935265:02crwdnd2935265:03crwdne2935265:0 Dell Latitude E6440 Hard Drive Replacement, Remove Hard Drive Caddy: crwdns2935265:05crwdnd2935265:03crwdnd2935265:03crwdne2935265:0
    • Remove the single screw holding the hard drive door in place. Next, separate the right edge of the hard drive door and remove the hard drive door. Then, peel off and remove the hard drive isolations on both sides.

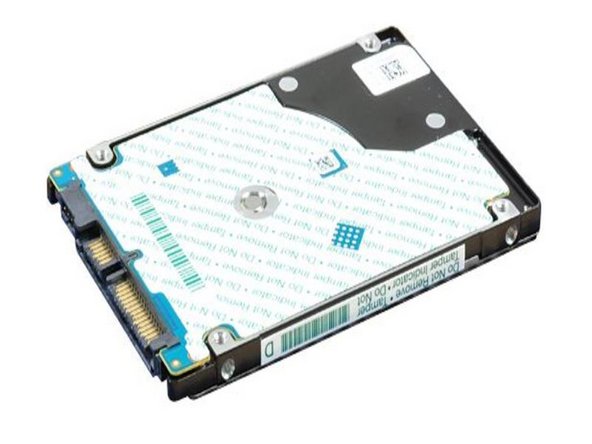
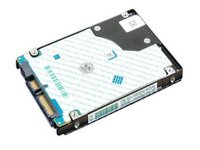
    • With your new hard drive, complete the previous steps in reverse order and reinsert the battery.

crwdns2915888:0crwdne2915888:0

To reassemble your device, follow these instructions in reverse order.

crwdns2935227:0crwdne2935227:0

Aaron Thomas

crwdns2935283:002/16/21crwdne2935283:0

1,194 crwdns2915208:0crwdne2915208:0

crwdns2935297:010crwdne2935297:0

crwdns2915084:0crwdne2915084:0

RampUP America, Inc. crwdns2935289:0RampUP America, Inc.crwdne2935289:0

Community

crwdns2931471:042crwdne2931471:0

crwdns2935297:01,989crwdne2935297:0

crwdns2944067:00crwdne2944067:0

crwdns2917038:0crwdne2917038:0

crwdns2936625:0crwdne2936625:0:

crwdns2936751:024crwdne2936751:0 3

crwdns2936753:07crwdne2936753:0 5

crwdns2936753:030crwdne2936753:0 23

crwdns2942667:0crwdne2942667:0 1,257