crwdns2915892:0crwdne2915892:0
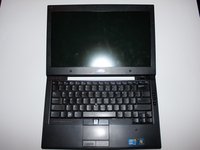
This guide walks through how to remove and replace a display on the Dell Latitude E4310 laptop in the event of a broken or bad display.
crwdns2942213:0crwdne2942213:0
-
-
Power down the laptop and remove all power cords.
-
-
-
Push in the battery release button with your thumb.
-
Pull up on the battery to remove.
-
-
-
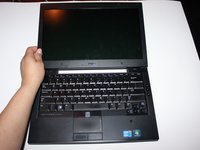
Open up the laptop and flatten it down on a workable surface.
-
Turn it around so that the screen is closest to you.
-
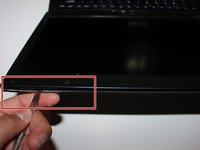
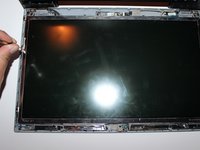
Insert the flat end of a spudger, or plastic opening tool, into the groove between the screen bezel and top case.
-
Twist the spudger, or plastic opening tool, until you hear a clicking sound and continue doing this around the entirety of the display.
-
Remove the bezel.
-
-
-
-
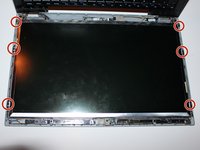
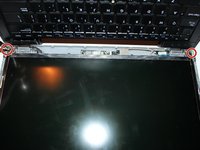
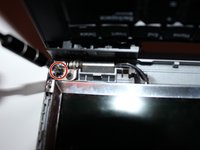
Remove the six 0.3mm Phillips #1 screws.
-
-
-
Remove the two 0.5mm Phillips #1 screws.
-
-
-
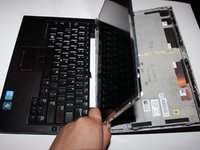
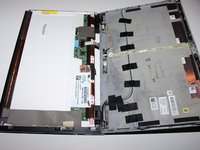
Carefully lift the screen up and flip it over onto the keyboard side as if you were turning the page of a book.
-
-
crwdns2935267:0crwdne2935267:0Tweezers$4.99
-
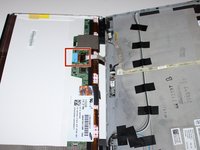
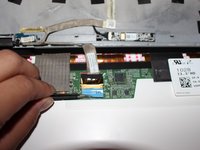
Use a pair of tweezers to flip the blue tape 180 degrees.
-


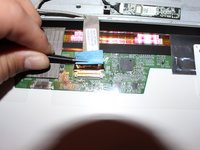

To reassemble your device, follow these instructions in reverse order.
To reassemble your device, follow these instructions in reverse order.
crwdns2935221:0crwdne2935221:0
crwdns2935229:06crwdne2935229:0
crwdns2915084:0crwdne2915084:0

University of North Texas, Team S1-G5, Thompson Spring 2018 crwdns2935289:0University of North Texas, Team S1-G5, Thompson Spring 2018crwdne2935289:0
UNT-THOMPSON-S18S1G5
crwdns2931471:04crwdne2931471:0
crwdns2935297:08crwdne2935297:0