crwdns2933423:0crwdne2933423:0

Dell Latitude 5401 RAM Replacement

crwdns2942213:0crwdne2942213:0

  1. Dell Latitude 5401 RAM Replacement, RAM: crwdns2935265:01crwdnd2935265:01crwdnd2935265:02crwdne2935265:0 Dell Latitude 5401 RAM Replacement, RAM: crwdns2935265:01crwdnd2935265:02crwdnd2935265:02crwdne2935265:0
    • Disconnect any devices plugged into the computer.

    • Hold the power button down for 5-10 seconds to shutdown the laptop.

    • Note that during installation or removal of any hardware ensure all data has been backed up properly.

  2. Dell Latitude 5401 RAM Replacement: crwdns2935265:02crwdnd2935265:01crwdnd2935265:02crwdne2935265:0 Dell Latitude 5401 RAM Replacement: crwdns2935265:02crwdnd2935265:02crwdnd2935265:02crwdne2935265:0
    • Flip the laptop so the bottom is facing up.

    • Use a small Phillips screwdriver to loosen the eight screws on the back case.

    • The screws are captive and will remain attached loosely to the lower case.

  3. Dell Latitude 5401 RAM Replacement: crwdns2935265:03crwdnd2935265:01crwdnd2935265:03crwdne2935265:0 Dell Latitude 5401 RAM Replacement: crwdns2935265:03crwdnd2935265:02crwdnd2935265:03crwdne2935265:0 Dell Latitude 5401 RAM Replacement: crwdns2935265:03crwdnd2935265:03crwdnd2935265:03crwdne2935265:0
    crwdns2935267:0crwdne2935267:0
    Plastic Cards
    $2.99
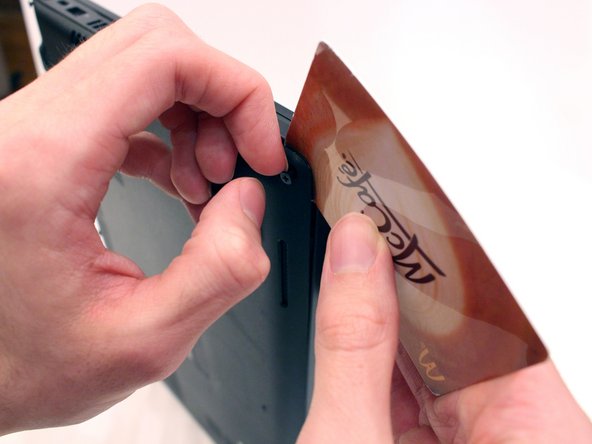
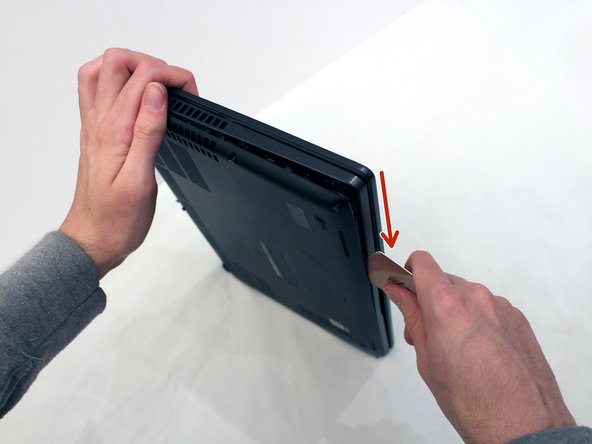
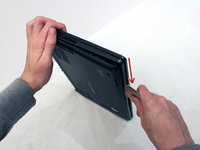
    • Expose the seam that connects the laptop case by pulling on a corner screw while holding the base.

    • Insert a plastic card into the gap.

    • Slide the card around the perimeter of the case to release the clips.

    • Gently pry the laptop apart.

    • This step can be difficult and will take some time and strength!

  4. Dell Latitude 5401 RAM Replacement: crwdns2935265:04crwdnd2935265:01crwdnd2935265:03crwdne2935265:0 Dell Latitude 5401 RAM Replacement: crwdns2935265:04crwdnd2935265:02crwdnd2935265:03crwdne2935265:0 Dell Latitude 5401 RAM Replacement: crwdns2935265:04crwdnd2935265:03crwdnd2935265:03crwdne2935265:0
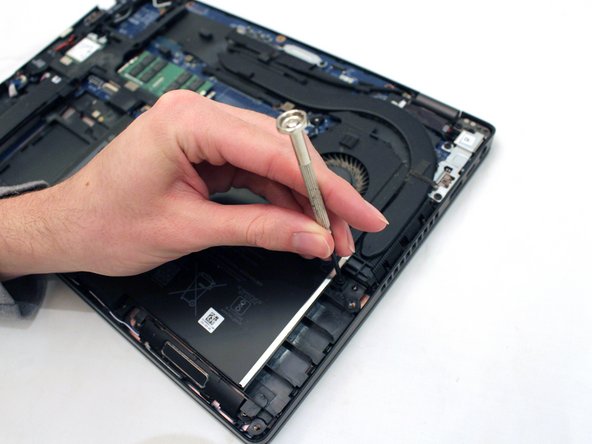
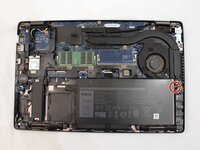
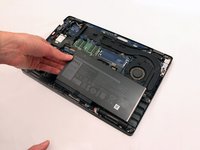
    • Use a small Phillips screwdriver to loosen the two screws securing the battery.

    • These screws are captive and should not be removed.

    • If the battery is swollen, be very careful and follow these safety suggestions.

  5. Dell Latitude 5401 RAM Replacement: crwdns2935265:05crwdnd2935265:01crwdnd2935265:02crwdne2935265:0 Dell Latitude 5401 RAM Replacement: crwdns2935265:05crwdnd2935265:02crwdnd2935265:02crwdne2935265:0
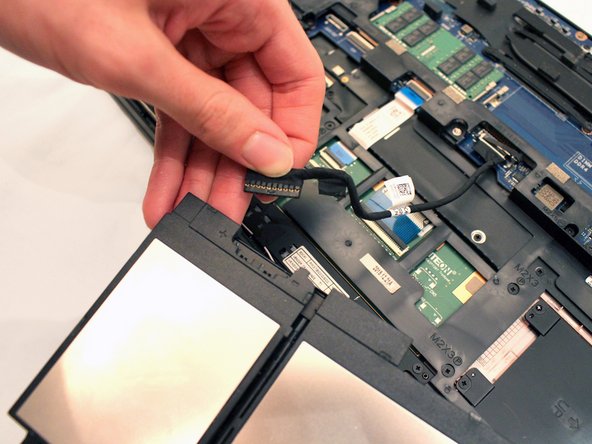
    • Carefully remove the battery from the case.

    • Flip the battery over.

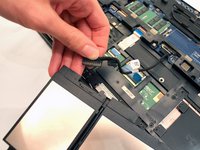
    • Grip the battery cable tab and pull the cable from the battery to separate it from the device.

    • Do not bend or twist the battery during the removal.

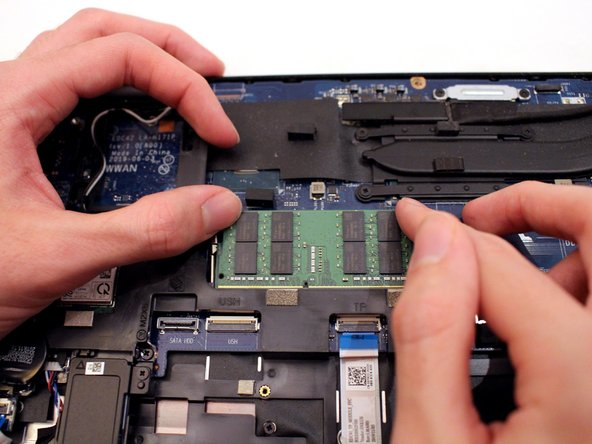
  6. Dell Latitude 5401 RAM Replacement: crwdns2935265:06crwdnd2935265:01crwdnd2935265:03crwdne2935265:0 Dell Latitude 5401 RAM Replacement: crwdns2935265:06crwdnd2935265:02crwdnd2935265:03crwdne2935265:0 Dell Latitude 5401 RAM Replacement: crwdns2935265:06crwdnd2935265:03crwdnd2935265:03crwdne2935265:0
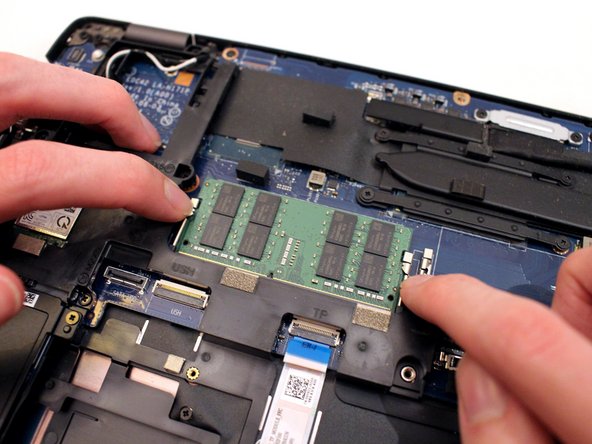
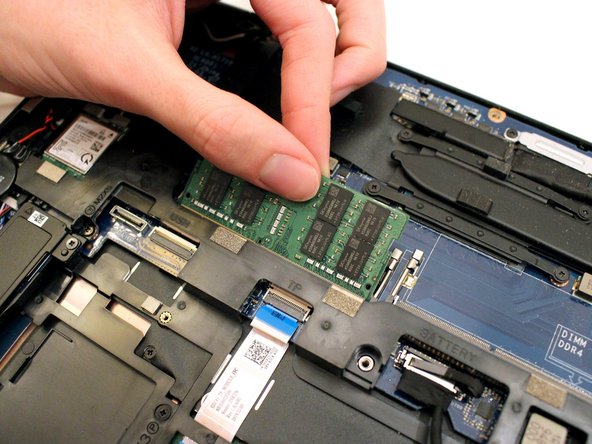
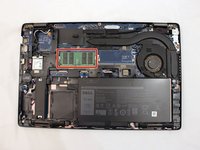
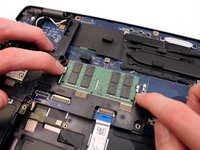
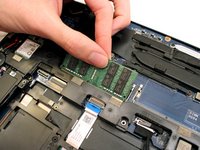
    • Gently pull the metal arms on both sides of the RAM stick away slightly to release it.

    • The RAM will pop up by a few millimeters.

    • Remove it at an angle and not straight up so you don't damage the socket.

    • Check online to see how to properly dispose of e-waste in your region.

  7. Dell Latitude 5401 RAM Replacement: crwdns2935265:07crwdnd2935265:01crwdnd2935265:02crwdne2935265:0 Dell Latitude 5401 RAM Replacement: crwdns2935265:07crwdnd2935265:02crwdnd2935265:02crwdne2935265:0
    • Insert the new RAM stick into the slot at the same angle that you used to remove the original.

    • Be sure to insert the grooved edge into the socket so the pins line up correctly to avoid damaging the socket and the RAM.

    • Push down on the RAM until you hear a "click".

    • The two metal arms should now hold the RAM in place.

  8. Dell Latitude 5401 RAM Replacement: crwdns2935265:08crwdnd2935265:01crwdnd2935265:01crwdne2935265:0
    • Reconnect the battery cable.

    • Screw the battery back into place.

  9. Dell Latitude 5401 RAM Replacement: crwdns2935265:09crwdnd2935265:01crwdnd2935265:01crwdne2935265:0
    • Using both hands, push the lower cover back onto the laptop.

    • You should hear a "click" when it is correctly attached.

    • Use a small Phillips screwdriver to secure the eight captive screws on the bottom cover.

crwdns2915888:0crwdne2915888:0

Congratulations, you have successfully replaced your laptop RAM, saved money, and reduced your carbon footprint!

crwdns2935227:0crwdne2935227:0

Jordan Millar

crwdns2935283:001/10/24crwdne2935283:0

169 crwdns2915208:0crwdne2915208:0

crwdns2935295:0crwdne2935295:0

crwdns2915084:0crwdne2915084:0

York University, Team 2-21, O'Regan Winter 2024 crwdns2935289:0York University, Team 2-21, O'Regan Winter 2024crwdne2935289:0

YORK-O'REGAN-W24S2G21

crwdns2934841:01crwdne2934841:0

crwdns2935303:01crwdne2935303:0

crwdns2947412:00crwdne2947412:0

crwdns2917038:0crwdne2917038:0

crwdns2936625:0crwdne2936625:0:

crwdns2936751:024crwdne2936751:0 1

crwdns2936753:07crwdne2936753:0 6

crwdns2936753:030crwdne2936753:0 17

crwdns2942667:0crwdne2942667:0 292