crwdns2942213:0crwdne2942213:0
-
-
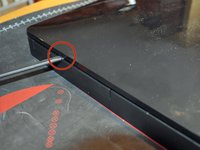
Press the tab on the stand cover and lift up.
-
-
-
Remove the four phillips screws that attach the stand to the computer.
-
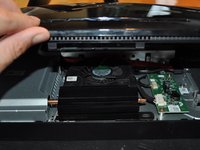
Tilt the stand up and out.
-
-
-
-
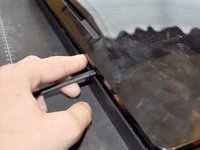
Starting from the optical drive, pry the back cover up with a plastic spudger.
-
-
-
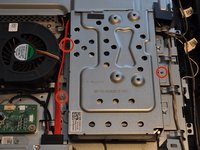
Remove the three screws that hold the hard drive cage to the chassis.
-
-
-
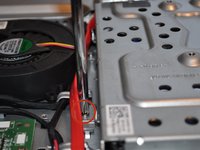
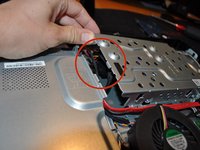
Slide the hard drive cage out slightly to access and remove the power and SATA cable.
-
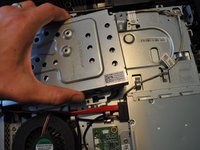
Lift the hard drive cage out.
-
-
-
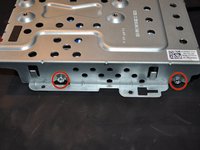
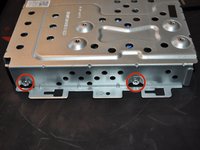
Remove the four screws (two on each side) that attach the hard drive cage to the hard drive.
-
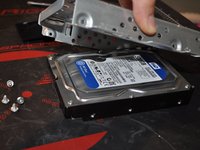
Lift the hard drive cage off the hard drive.
Excellent guide, was a super easy swap. I put an SSD in it!!
Hey Just one question, is the HDD SATA 2 or SATA 3? Just wanted to know so I can purchase an SDD with the correct specification.
-


To reassemble your device, follow these instructions in reverse order.
To reassemble your device, follow these instructions in reverse order.
crwdns2935221:0crwdne2935221:0
crwdns2935229:035crwdne2935229:0


crwdns2947412:03crwdne2947412:0
Thanks for this info this is very useful
Thank you once again
Good Job, short and sweet and easy to follow
Really useful information thank you.