crwdns2915892:0crwdne2915892:0
Is your motherboard damaged or are you looking for an upgrade? if so, this guide will show you how to locate and replace a motherboard.
crwdns2942213:0crwdne2942213:0
-
-
Locate the battery on the underside of the laptop.
-
Push the two battery clips following the direction of the arrows.
-
-
-
Push upward from the base of the battery.
-
-
-
Pull battery away from computer until it is fully removed.
-
-
-
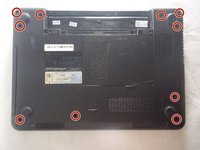
Remove the 10 2.5x5 mm screws from the base of the laptop.
-
-
-
Unscrew the final 2.5x5 mm screw attached to the cover.
-
-
-
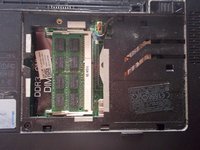
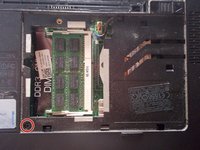
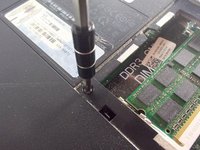
Unscrew the 2.5x5 mm screw inside the RAM compartment.
-
-
-
-
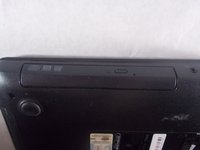
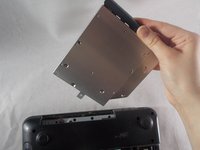
Remove the disk drive from the side of the computer.
-
-
-
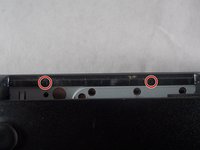
Unscrew the two 2x3 mm screws inside the disk drive compartment.
-
-
-
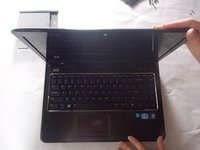
Flip the computer over, and open the laptop.
-
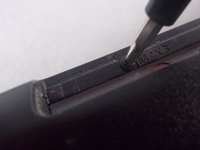
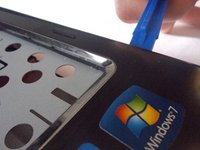
Use a plastic opening tool to begin to remove the keyboard.
-
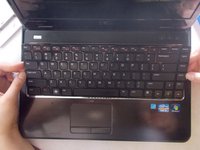
Use your hands to finish separating the keyboard from the laptop.
-
-
-
Lift the black clip from the tan connection for the keyboard.
-
Pull the the connection away from the clip.
-
Move the keyboard away from the laptop.
-
-
-
Lift the black clips from the tan connections for all 3 locations marked.
-
Remove the connections from the clips.
-
-
-
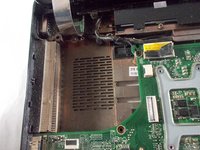
Use plastic opening tools to remove base cover.
-
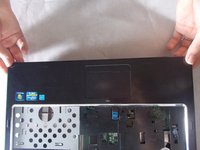
Use your hands to fully remove cover from the base.
-
-
-
Disconnect the two cables that connect the speaker and the fan.
-
-
-
Disconnect the ribbon cable over the screw to reveal it. Flip up the latch and pull gently on the ribbon to remove it from the connector.
-
Unscrew the 2.5x5 mm screw from the fan.
-
-
-
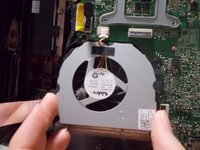
Pull up and remove the fan from the laptop.
-
-
-
Unscrew the six 2.5x5mm screws from the motherboard.
-
Note that this screw may be "retained" by the loop at the end of the grounding wire.
-
-
-
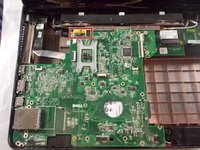
Disconnect the black and yellow cable from the motherboard.
-
-
-
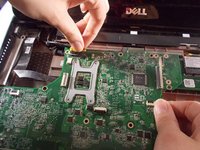
Begin to separate the motherboard from the laptop
-
-
-
Remove the final cable from the motherboard
-


To reassemble your device, follow these instructions in reverse order.
To reassemble your device, follow these instructions in reverse order.
crwdns2935221:0crwdne2935221:0
crwdns2935229:02crwdne2935229:0
crwdns2915084:0crwdne2915084:0

UMass Dartmouth, Team S5-G1, Peak Spring 2018 crwdns2935289:0UMass Dartmouth, Team S5-G1, Peak Spring 2018crwdne2935289:0
UMASSD-PEAK-S18S5G1
crwdns2931471:03crwdne2931471:0
crwdns2935297:06crwdne2935297:0
crwdns2947412:02crwdne2947412:0
After pulling off the battery, the step to remove the four M2x3 mm screws was forgotten. Please update the guide.
Hi my Friend, can you send me a picture in this zone, i need change a transistor smd to controller the battery charged.
The transistor is near to connector display
Sorry for my English, I'm a uruguayan thanks