crwdns2915892:0crwdne2915892:0
This guide will show you how to completely remove and replace the fan on your Dell Inspirion 14R. It requires a bit of patience to accomplish. Replacement of the single internal fan can cause your laptop to run less hot as it is responsible for keeping everything inside the laptop, especially the CPU, cool.
crwdns2942213:0crwdne2942213:0
-
-
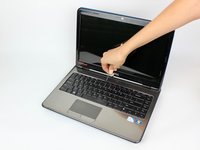
Unlock the battery by sliding the right-hand switch to the right.
-
-
-
While holding the left-hand switch to the left position, pull the battery away from the laptop.
-
-
-
The battery is now fully removed and the laptop will not power on without it.
-
-
-
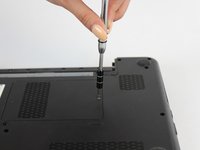
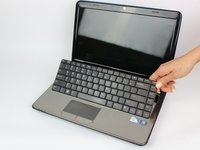
Using the #0 Philips head, unscrew the indicated screw.
-
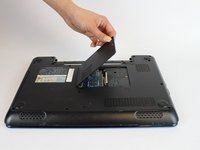
Carefully pull the RAM cover up and away.
-
-
-
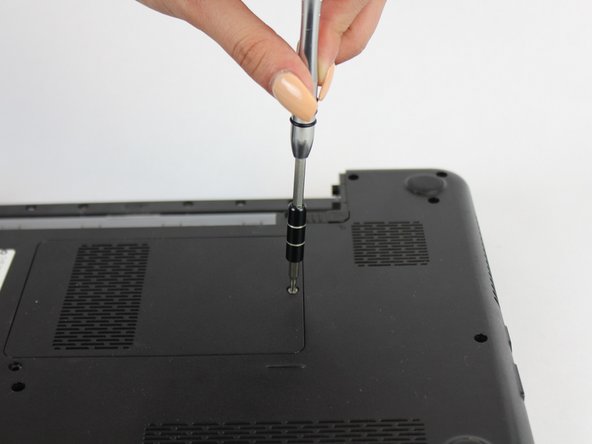
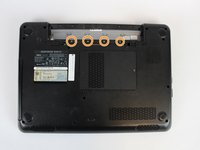
Unscrew the indicated 5.7mm screw beneath the RAM Cover.
-
-
-
Remove another screw above the battery release tab
-
-
-
-
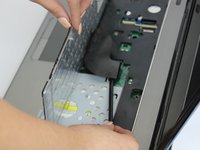
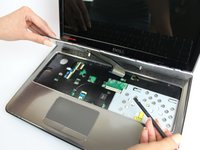
Using a thin plastic tool (such as a guitar pick or spudger) at the top of the keyboard just above the F7 key, gently pry the keyboard away.
-
Move the spudger to either end at the top of the keyboard to fully undo all plastic clips.
-
-
-
Carefully tip the keyboard upwards and pull it slightly away from the body of the laptop.
-
-
-
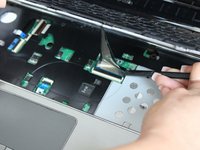
Carefully unclip the ribbon cable by tipping the keyboard towards the screen.
-
-
-
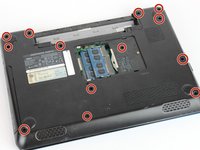
Remove the indicated 5.7mm screws.
-
Remove the smaller 3mm screws from underneath the battery compartment.
-
-
-
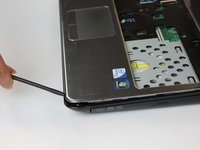
With a plastic spudger, pry away the silver top cover from the black casing.
-
Move the tool to the right and left along the seams to fully disconnect the cover.
-
-
-
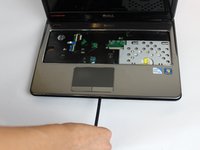
Disconnect the indicated ribbon cables underneath where the keyboard sits.
-
-
-
Lift the cover upwards and away from the body of the laptop, after removing the optical drive and unscrewing the three screws on the right.
-
-
-
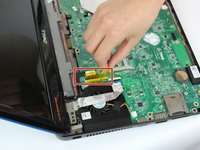
Peel back the yellow tape to expose the ribbon connector.
-
Unplug the ribbon cable from the motherboard.
-
-
-
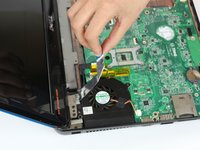
Unplug the 3-wire connector from the motherboard.
-
-
-
Unscrew the indicated 5.6mm screws with the #0 Phillips Head Screwdriver.
-


To reassemble your device, follow these instructions in reverse order.
To reassemble your device, follow these instructions in reverse order.
crwdns2915084:0crwdne2915084:0

USF Tampa, Team S13-G5, Boczar Fall 2017 crwdns2935289:0USF Tampa, Team S13-G5, Boczar Fall 2017crwdne2935289:0
USFT-BOCZAR-F17S13G5
crwdns2931471:05crwdne2931471:0
crwdns2935297:09crwdne2935297:0