crwdns2942213:0crwdne2942213:0
-
-
Using a Philip's head screwdriver, remove three screws: one directly below the battery and the other two to the right and the left of the two battery lock switches
-
-
-
-
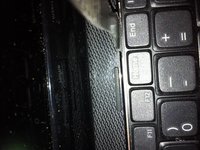
At the top of the keyboard, insert the metal spudger between the keyboard's metal frame and the body of the laptop as shown
-
When inserting the metal spudger, be sure to place the spudger under the frame and not under a key to avoid damaging the component
-
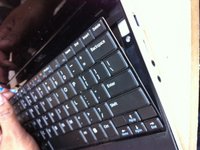
Gently lift up the keyboard starting at the top of the frame
-
Make sure that you do not damage the ribbon attached to the bottom of the keyboard
-
-
-
Pull the clear tab at the end of the ribbon towards the hard drive to detach the ribbon
-
-
-
Perform steps one through four in reverse order with your new keyboard to finish the replacement process
-


crwdns2935221:0crwdne2935221:0
crwdns2935229:04crwdne2935229:0
crwdns2915084:0crwdne2915084:0

Ohio State, Team 1-1, Buehl Fall 2014 crwdns2935289:0Ohio State, Team 1-1, Buehl Fall 2014crwdne2935289:0
OSU-BUEHL-F14S1G1
crwdns2931471:04crwdne2931471:0
crwdns2935297:04crwdne2935297:0
crwdns2947410:01crwdne2947410:0
After keyboard open, You can change HDD or Memory as you like.