crwdns2933423:0crwdne2933423:0

Dell Inspiron Mini 1012 Screen Replacement

crwdns2942213:0crwdne2942213:0

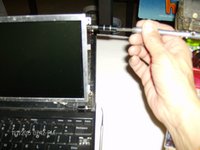
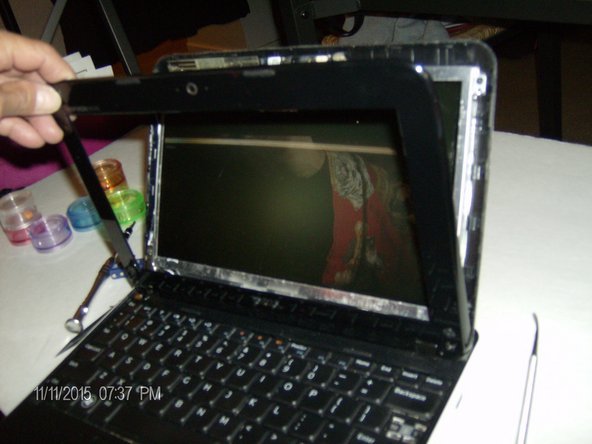
  1. Dell Inspiron Mini 1012 Screen Replacement, Screen: crwdns2935265:01crwdnd2935265:01crwdnd2935265:03crwdne2935265:0 Dell Inspiron Mini 1012 Screen Replacement, Screen: crwdns2935265:01crwdnd2935265:02crwdnd2935265:03crwdne2935265:0 Dell Inspiron Mini 1012 Screen Replacement, Screen: crwdns2935265:01crwdnd2935265:03crwdnd2935265:03crwdne2935265:0
    • Remove the battery from the device for safety. Slide the two tabs on the bottom of the computer to the unlocked position, and gently lift up the battery.

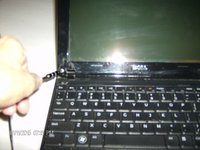
    • Remove the two rubber pieces at the bottom of the screen and remove the screws located behind them.

    • Carefully remove the plastic casing from the device.

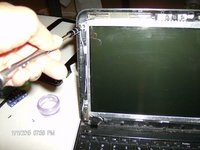
  2. Dell Inspiron Mini 1012 Screen Replacement: crwdns2935265:02crwdnd2935265:01crwdnd2935265:03crwdne2935265:0 Dell Inspiron Mini 1012 Screen Replacement: crwdns2935265:02crwdnd2935265:02crwdnd2935265:03crwdne2935265:0 Dell Inspiron Mini 1012 Screen Replacement: crwdns2935265:02crwdnd2935265:03crwdnd2935265:03crwdne2935265:0
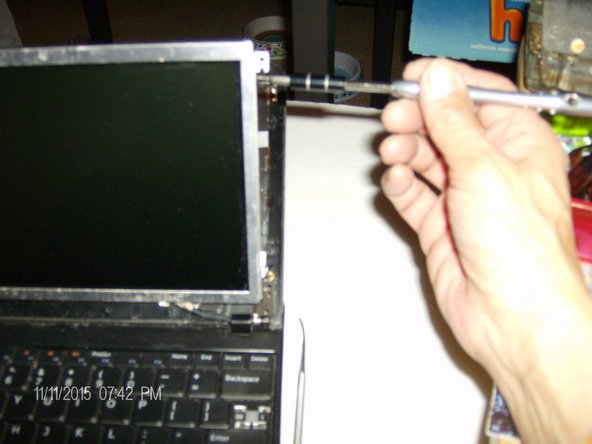
    • Remove the four screws on each corner of the screen. Then remove the screws located on the side of the screen.

    • Carefully unplug the ribbon on the back of the screen.

  3. Dell Inspiron Mini 1012 Screen Replacement: crwdns2935265:03crwdnd2935265:01crwdnd2935265:03crwdne2935265:0 Dell Inspiron Mini 1012 Screen Replacement: crwdns2935265:03crwdnd2935265:02crwdnd2935265:03crwdne2935265:0 Dell Inspiron Mini 1012 Screen Replacement: crwdns2935265:03crwdnd2935265:03crwdnd2935265:03crwdne2935265:0
    • Place the new screen onto the device and plug the ribbon in.

    • Replace the screws on the side of the screen.

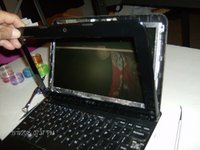
  4. Dell Inspiron Mini 1012 Screen Replacement: crwdns2935265:04crwdnd2935265:01crwdnd2935265:03crwdne2935265:0 Dell Inspiron Mini 1012 Screen Replacement: crwdns2935265:04crwdnd2935265:02crwdnd2935265:03crwdne2935265:0 Dell Inspiron Mini 1012 Screen Replacement: crwdns2935265:04crwdnd2935265:03crwdnd2935265:03crwdne2935265:0
    • Snap on the plastic screen cover and replace the two screws and the rubber pieces at the bottom of the screen.

    • Turn the computer over and put the battery back in.

crwdns2915888:0crwdne2915888:0

To reassemble your device, follow guide instructions.

crwdns2935229:02crwdne2935229:0

sabinabarajas

crwdns2935283:010/17/15crwdne2935283:0

372 crwdns2915208:0crwdne2915208:0

crwdns2935297:03crwdne2935297:0

crwdns2915084:0crwdne2915084:0

Gateway, Team 2-2, Kuhn Fall 2015 crwdns2935289:0Gateway, Team 2-2, Kuhn Fall 2015crwdne2935289:0

GCC-KUHN-F15S2G2

crwdns2934841:01crwdne2934841:0

crwdns2935297:06crwdne2935297:0

crwdns2944067:00crwdne2944067:0

crwdns2917038:0crwdne2917038:0

crwdns2936625:0crwdne2936625:0:

crwdns2936751:024crwdne2936751:0 1

crwdns2936753:07crwdne2936753:0 1

crwdns2936753:030crwdne2936753:0 14

crwdns2942667:0crwdne2942667:0 1,321