crwdns2915892:0crwdne2915892:0
Follow this guide to remove the LCD Display.
crwdns2942213:0crwdne2942213:0
-
-
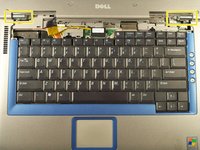
Insert a spudger into the notch at the far left side of the top blue panel and pry the hinge cover off.
-
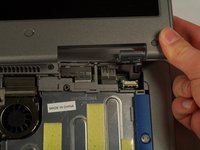
You may need to pry the other side off as well. You can do this by inserting the spudger between the hinge and the top cover.
-
-
-
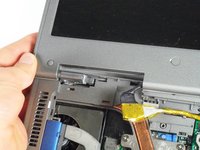
Pull the small black tab on the right hand side of the laptop.
-
You have now removed the hinge cover.
-
-
-
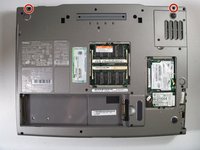
Flip the laptop over and remove the indicated screws.
-
Flip the laptop back over.
-
Find the two places where the display module is attached to the base of the computer.
-
-
-
Disconnect the video card from the display module by gently lifting upwards on the black tab.
-
-
-
-
Lift the display module directly upwards from the base of the computer.
-
-
-
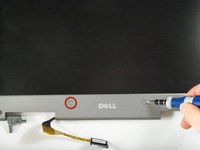
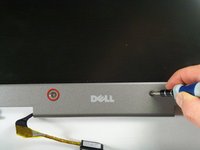
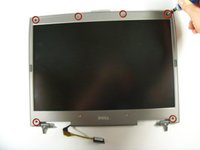
First, remove the plastic tabs that are covering the interior screws.
-
After removing the tabs, remove the interior screws using a #1 Philips Screwdriver.
-
Note there are 8 tabs and 8 screws in total.
-
-
-
Now that the screws are removed, press the plastic casing inward to loosen the case. Then remove the plastic case from the monitor unit.
-
-
-
Using a Philips #1 screwdriver remove the screws holding the LCD in place.
-
-
-
Remove the broken LCD unit, and replace with new unit.
-
To reassemble your device, follow these instructions in reverse order.
To reassemble your device, follow these instructions in reverse order.
crwdns2935221:0crwdne2935221:0
crwdns2935229:02crwdne2935229:0
crwdns2947410:01crwdne2947410:0
which controller board do i have to use for this model ?


