crwdns2915892:0crwdne2915892:0
When removing or replacing the mother board of the Dell Inspiron 7568 it is important to make sure the laptop it is unplugged and completely turned off. User should also remember to be careful when unplugging and removing the battery. It is recommended that users keep different screw types separated to keep assembly easier. Make sure to uses a Phillips head #1 screw driver. Make sure to work in a static free area with static protection gloves.
crwdns2942213:0crwdne2942213:0
-
-
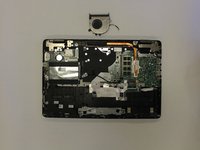
Remove the ten 7mm Phillips #1 screws on the bottom cover.
-
Remove the bottom cover.
-
-
-
Remove the four 3mm Phillips #1 screws holding the battery.
-
Unhinge the connector cable to the battery.
-
Remove the battery.
-
-
-
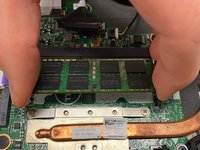
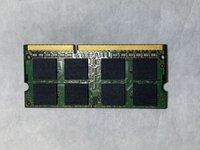
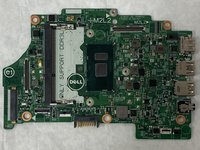
Release the RAM by unhinging the connecting bars outward.
-
-
-
-
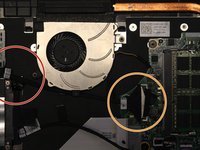
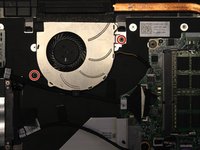
Begin by unclipping the cable connecting the fan and the motherboard.
-
Gently separate the motherboard cable from the clamp at the bottom of the fan.
-
Remove the cable.
-
-
-
Remove the two 3mm Phillips #1 screws that hold the fan into place.
-
Remove the fan.
-
-
-
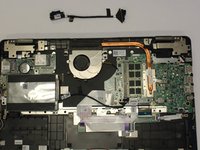
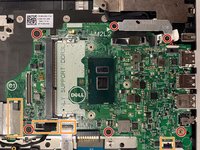
Remove six 3mm Phillips #1 screws to fully remove the motherboard.
-
Disconnect the various connection points from the motherboard to the laptop.
-
Remove the motherboard.
-


To reassemble your device, follow these instructions in reverse order.
To reassemble your device, follow these instructions in reverse order.
crwdns2935221:0crwdne2935221:0
crwdns2935227:0crwdne2935227:0

crwdns2915084:0crwdne2915084:0

IUPUI, Team S1-G4, Stella Fall 2019 crwdns2935289:0IUPUI, Team S1-G4, Stella Fall 2019crwdne2935289:0
IUPUI-STELLA-F19S1G4
crwdns2931471:04crwdne2931471:0
crwdns2935297:04crwdne2935297:0