crwdns2915892:0crwdne2915892:0
This very easy guide is also helpful if one wants to upgrade their RAM of their device to assist in making the device run smoothly when doing multiple tasks at once.
Please note that Desktops and Laptops have different physical RAM sizes. At the time this guide was written DDR3 and DDR4 RAM would be the suggested pieces of hardware to use with the computer for increased data rates.
crwdns2942213:0crwdne2942213:0
-
-
Disconnect the Laptop from the AC adapter and turn off the Laptop.
-
-
-
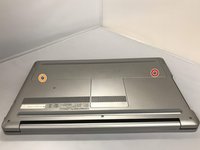
Place the laptop so the bottom faces up.
-
-
-
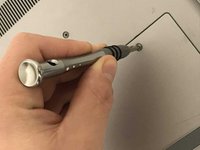
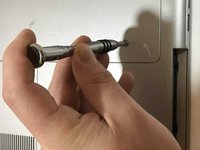
Remove the silver 15mm PH 1 screw that holds the plastic cover in place over the battery.
-
Remove the silver 8mm screw that holds the plastic cover in place over the battery.
-
-
-
-
Using the metal jimmy, pry up to remove the first half of the cover.
-
-
-
Apply pressure using your fingertips on the top of the cover and push toward the front of the laptop. This will make the plate slide off exposing the hard drive and battery.
-
-
-
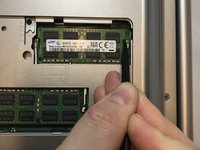
Using the metal jimmy, remove the cover plate, this will expose the RAM.
-
-
-
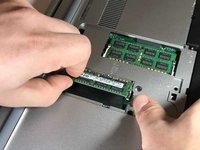
Apply outward pressure using fingers or a spudger on the small tabs on the RAM. Once freed the RAM will need to be lifted slightly, angling it upward, and then pulled out toward yourself.
-


To reassemble your device, follow these instructions in reverse order.
To reassemble your device, follow these instructions in reverse order.

crwdns2915084:0crwdne2915084:0

Eastern Washington University, Team S1-G5, Carnegie Fall 2018 crwdns2935289:0Eastern Washington University, Team S1-G5, Carnegie Fall 2018crwdne2935289:0
EWU-CARNEGIE-F18S1G5
crwdns2931471:04crwdne2931471:0
crwdns2935297:05crwdne2935297:0