crwdns2915892:0crwdne2915892:0
It is possible for the cooling fan inside a laptop to become very noisy due to dust, die out, or break all together. This guide will show how to remove and replace the fan of the device.
crwdns2942213:0crwdne2942213:0
-
-
Use a plastic opening tool or a metal spudger to pry out the tabs on top of the keyboard.
-
After prying the tabs up, carefully pull the keyboard out of the laptop.
-
-
-
Once the keyboard is lifted, locate the release tab.
-
Using a plastic opening tool or your finger, lift the tab so that it opens .
-
Once the tab is open, the strip on the keyboard can be removed.
-
-
-
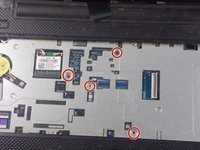
Remove the four 6 mm PH1 Philips head screws under the keyboard.
-
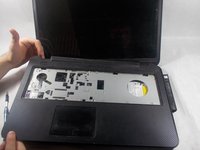
Carefully pop off the cover using the plastic opening tools and your hands.
-
-
-
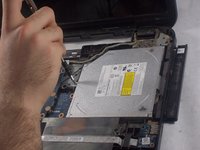
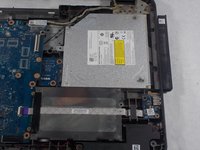
Remove the 4 mm PH1 Philips head screw holding down the optical drive.
-
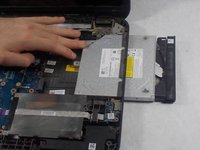
Use your hand to slide the drive out of the device.
-
-
-
-
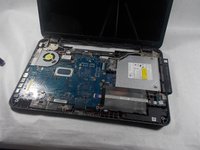
Remove the seven 6mm PH1 Philips head screws from the motherboard.
-
-
-
Located on the lower left of the motherboard, disconnect the wire that connects the speaker by pushing it or pulling it away from the white box.
-
-
-
Located on the lower right of the motherboard, flip up the black hatch and remove the ribbon cable by gently tugging it outwards.
-
-
-
Remove the 4mm PH1 Philips screw to the right of the fan.
-
-
-
Remove the 4mm PH1 Philips screw to the top of the fan.
-
-
-
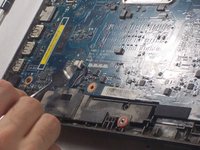
Remove the motherboard from the USB sockets to the left by first pulling the motherboard to the right and then flip the motherboard up against the screen.
-
-
-
Located on the lower left, remove the 4mm PH1 Philips screw to the top of the fan.
-
-
-
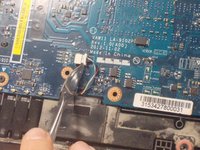
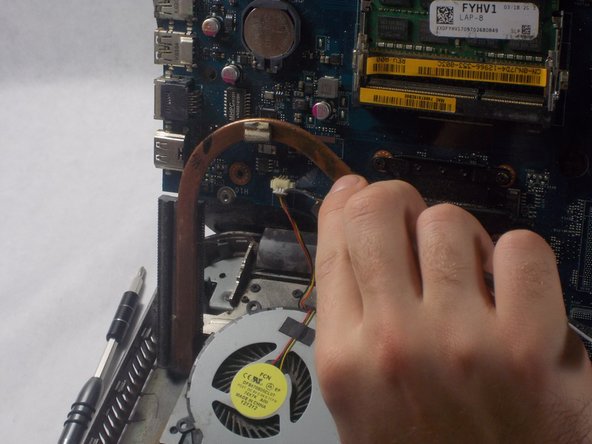
Remove the wire for the fan by pulling or pushing the white tab from the white box.
-
To reassemble your device, follow these instructions in reverse order.
To reassemble your device, follow these instructions in reverse order.


