crwdns2915892:0crwdne2915892:0
This guide will demonstrate how to remove an old webcam and replace it.
crwdns2942213:0crwdne2942213:0
-
-
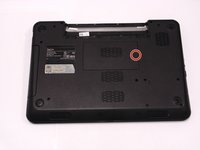
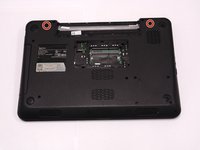
Turn the device over and locate the battery.
-
-
-
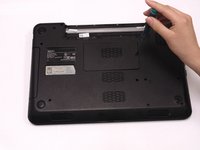
Place thumbs on each latch and push outwards.
-
-
-
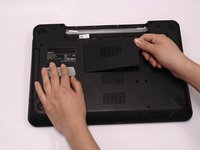
Push and slide the battery away from you.
-
-
-
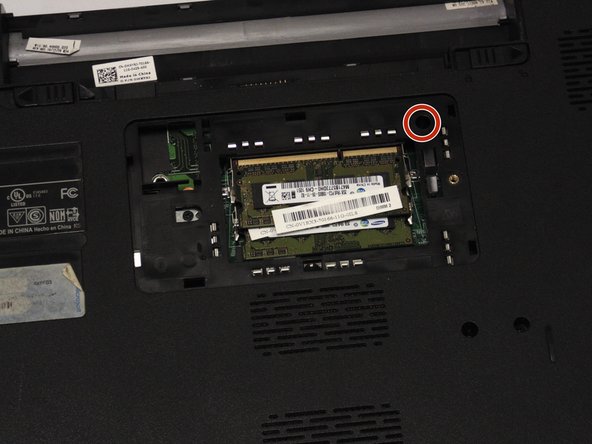
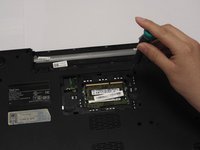
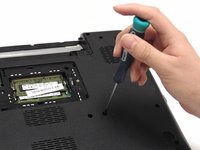
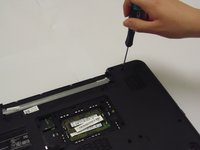
Locate the RAM compartment and the screw on the right hand side. Remove the cover.
-
-
-
Locate and remove the 2.5 mm x 5 mm screw on the upper right hand side of the compartment.
-
-
-
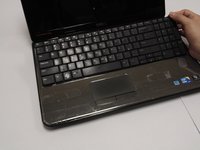
Turn the device around and open it up.
-
-
-
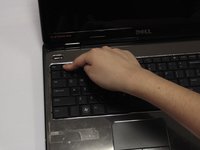
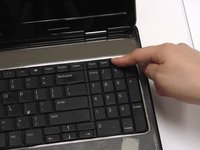
Using your index finger, push down on the F1 and F7 keys.
-
-
-
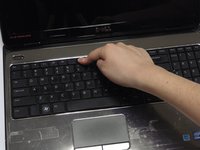
Using your index finger, push down on the x icon and Home keys.
-
-
-
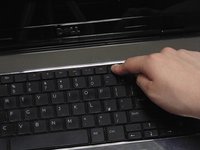
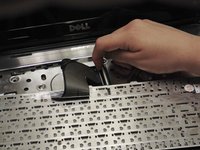
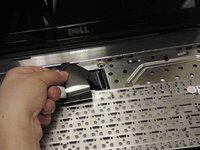
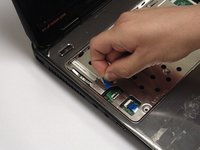
Locate the keyboard lining (between the black and silver).
-
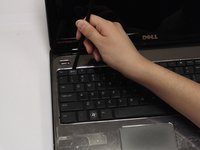
Place your spudger between the keyboard lining behind the F1 and F7 keys and pull up.
-
-
-
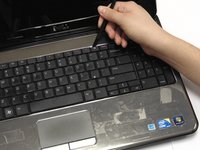
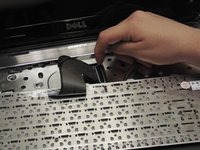
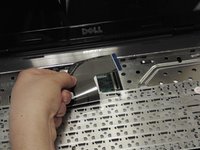
Place your spudger between the keyboard lining behind the x icon and Home keys and pull up.
-
-
-
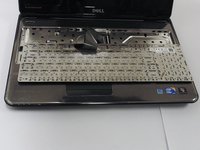
Carefully pull and turn the keyboard over.
-
-
-
-
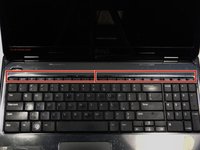
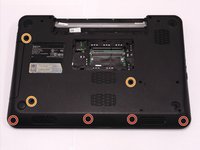
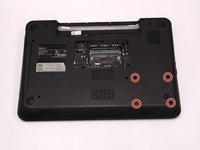
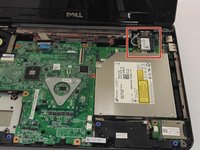
Turn laptop over and remove the bottom four screw covers outlined in red.
-
Then remove the three base screws.
-
-
-
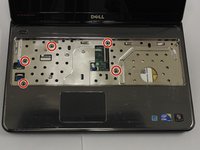
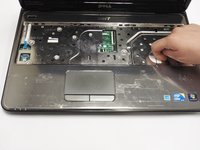
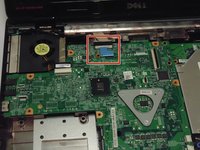
Turn laptop over and open it. Locate and remove the five palm rest screws.
-
-
-
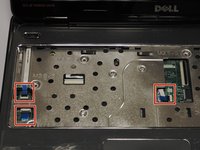
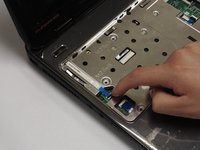
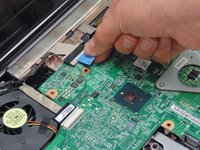
Locate the palm rest cables. Lift the black levers and unplug the blue cables.
-
-
-
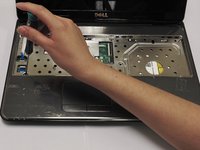
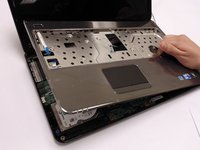
Lift the palm rest until it snaps off.
-
-
-
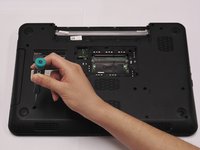
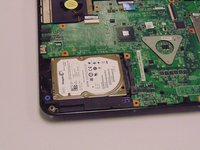
Close cover and turn laptop over. Locate and remove the four hard drive screws.
-
-
-
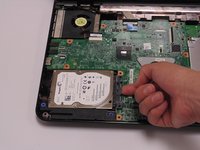
Locate and remove the bottom hinge screws.
-
-
-
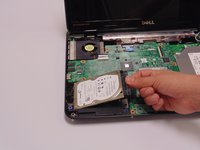
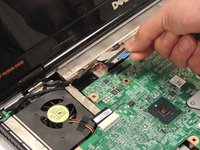
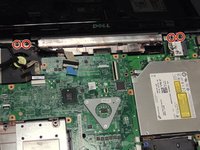
Turn laptop over and open it. Locate and unplug the LCD Cable.
-
-
-
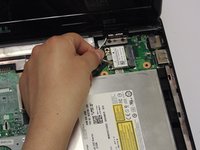
Unplug the black and white wires on the wireless antenna.
-
-
-
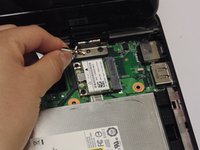
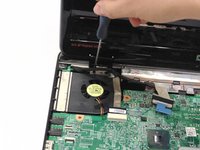
Remove the two hinge screws on both the left and right hand side.
-
-
-
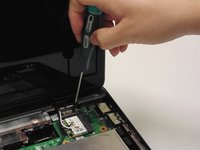
Unsnap and lift the display bezel around the edges and remove it.
-
-
-
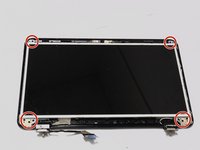
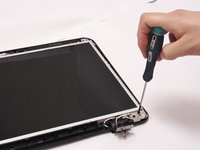
Locate and remove the eight LCD screws outlined in red.
-
-
-
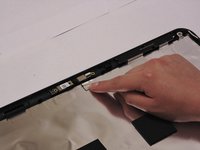
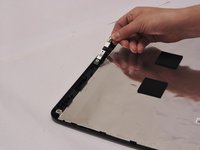
Lift and remove the LCD screen from the backing.
-


To reassemble your device, follow these instructions in reverse order.
To reassemble your device, follow these instructions in reverse order.
crwdns2935221:0crwdne2935221:0
crwdns2935227:0crwdne2935227:0
crwdns2915084:0crwdne2915084:0

San Diego State, Team 2-2, Sheppard Winter 2015 crwdns2935289:0San Diego State, Team 2-2, Sheppard Winter 2015crwdne2935289:0
SDSU-SHEPPARD-W15S2G2
crwdns2931471:02crwdne2931471:0
crwdns2935297:06crwdne2935297:0