crwdns2915892:0crwdne2915892:0
The power button board is responsible for the communication between the power button and the motherboard. If your power button is either malfunctioning, not working at all, or causing the laptop to randomly shut off, you can use this guide to repair or replace the units power button board.
crwdns2942213:0crwdne2942213:0
-
-
Turn the laptop off and disconnect it from all power sources.
-
Turn the laptop over so that the bottom is facing upwards.
-
-
-
Slide the release latch while simultaneously pulling the battery outwards.
-
-
-
Slide the battery completely out of the bay.
-
-
-
Once the battery has been removed, take out the two screws (3mm Phillips #1) beneath it. These screws hold the center control cover in place.
-
-
-
-
Flip the laptop back over to the front and push the screen open as far as possible.
-
-
-
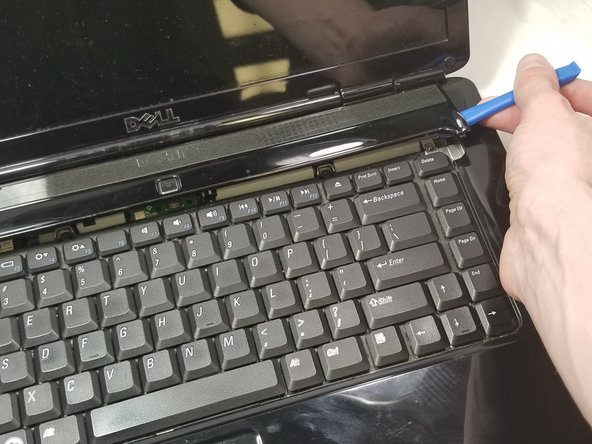
Pry the center control cover off of the laptop using a plastic opening tool. On the right side of the cover, there is a small divot to help you start removing the cover.
-
Carefully lift the central control cover away from the laptop.
-
-
-
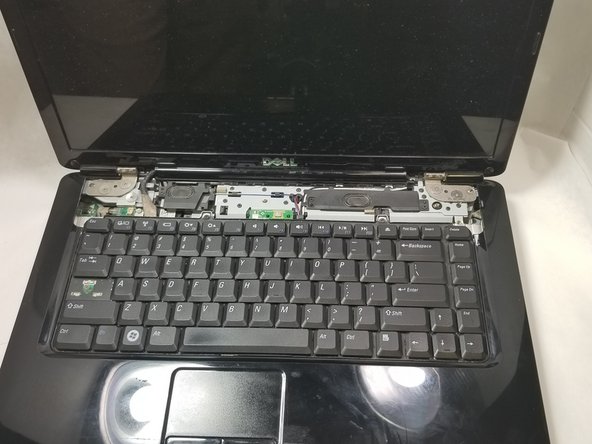
Remove the two screws (5mm Phillips #1) at the top of the keyboard.
-
-
-
Using your hands, push the keyboard out and away from the laptop.
-
-
-
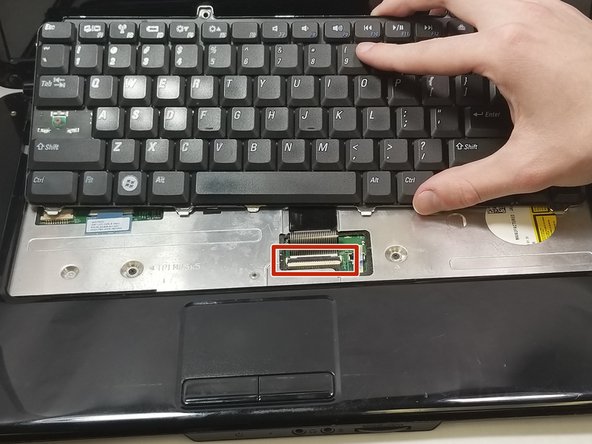
Lift the connector latch to remove the keyboard cable from the motherboard.
-
Lift the keyboard away from the laptop.
-
-
-
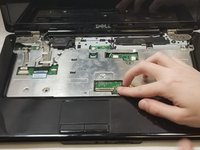
Lift the connector latch to remove the power button board from the motherboard.
-
-
-
Pry the power button board out with your finger.
-
Pull the power button board away from the laptop.
-


To reassemble your device, follow these instructions in reverse order.
To reassemble your device, follow these instructions in reverse order.