crwdns2915892:0crwdne2915892:0
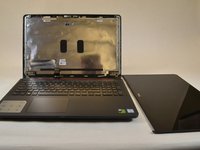
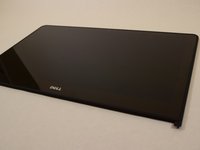
This is a guide to replace the monitor on the Dell Inspiron 15-7559 laptop. Which may be necessary if your monitor fails to display images.
crwdns2942213:0crwdne2942213:0
-
-
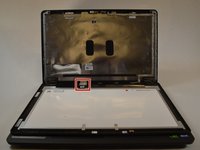
Using the metal or plastic spudger pry open the frame around the display.
-
-
-
Pull the screen down and let it lie on the keyboard.
-
-
-
-
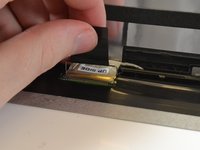
Locate the wire that connects the display to the back panel. There will be a sticker with a qr code on it.
-
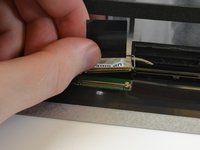
Peel the the sticker and pull it back to disconnect the cables.
-
-
-
The display is now fully disconnected, you can now completely remove it from the computer.
-


To reassemble your device, follow these instructions in reverse order.
To reassemble your device, follow these instructions in reverse order.
crwdns2935221:0crwdne2935221:0
crwdns2935229:04crwdne2935229:0
crwdns2915084:0crwdne2915084:0

UW Tacoma, Team S3-G2, Liner Fall 2017 crwdns2935289:0UW Tacoma, Team S3-G2, Liner Fall 2017crwdne2935289:0
UWT-LINER-F17S3G2
crwdns2931471:05crwdne2931471:0
crwdns2935297:09crwdne2935297:0
crwdns2947412:05crwdne2947412:0
How do you replace the antenna cables around the display?
There are also six Phillips head screws (size 00) around the screen that have to be removed before you can flip the LCD forward.
I encountered 4 phillips screws, and the bezel was slightly different. Did not impact ability to replace screen
This laptop came with 2 screen options. A 1080p non-touch screen, and a 4K touch screen.
The example in this guide is of the 4K touchscreen. The 1080p screen is the display that has the 4 screws and large bezel.
Is it possible to replace a broken 4K screen with a full HD one?