crwdns2915892:0crwdne2915892:0
This guide will walk you through how to remove the Fan in your Dell Inspiron 15-7548.
crwdns2942213:0crwdne2942213:0
-
-
Remove the six 6 mm screws from the back panel with a Phillips #1 screwdriver.
-
Loosen the four captive screws at the bottom using a Phillips #1 screwdriver.
-
-
-
Pry out the back panel using the flat head side of the spudger.
-
-
-
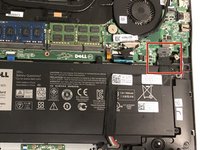
Disconnect the battery from the motherboard by pulling the black tab attached to the cable.
-
-
-
-
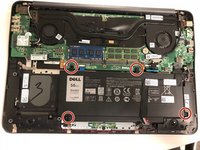
Remove the four 2.5x6mm screws using a Phillips #1 screwdriver.
-
-
-
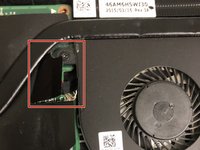
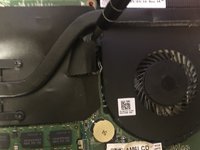
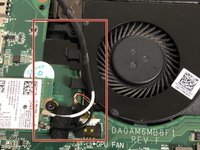
The two fans are located at the top of the computer.
-
-
-
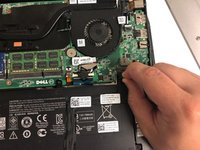
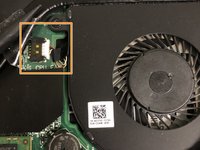
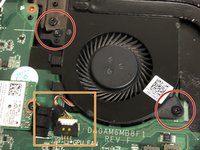
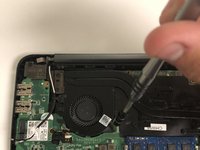
To unplug the CPU fan lift the black plastic cutout next to the fan.
-
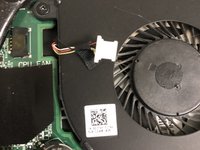
The connection can be removed by hand or with the plastic spudger.
-
-
-
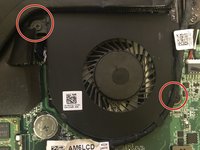
Remove the two 2x3mm screws from the fan using the Phillips #1 screwdriver.
-
The unit may now be removed from the board.
-
-
-
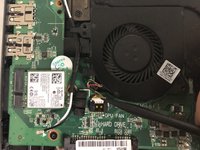
Remove the two 2x3mm screws from the fan using the Phillips #1 screwdriver.
-
Disconnect the unit from the motherboard.
-
-
crwdns2935267:0crwdne2935267:0Tweezers$4.99
-
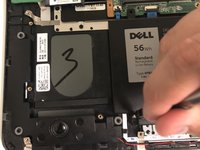
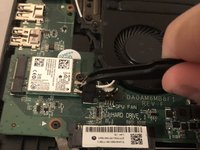
The black and white wires need to be unplugged and removed from the tabs on the fan.
-
Use a pair of tweezers to unplug the wires.
-
The unit may now be removed from the board.
-


To reassemble your device, follow these instructions in reverse order.
To reassemble your device, follow these instructions in reverse order.
crwdns2935221:0crwdne2935221:0
crwdns2935229:02crwdne2935229:0
crwdns2915084:0crwdne2915084:0

University of North Texas, Team S7-G3, Thompson Fall 2018 crwdns2935289:0University of North Texas, Team S7-G3, Thompson Fall 2018crwdne2935289:0
UNT-THOMPSON-F18S7G3
crwdns2931471:03crwdne2931471:0
crwdns2935297:05crwdne2935297:0