crwdns2915892:0crwdne2915892:0
The hard drive is the main storage for the computer which includes the opperating system, files, photos, and videos. This is often replaced when the drive becomes full.
crwdns2942213:0crwdne2942213:0
-
-
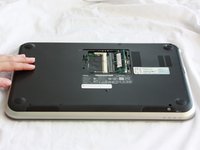
Close the display and turn over the computer.
-
-
-
Use a J0 bit tipped screwdriver to unscrew the one 6 mm Phillips screw on the RAM cover.
-
-
-
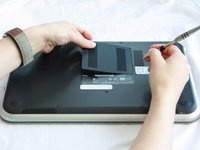
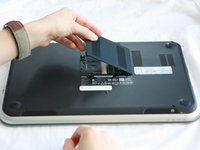
Lightly lift the RAM cover up and at an angle, away from the computer.
-
-
-
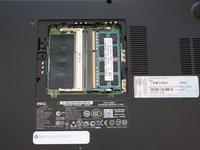
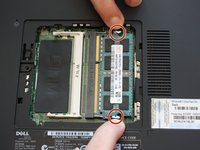
Use your fingers to carefully pull the securing clips on the RAM away from each other.
-
-
-
Remove the popped up RAM by pulling it away from the connection.
-
-
-
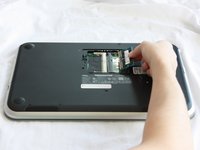
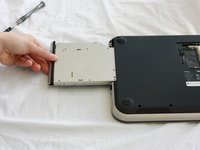
Slide the CD/DVD drive on the side of the laptop out using your fingers.
-
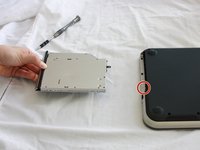
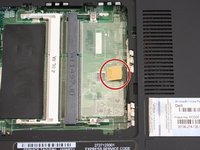
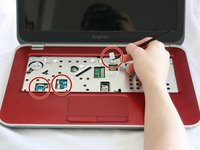
Using a J0 bit screwdriver, unscrew the one 2 mm Phillips screw.
-
-
-
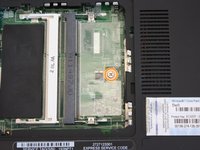
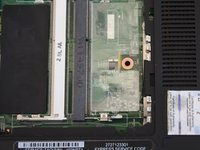
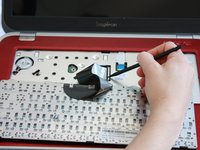
Lift the plastic yellow flap on the system board.
-
Use the J0 Bit screwdriver to remove the one 6 mm Phillips screw in center of the system board that is connected to the keyboard.
-
-
-
-
Flip over the computer and open the display.
-
-
-
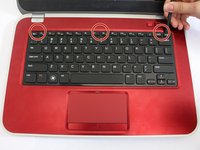
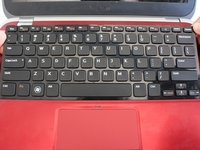
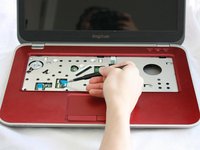
Insert a spudger next to the plastic indents located at the top of the keyboard and gently pry to release the securing clips.
-
Lift the keyboard off of the computer.
-
-
-
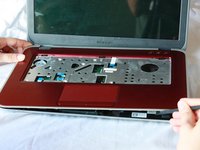
Flip the keyboard over onto the palm-rest assembly.
-
-
-
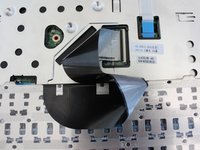
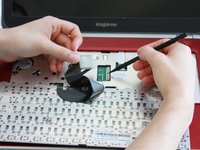
Flip the little black securing bar near the base of the ribbon with a spudger to release the ribbon from the computer.
-
-
-
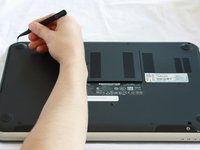
Close the display and turn over the computer.
-
-
crwdns2935267:0crwdne2935267:0Tweezers$4.99
-
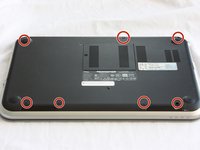
Remove all 7 rubber screw caps with tweezers.
-
Use a J0 Bit tipped screwdriver unscrew the seven 6 mm Phillips screws on the back casing of the laptop.
-
-
-
Flip the computer over and open the display.
-
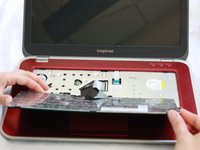
Pull on the blue tabs to disconnect the palm rest assembly from the computer.
-
-
-
Use J0 Bit screwdriver to remove all four 6 mm Phillips screws.
-
-
-
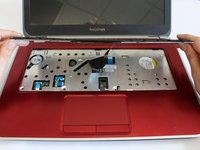
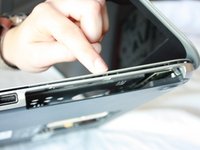
Gently wedge the nylon spudger underneath the palm-rest assembly to release the latches.
-
Continue this process on all sides of the computer edges until the assembly pulls off.
-
Remove the palm rest assembly.
-
-
-
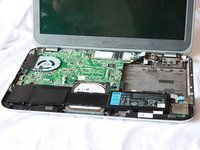
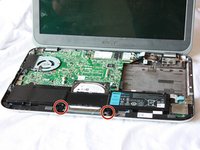
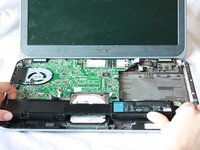
Use a J0 Bit screwdriver to remove the two 6 mm Phillips screws securing the battery located near the bottom of the laptop.
-
-
-
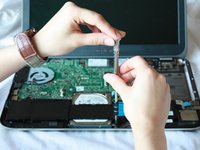
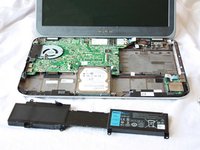
Lift the tiny black tab and pull the battery out at a slight angle.
-
-
-
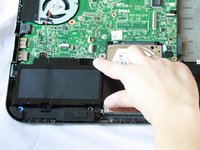
Lift up the bottom of the hard drive which is located at the bottom of the laptop.
-
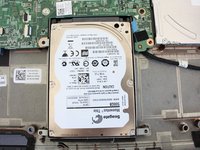
Gently pull the drive out at an angle using your fingers.
-
-
-
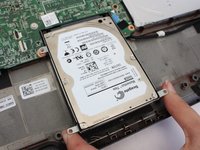
Using a J0 bit tipped screwdriver, remove the four 3 mm black screws on both sides of the hard drive bracket.
-
-
-
Slide the hard drive out of the bracket.
-


To reassemble your device, follow these instructions in reverse order.
To reassemble your device, follow these instructions in reverse order.
crwdns2935221:0crwdne2935221:0
crwdns2935229:016crwdne2935229:0
crwdns2915084:0crwdne2915084:0

CSU Fullerton, Team 2-2, Bruce Fall 2016 crwdns2935289:0CSU Fullerton, Team 2-2, Bruce Fall 2016crwdne2935289:0
CSUF-BRUCE-F16S2G2
crwdns2931471:05crwdne2931471:0
crwdns2935297:011crwdne2935297:0
crwdns2947412:05crwdne2947412:0
Worked perfectly, right down to the last screw under the memory.
You are a lifesaver! Thank you.
Thanks! These instructions worked very well for me, and I performed my battery and disk upgrades successfully!
This guide was straight forward and gave me the exact step by step instructions! Good job!
Even a dumbass as myself would understand this and follow through. Thank you author!!!