crwdns2915892:0crwdne2915892:0
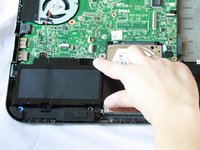
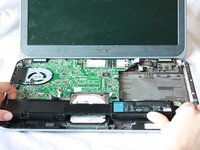
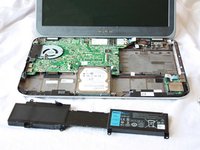
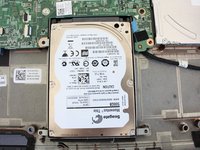
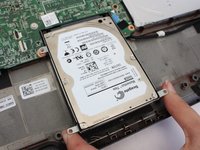
The hard drive is the main storage for the computer which includes the opperating system, files, photos, and videos. This is often replaced when the drive becomes full.
crwdns2942213:0crwdne2942213:0
-
-
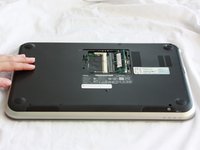
Close the display and turn over the computer.
-
-
-
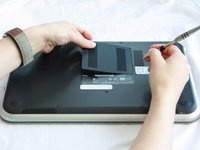
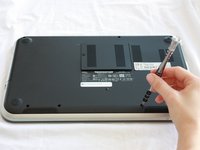
Use a J0 bit tipped screwdriver to unscrew the one 6 mm Phillips screw on the RAM cover.
-
-
-
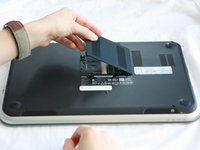
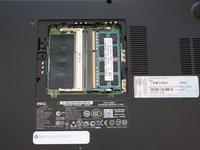
Lightly lift the RAM cover up and at an angle, away from the computer.
-
-
-
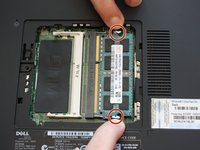
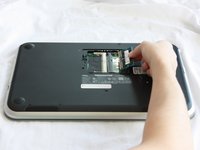
Use your fingers to carefully pull the securing clips on the RAM away from each other.
-
-
-
Remove the popped up RAM by pulling it away from the connection.
-
-
-
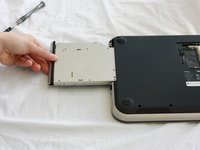
Slide the CD/DVD drive on the side of the laptop out using your fingers.
-
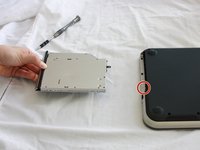
Using a J0 bit screwdriver, unscrew the one 2 mm Phillips screw.
-
-
-
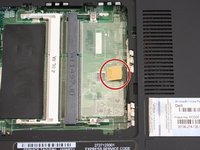
Lift the plastic yellow flap on the system board.
-
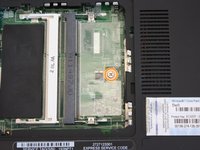
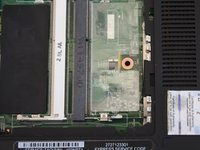
Use the J0 Bit screwdriver to remove the one 6 mm Phillips screw in center of the system board that is connected to the keyboard.
-
-
-
-
Flip over the computer and open the display.
-
-
-
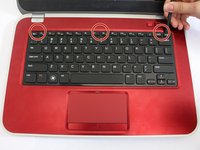
Insert a spudger next to the plastic indents located at the top of the keyboard and gently pry to release the securing clips.
-
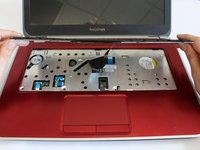
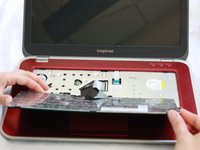
Lift the keyboard off of the computer.
-
-
-
Flip the keyboard over onto the palm-rest assembly.
-
-
-
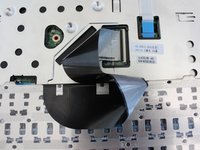
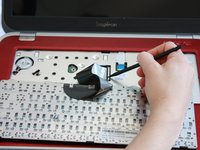
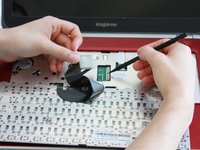
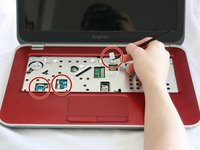
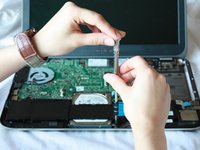
Flip the little black securing bar near the base of the ribbon with a spudger to release the ribbon from the computer.
This description is incorrect. I juist ruïned the keyboard connector. In my laptop there is no black securing bar. Instead, the white connector from the keyboard needs to come out of the black one on the motherboard. This is done horizontally.
-
-
-
Close the display and turn over the computer.
-
-
crwdns2935267:0crwdne2935267:0Tweezers$4.99
-
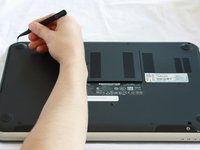
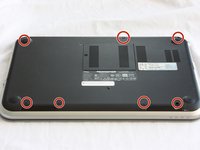
Remove all 7 rubber screw caps with tweezers.
-
Use a J0 Bit tipped screwdriver unscrew the seven 6 mm Phillips screws on the back casing of the laptop.
-
-
-
Flip the computer over and open the display.
-
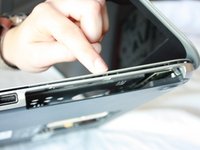
Pull on the blue tabs to disconnect the palm rest assembly from the computer.
Be sure to release the securing bars on each of the ribbon cables before pulling on the blue tabs (similar to the keyboard ribbon cable in step 11).
-
-
-
Use J0 Bit screwdriver to remove all four 6 mm Phillips screws.
-
-
-
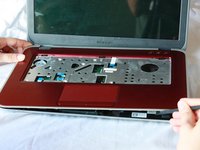
Gently wedge the nylon spudger underneath the palm-rest assembly to release the latches.
-
Continue this process on all sides of the computer edges until the assembly pulls off.
-
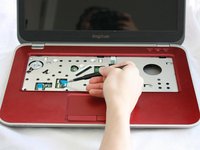
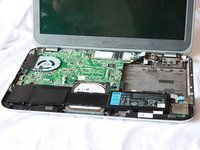
Remove the palm rest assembly.
-
-
-
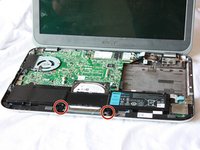
Use a J0 Bit screwdriver to remove the two 6 mm Phillips screws securing the battery located near the bottom of the laptop.
-
-
-
Lift the tiny black tab and pull the battery out at a slight angle.
-
-
-
Lift up the bottom of the hard drive which is located at the bottom of the laptop.
-
Gently pull the drive out at an angle using your fingers.
-
-
-
Using a J0 bit tipped screwdriver, remove the four 3 mm black screws on both sides of the hard drive bracket.
-
-
-
Slide the hard drive out of the bracket.
-
To reassemble your device, follow these instructions in reverse order.
To reassemble your device, follow these instructions in reverse order.
crwdns2935221:0crwdne2935221:0
crwdns2935229:016crwdne2935229:0
crwdns2947412:05crwdne2947412:0
Worked perfectly, right down to the last screw under the memory.
You are a lifesaver! Thank you.
Thanks! These instructions worked very well for me, and I performed my battery and disk upgrades successfully!
This guide was straight forward and gave me the exact step by step instructions! Good job!
Even a dumbass as myself would understand this and follow through. Thank you author!!!


