crwdns2915892:0crwdne2915892:0
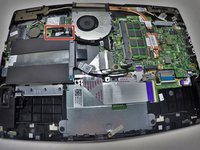
The cooling fan keeps the devices internal components from overheating during operation. It is located in the rear center of the base next to the exhaust vent.
crwdns2942213:0crwdne2942213:0
-
-
Use a Phillips screwdriver to remove the ten 7.5mm screws that securing the back panel.
-
Use the plastic opening tool to pry up and loosen the back panel.
-
Remove the back panel.
-
-
-
Use a Phillips screwdriver to remove the two 3 mm screws securing the battery.
-
Unclip the hard drive wire from the battery.
-
-
-
-
Gently remove the battery from the rest of the device.
-
-
-
Remove the cord that runs from system board to the I/O board.
-
-
-
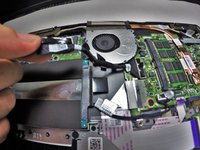
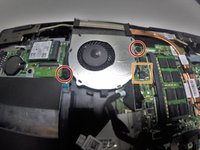
Remove the 3mm and 4mm screws holding down fan with the Phillips #0 head.
-
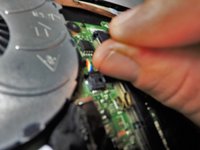
Disconnect the fan wire from the system board.
-
-
-
Lift the fan from the rest of the device by picking up a single side and separating it from device.
-


To reassemble your device, follow these instructions in reverse order.
To reassemble your device, follow these instructions in reverse order.
crwdns2915084:0crwdne2915084:0

University of Tampa, Team 1-5, Whiteside Fall 2015 crwdns2935289:0University of Tampa, Team 1-5, Whiteside Fall 2015crwdne2935289:0
UT-WHITESIDE-F15S1G5
crwdns2931471:03crwdne2931471:0
crwdns2935297:06crwdne2935297:0