crwdns2915892:0crwdne2915892:0
This will show you how to remove & replace your motherboard. This would be a last step in attempting to repair your computer if you've attempted the other guides.
crwdns2942213:0crwdne2942213:0
-
crwdns2935267:0crwdne2935267:0Tweezers$4.99
-
Use tweezers to pry and remove the center screw cover on the back cover.
-
-
-
Use a Phillips screwdriver to unscrew the nine 6.8 mm screws securing the back cover.
-
-
-
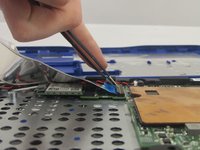
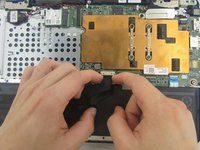
Use a spudger to pry around the base edges of the back cover to loosen it from the laptop.
-
-
-
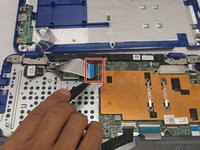
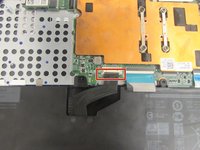
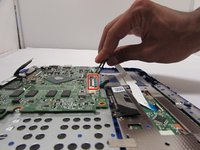
Unlock the wide ZIF connector securing the flex cable.
-
Pull the ribbon cable outwards to disconnect the back cover from the motherboard.
-
-
-
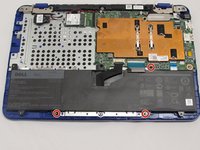
Use a Phillips screwdriver to unscrew the three 4 mm screws securing the battery.
-
-
crwdns2935267:0crwdne2935267:0Tweezers$4.99
-
Use your fingers (or a set of tweezers) to disconnect the battery cable from the motherboard by gently pulling it towards the battery.
-
Lift and remove the battery from its recess.
-
-
-
-
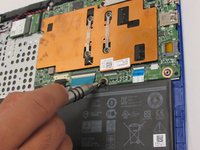
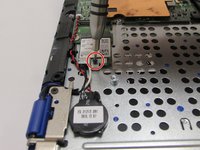
Use the phillips screwdriver with the PH000 head to unscrew the 3.8mm screw.
-
-
crwdns2935267:0crwdne2935267:0Tweezers$4.99
-
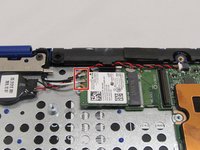
Using the tweezers, pull the white and black wires off of the WiFi Chip.
-
-
crwdns2935267:0crwdne2935267:0Tweezers$4.99
-
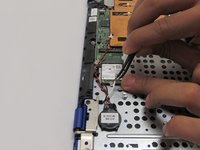
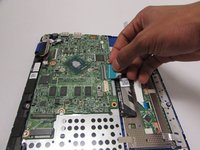
Use the tweezers to unplug the DC Jack.
-
-
-
Use the tweezers unplug the Speaker Cable.
-
-
-
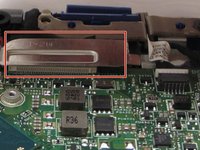
Use the tweezers to remove the CMOS Cable.
-
-
-
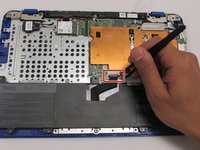
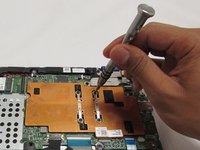
Use the tweezers to remove the Touchpad Cable.
-
-
-
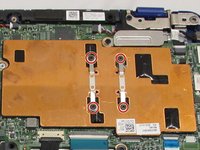
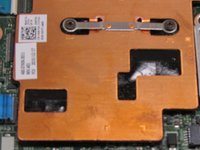
Use the phillips screwdriver with the PH0 to loosen the 4 screws and remove the orange plate.
-
-
-
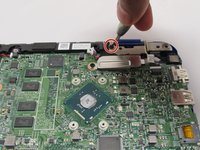
Use the phillips screwdriver with the PH00 head to unscrew the one 3mm screw. Then, remove the bracket.
-
-
-
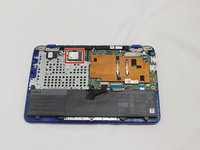
Remove the motherboard by gently lifting upwards from the edges.
-


To reassemble your device, follow these instructions in reverse order.
To reassemble your device, follow these instructions in reverse order.
crwdns2935221:0crwdne2935221:0
crwdns2935229:05crwdne2935229:0

crwdns2915084:0crwdne2915084:0

Eastern Washington University, Team 1-2, Crane Fall 2016 crwdns2935289:0Eastern Washington University, Team 1-2, Crane Fall 2016crwdne2935289:0
EWU-CRANE-F16S1G2
crwdns2931471:03crwdne2931471:0
crwdns2935297:06crwdne2935297:0