crwdns2915892:0crwdne2915892:0
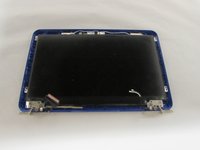
This guide will tell you how to replace your LCD screen. When working with screens, be careful about electrical discharges, and take steps to assure that the battery is disconnected for awhile before you follow this guide.
crwdns2942213:0crwdne2942213:0
-
crwdns2935267:0crwdne2935267:0Tweezers$4.99
-
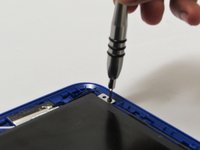
Use tweezers to pry and remove the center screw cover on the back cover.
-
-
-
Use a Phillips screwdriver to unscrew the nine 6.8 mm screws securing the back cover.
-
-
-
Use a spudger to pry around the base edges of the back cover to loosen it from the laptop.
-
-
-
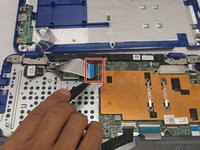
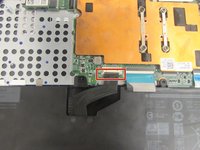
Unlock the wide ZIF connector securing the flex cable.
-
Pull the ribbon cable outwards to disconnect the back cover from the motherboard.
-
-
-
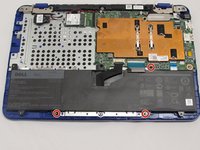
Use a Phillips screwdriver to unscrew the three 4 mm screws securing the battery.
-
-
-
crwdns2935267:0crwdne2935267:0Tweezers$4.99
-
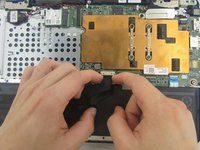
Use your fingers (or a set of tweezers) to disconnect the battery cable from the motherboard by gently pulling it towards the battery.
-
Lift and remove the battery from its recess.
-
-
-
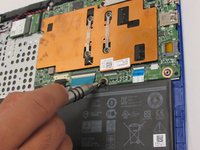
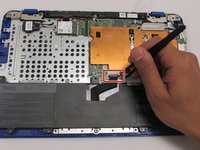
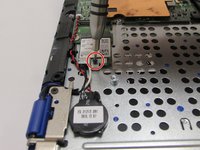
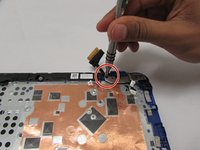
Use the phillips screwdriver with the PH000 head to unscrew the 3.8mm screw.
-
-
crwdns2935267:0crwdne2935267:0Tweezers$4.99
-
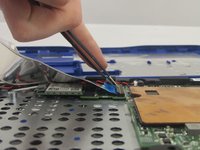
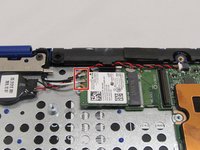
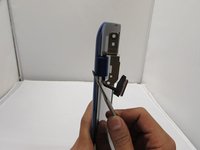
Using the tweezers, pull the white and black wires off of the WiFi Chip.
-
-
-
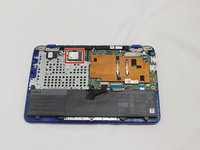
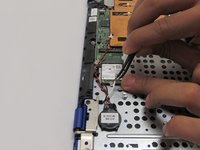
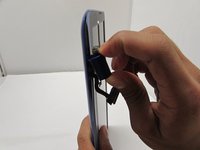
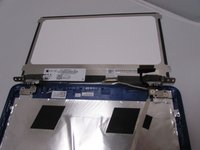
Remove the two screws that hold down the LCD hinges.
-
-
-
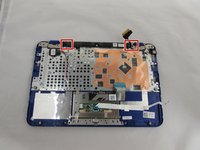
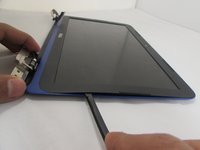
Pull the hinges back and remove the screen.
-
-
-
Remove the hinge covers with your spudger tool.
-
-
-
Carefully remove the LCD Bezel with your regular black nylon spudger tool by bringing it all the way around the outer edges of your screen.
-
-
-
Remove the four screws with a PH00 sized bit.
-
Flip the screen over.
-
-
-
Loosen the tape, and remove the LCD Cable.
-
Remove the screen.
-


To reassemble your device, follow these instructions in reverse order.
To reassemble your device, follow these instructions in reverse order.
crwdns2935221:0crwdne2935221:0
crwdns2935229:05crwdne2935229:0

crwdns2915084:0crwdne2915084:0

Eastern Washington University, Team 1-2, Crane Fall 2016 crwdns2935289:0Eastern Washington University, Team 1-2, Crane Fall 2016crwdne2935289:0
EWU-CRANE-F16S1G2
crwdns2931471:03crwdne2931471:0
crwdns2935297:06crwdne2935297:0
crwdns2947412:02crwdne2947412:0
Between steps 9 and 10, the motherboard is removed and no description photos are provided for this. I undid the cable on the right hinge and then removed the hinges and screen with the motherboard in place, but the pictures definitely show it removed. Otherwise a very easy to follow process.
I agree with Philip’s comment re: the missing step between 9 and 10. I successfully followed these very clear instructions to repair my daughter’s Chromebook. Thank you!