crwdns2915892:0crwdne2915892:0
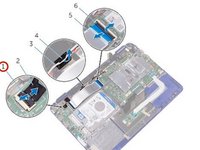
In this guide, we will show you how to remove and replace the Display Assembly.
crwdns2942213:0crwdne2942213:0
-
-
Remove the screw that secures the display-cable bracket to the system board.
-
-
-
Lift the display-cable bracket off the system board.
-
-
-
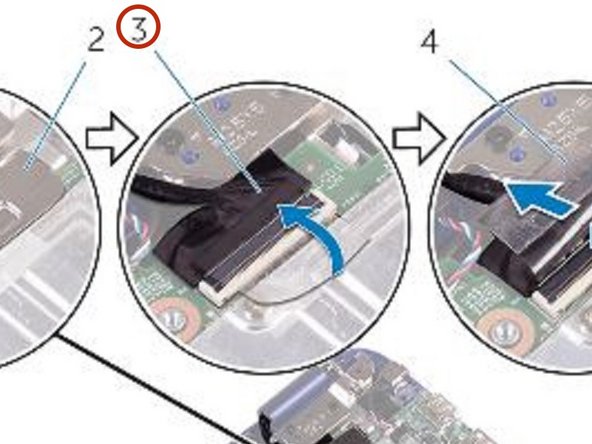
Peel off the tape to access the display cable.
-
-
-
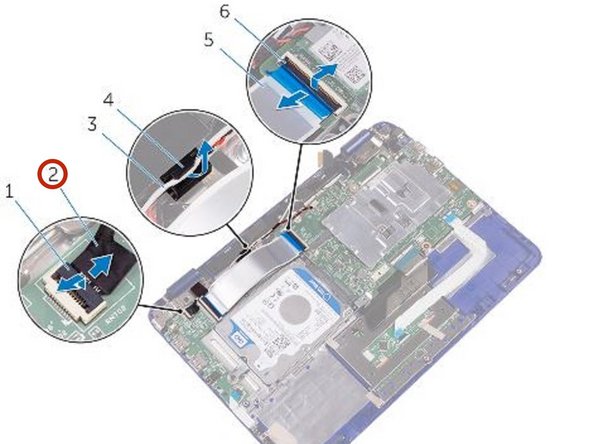
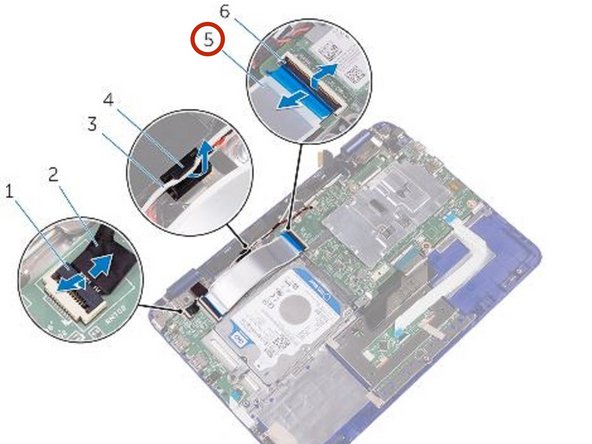
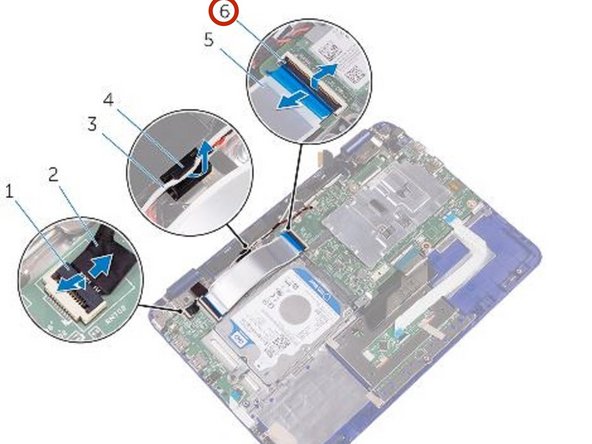
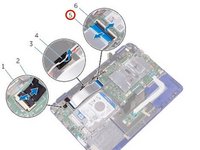
Open the latch and disconnect the display cable.
-
-
-
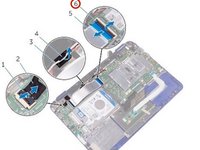
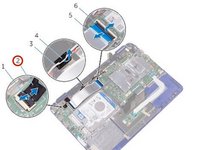
Open the latch and disconnect the sensor-board cable from the I/O board.
-
-
-
Peel the tapes off the display hinges.
-
-
-
-
Turn the computer over and open the display as far as possible.
-
-
-
Place the computer face down on a flat surface.
-
Remove the screws that secure the display assembly to the palm-rest and keyboard assembly.
-
-
-
Lift the display assembly off the palm-rest and keyboard assembly.
-
-
-
Place the display assembly on the palm-rest and keyboard assembly.
-
-
-
Align the screw holes on the display hinges with the screw holes on the palm-rest and keyboard assembly.
-
-
-
Replace the screws that secure the display assembly to the palm-rest and keyboard assembly.
-
-
-
Turn the computer over and close the display.
-
Slide the I/O-board cable into its slot on the system board and press down the latch to secure the cable.
-
-
-
Route the antenna cable through its routing on the right speaker.
-
-
-
Slide the sensor-board cable into its slot on the I/O board and press down the latch to secure the cable.
-
-
-
Slide the display cable into its slot on the system board and press down the latch to secure the cable.
-
-
-
Adhere the tape on the display cable.
-
To reassemble your device, follow these instructions in reverse order.
To reassemble your device, follow these instructions in reverse order.


